One question that comes up frequently in my inbox is, “How often do you recommend teachers rotate out Word Work activities?”
It’s a great question! I think it varies from teacher-to-teacher and classroom-to-classroom. In my book, less is best (with exceptions, of course)! I’ve found in my experience that students need routine, systems, and structure, and one way to create that kind of environment in the classroom is by keeping the types of activities at literacy stations/centers similar week-to-week.
Students feel empowered and are able to thrive when they can anticipate what is coming next. So, I typically like to change out the skill while keeping the activities the same. However, does that mean I never introduce new activities at Word Work? Of course not!
Sometimes revamping a space in the classroom or adding a new engaging activity to a station is just what you and your students need to spice things up!
New Phonics Activity for Word Work
Over the next four weeks, I’ll be sharing four new Word Work activities that’ll add a new element of fun and freshness to your classroom. Today, I’m sharing a phonics Word Work activity that may be just the trick if your Word Work station or small group instruction time is feeling a little bland or redundant. I really think your students will love this activity and I know you will love the organization component. Let’s go!
Introducing…Write & Wipe Phonics Cards!
What Are They?
These Write & Wipe phonics cards are effective, engaging, research-based, and incredibly easy to prep.
To use the cards:
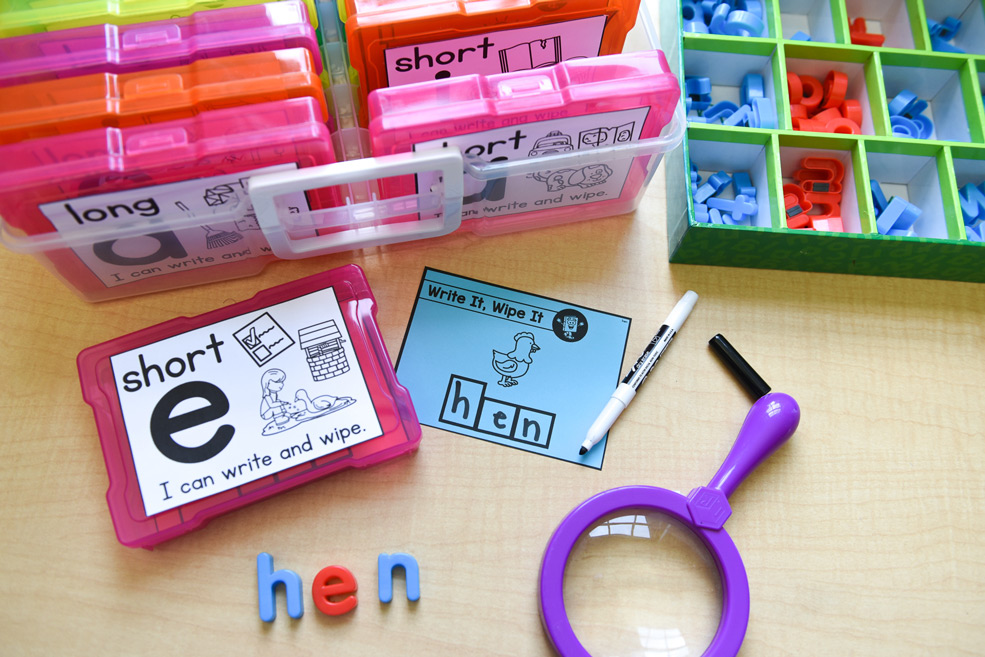
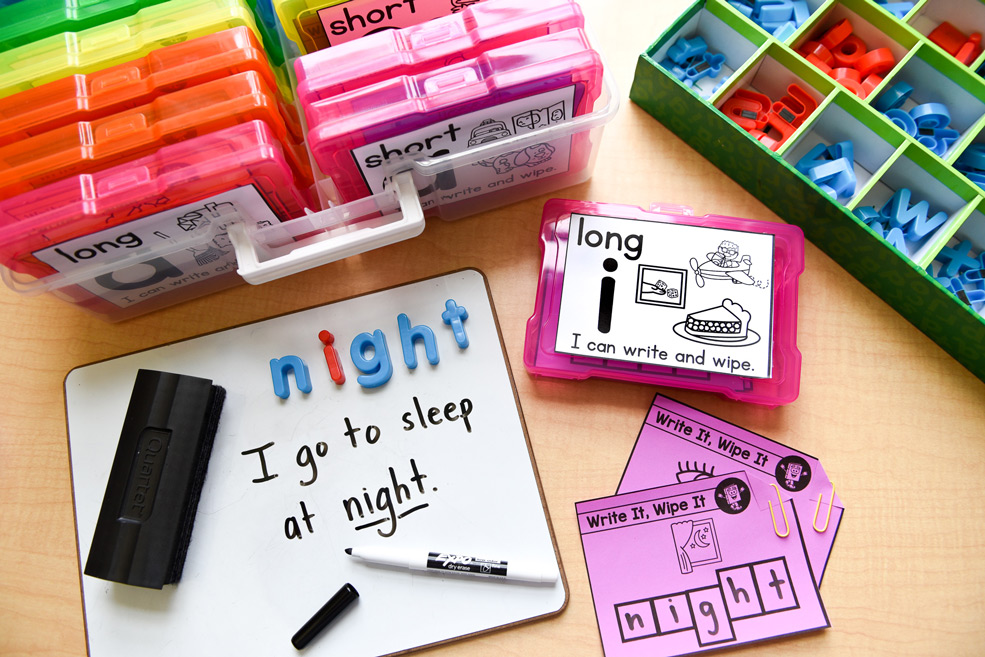
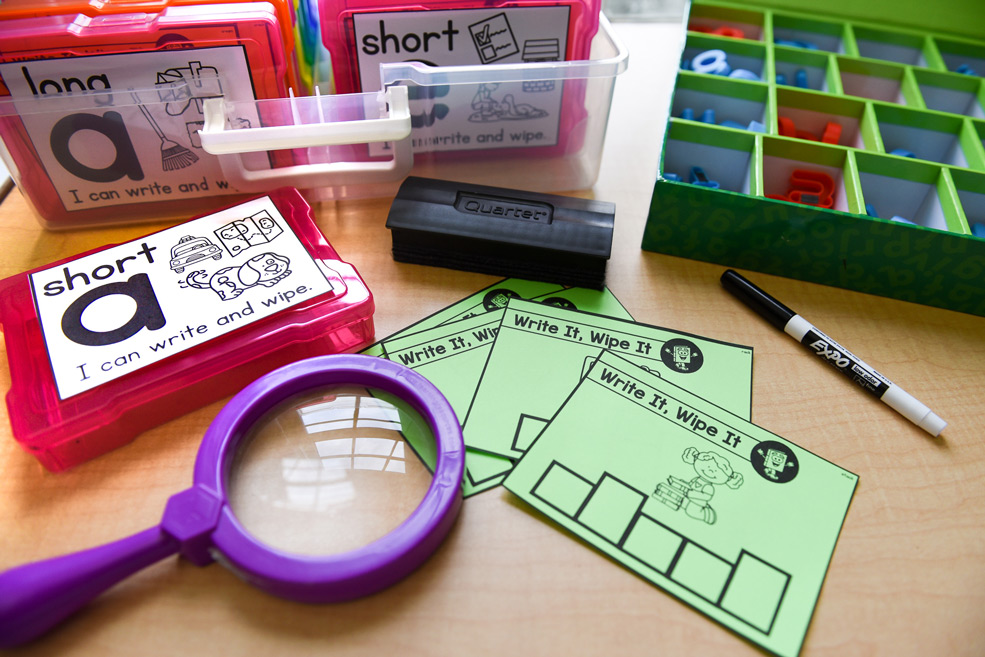
- Students look at the picture on each card and determine the corresponding word. I particularly like that the word shape boxes provide support to students as they decipher each picture and write the corresponding word.
- Then, students write each letter in the blank boxes to build the word. You’ll want to laminate the cards and provide students with a dry erase marker so they can use the cards over and over again.
- Next, students will use a magnifying glass to closely look at the word written in the upper right corner. I absolutely love this self-checking/self-correcting component. This allows students to monitor their own progress—right on the spot!
- Finally, they wipe off that card with a dry eraser and move onto the next word.
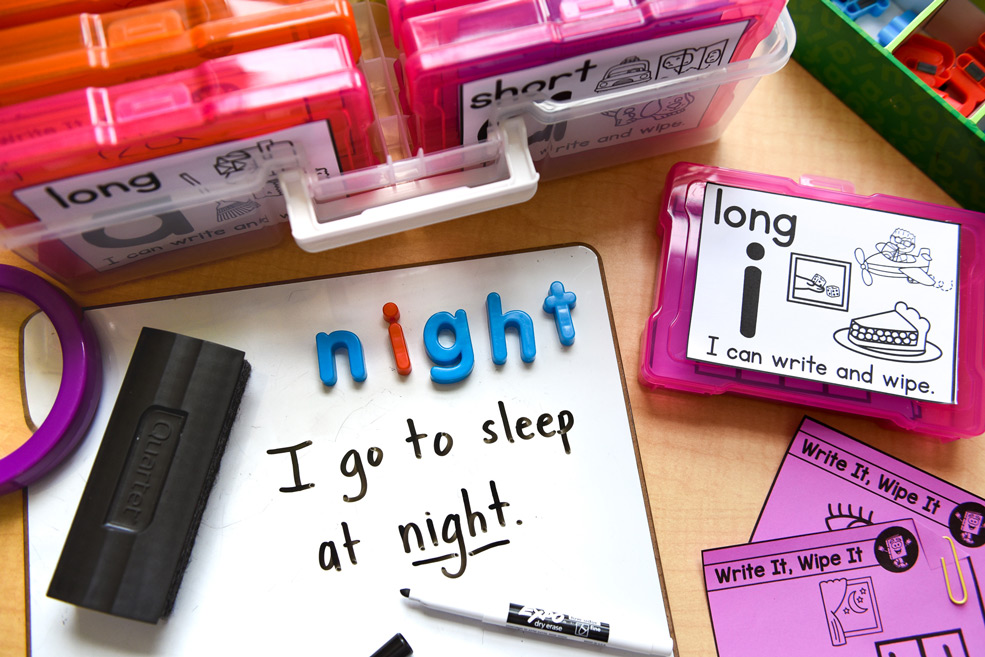
I like to have different materials available at this station so students can build the word if they wish. They can use magnetic letters, string, play dough, beans, cork pieces, beads, etc. I also encourage some students to use the word in a sentence (you can provide them with a dry erase board to do this or they can use a Word Work journal).
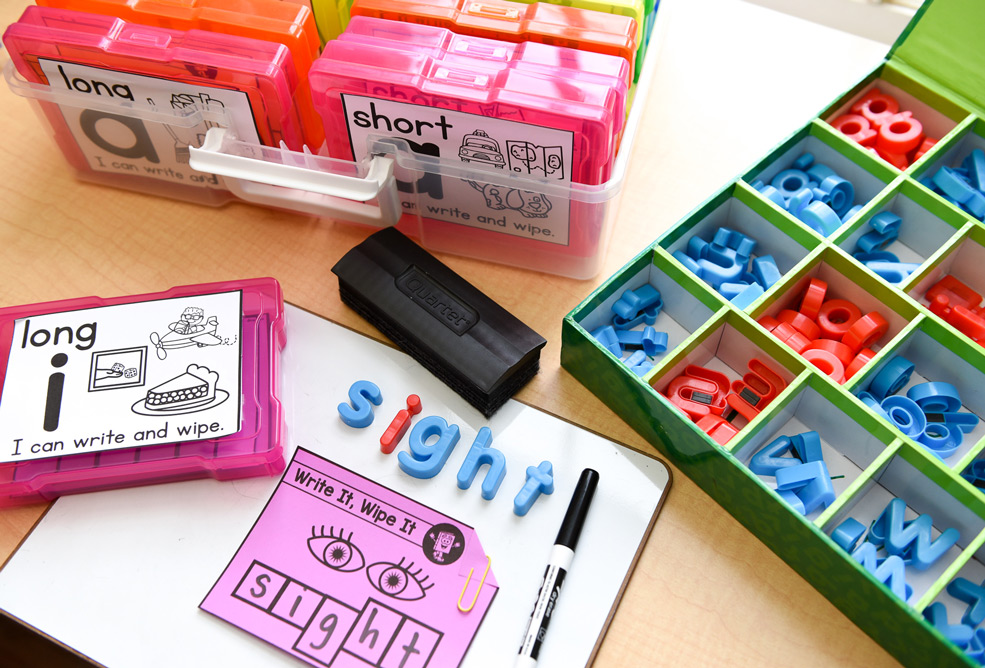
If you’re concerned about students immediately looking at the word in the corner (before they’ve attempted to write the word on their own), one trick is to fold the corner over and attach a paperclip (see below). The paper easily folds, even after laminated. Or, you can cover the word with a small Post-It Note and have students uncover the word to check if they’ve spelled it correctly.
Before releasing students to do this activity independently, I suggest reviewing each picture card aloud during whole group time (or in your small groups).
Differentiation
One thing I love about these cards is how flexible they are to use. You can cater the cards to your students’ specific needs. You can choose which phonics patterns you have available for your students. Or, you can have different groups of students working on different sound-spellings.
For example, if some students need additional CVC practice, set aside those cards, and have students practice CVC words during your small group time. Or, have those cards ready for those students to use at Word Work.
How students use the cards is completely flexible too. Students can use the word in a sentence (orally or written on a whiteboard/in a journal). Or, they can draw their own picture to match the word.
I like to provide choice in any Word Work area, so I leave this part up to my students by providing them with different tools and materials and allow them to choose how they use them. This builds trust and gives students opportunities to take ownership of their learning.
How Do I Set These Up In My Classroom?
I’m sharing all of the prep and storage information below.
Prep Materials:
- laminating sheets
- laminator
- paper cutter or scissors
- magnifying glasses
- dry erase markers
- dry erasers
- paper clips or small Post-It Note strips to hide the word
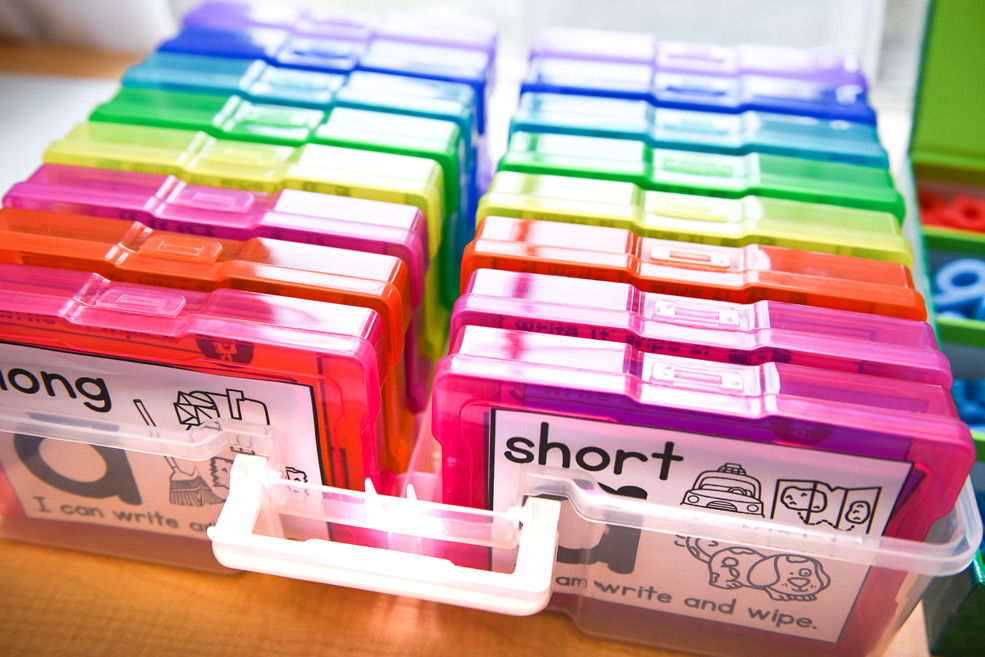
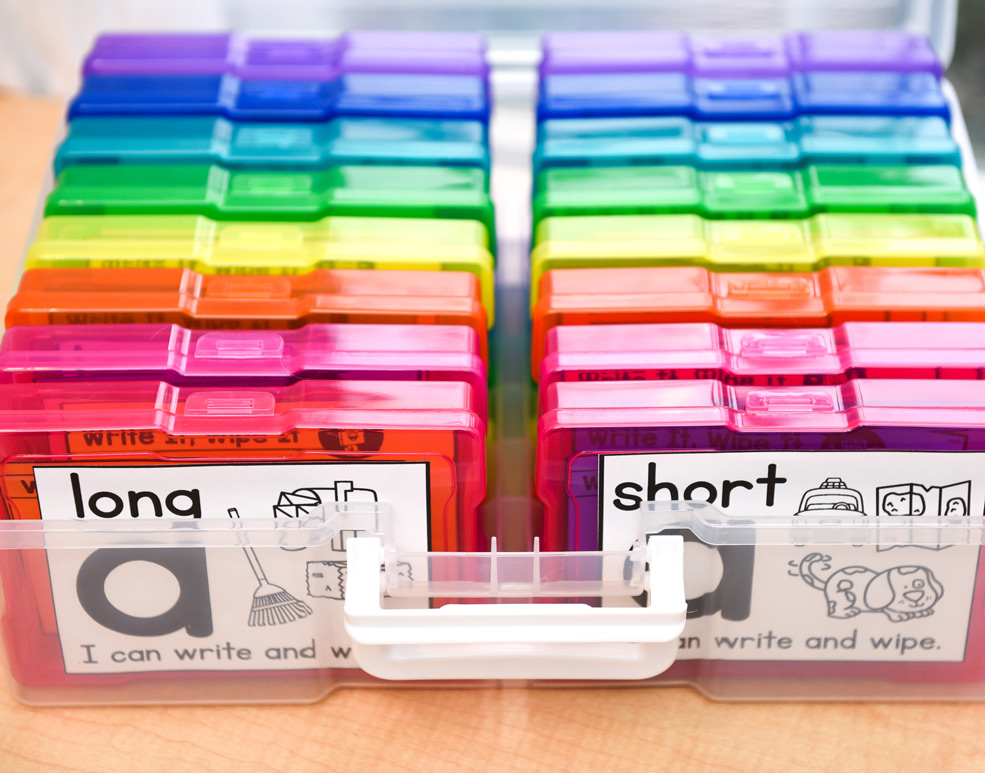
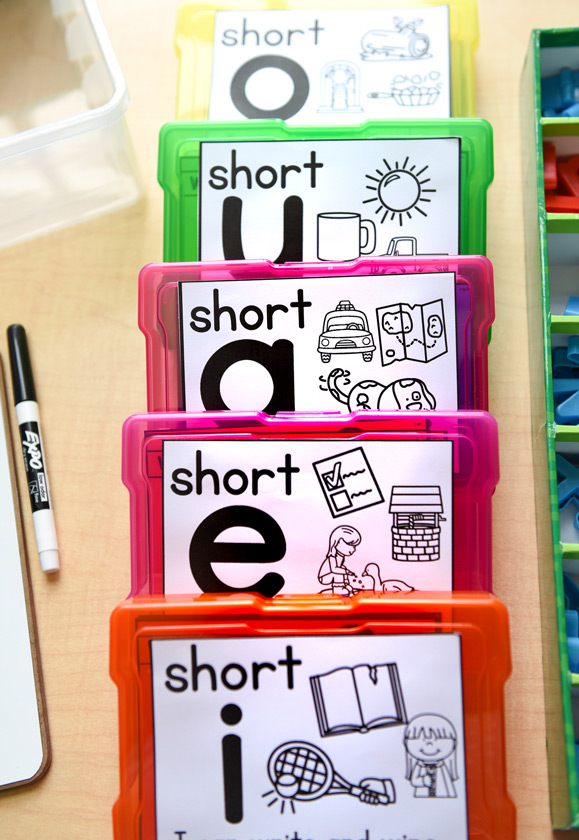
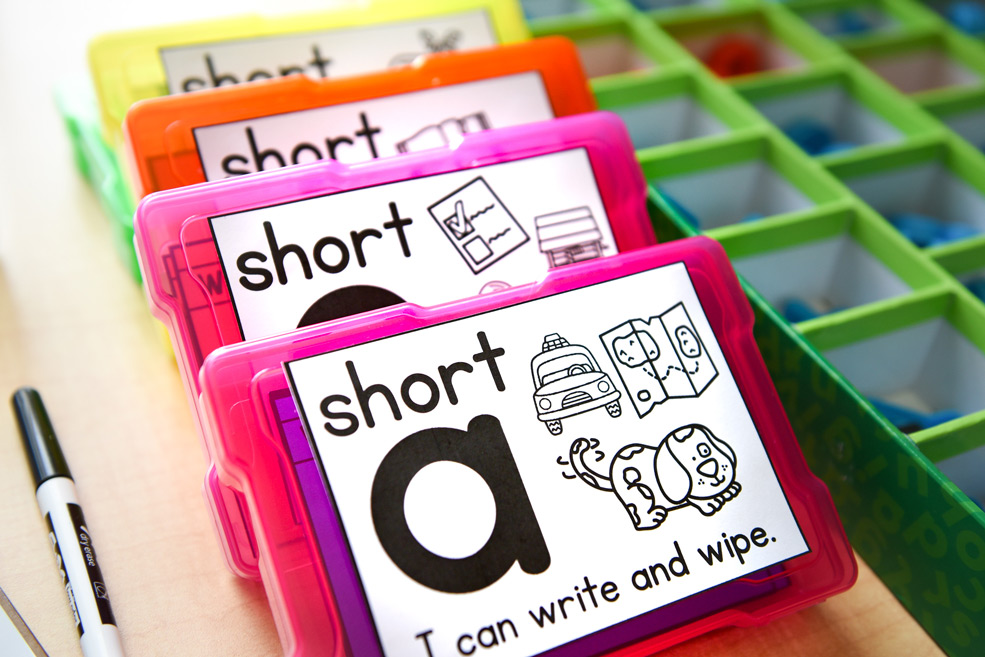
You can organize these cards by sound-spelling and store them in Ziploc baggies, drawers, or containers. By now you’re probably wondering where you can find the fabulous storage organizer you see below to hold the cards, right? It’s the perfect size to hold the cards! Below is the information you’ll need to buy that!
Storage Materials:
- IRIS/Recollections Photo & Craft Keeper container (rainbow or clear) from Michaels Arts & Crafts
- phonics labels (to attach to the top of each box)—FREE!
Additional Materials for Word Building (optional):
- magnetic letters
- dry erase boards (for writing sentences or words)
- string/yarn
- beads
- playdough
How Can I Add This To My Word Work Area?
If you’re eager to add these to your Word Work area, you’re in luck! You can try out a free phonics starter kit of 88 FREE Write & Wipe Phonics Cards. Just click on the pink button below.
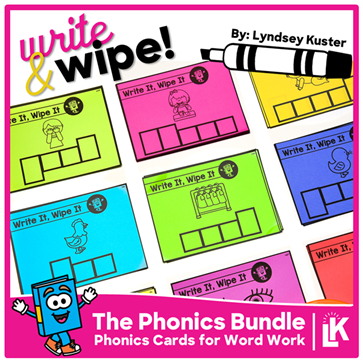
Or, if you’re interested in all 540 phonics cards, grab the entire Write & Wipe Phonics Bundle!
Click on the image below to snag the 540 Write & Wipe Phonics Cards Bundle.
Be on the lookout for Part 2 of the Revamp Your Word Work blog series. Have any questions about this resource? Leave a comment below or email me at lyndsey@lyndseykuster.com.
Love this resource and wish you had access to more like it? Want instant access to a library of resources (for ALL content areas) catered specifically to you and your students’ needs? If you’re nodding yes, then be sure to join the LK Teacher Club!
When you join the LK Teacher Club, you gain instant access to the resource I share all about in this blog post, plus every other resource I’ve ever created ($6000+ value).
Not only that, but you’ll also have immediate access to more than 100 exclusive resources that aren’t found anywhere else!
Get ready to tackle teaching with confidence and ease! Click here to find out more about the LK Teacher Club.
You can also read more about my other phonics-related blogs by clicking here:




Jo Nester
March 12, 2019Looking forward to part 2
Robin
March 14, 2019I love these cards!!
My students love the self-check component and I don’t have to hear “how do you spell…”
Awesome!
Susan
March 15, 2019Thank you for sharing!!
Heather
March 15, 2019This would be great to have and use I am a first year teacher for 2nd grade.
Karlene
March 17, 2019This is wonderful for my class. Thanks for sharing.
Ruchika
March 20, 2019Good resource
Nina Chapman
March 24, 2019This is great for working with a small group of students.
Denise Fountain
May 22, 2019Thank you
Joanne
July 6, 2019Thank you for this resource. We have been looking to revamp our word work ?
Santa M
January 4, 2020Hi Lyndsey,
Thank you for the free download option. It certainly help me with setting up learning center. Thank you!
Shanel Ditmore
February 21, 2020My kinders are struggling and I think these would help lots.
Susan
July 9, 2020My comment is where did you purchase the colorful boxes with the letter on them that has the words inside of the box. I like the ideas.
Thank you for sharing your ideas to keep the classroom fun with learning
Deborah
December 24, 2020Thank you very much.
Kim Johnson
February 28, 2021I can’t wait to get a look at part 1.