
“The greatest sign of success for a teacher is to be able to say, ‘The children are working as if I do not exist.” – Maria Montessori
 “The greatest sign of success for a teacher is to be able to say, ‘The children are working as if I do not exist.” – Maria Montessori
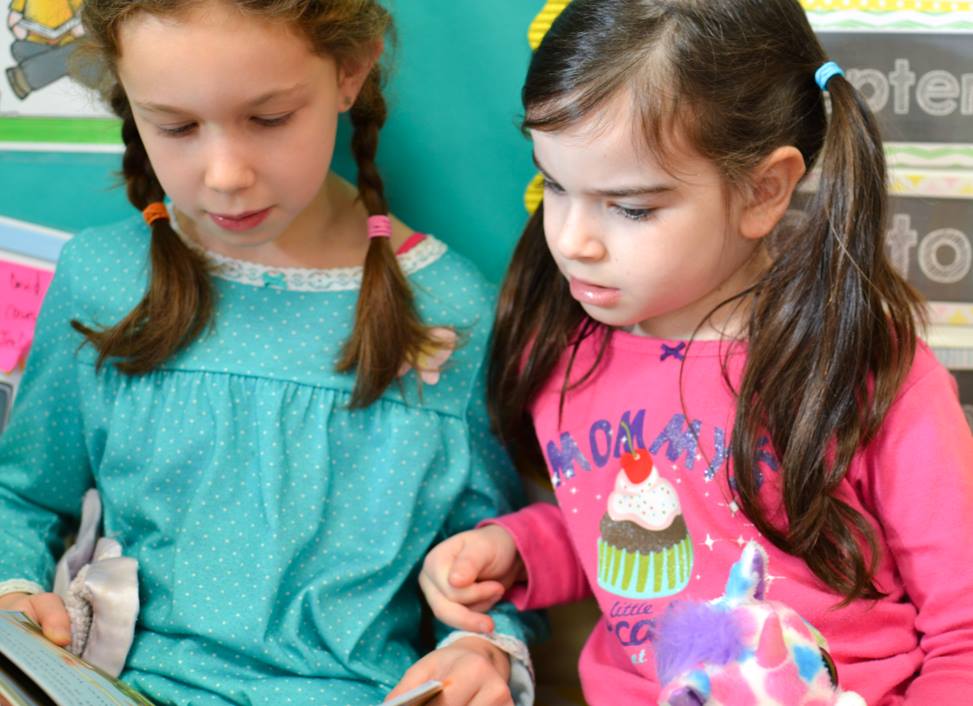
Picture this: it’s my first year of teaching. I’m meeting with a small-group while the rest of the class is at different literacy centers around the room. Overall, it’s quiet and calm. I think, “Hot dog! I’m figuring this teaching thing out!” Then, out of the corner of my eye, I spot a quiet student “working” at the word-building center.
She was “working” on cutting up little strips of paper into a million, tiny pieces. I then turn my head to the other side of the room and spot a student rolling across the floor (with headphones on!). My insides suddenly turned from pride and excitement to failure and frustration. But, I didn’t give up right then and there.
Instead of blaming my students for not following directions, I decided to look at what I could do to better meet my students’ needs. I learned a few valuable lessons that day (and over the years!), and I’m here to share them with you, in hopes of saving you time and energy.
In this post, I’m sharing the top 3 lessons I’ve learned on how to effectively run the rest of the class while still successfully meeting with my small groups:
- Lesson 1: I need an actual PLAN for running literacy stations in my classroom. Because “I’ll just wing it” won’t cut it when there are 25 little bodies in a room.
- Lesson 2: I need to MODEL what to do and not do explicitly (and repeatedly) before releasing students to work independently. Because a “one and done” method for modeling won’t work.
- Lesson 3: I need to provide ENGAGING and MEANINGFUL activities for my students. Because students should be manipulating, building, writing, reading, and interacting with words and texts.

Let’s break it down even more, shall we?
Lesson 1: A System for Success
What does your literacy block look like currently? Do you feel like you have a smooth-running system? If not, that’s okay! That’s because teaching is all about being flexible. If the current system you’re using isn’t working in your classroom, then change it. It’s never, ever too late to modify, adjust, or completely erase and start over.
Ask yourself these questions:
While I’m working with small groups, what do I want to see the rest of the class doing?
Be specific. Think beyond the “I want students to be working independently” answer. Picture the details:
- How do you want students to transition from the rug to the different stations?
- How will students rotate once they are at stations?
- How will you call groups?
- What will students do if they are stuck and need help?
- How will students get your attention if there is an emergency? What is considered an emergency?
- Where will students work?
- How will students find books? What kinds of books can students choose?
If you’re interested in any of the materials seen throughout this blog post, click the pink box to grab a free Reader’s Workshop Kit (perfect for hands-on literacy centers or Daily 5).
Once you have an answer to these questions, then you can move onto Lesson 2. Something important to remember: there isn’t a RIGHT answer to the questions above. It’s about finding what works best for you.

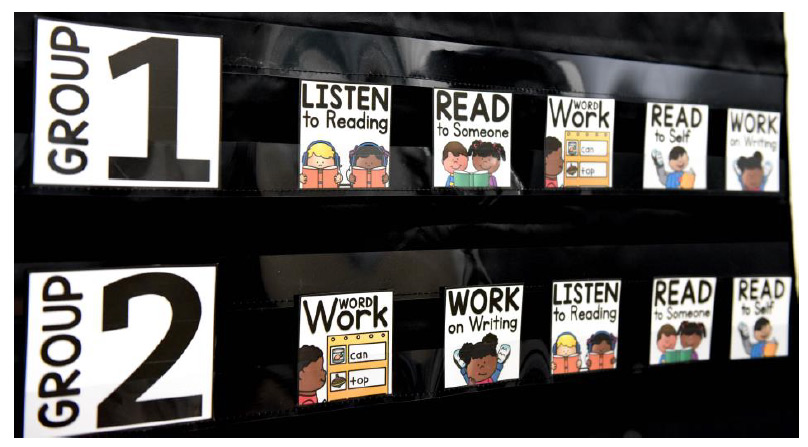
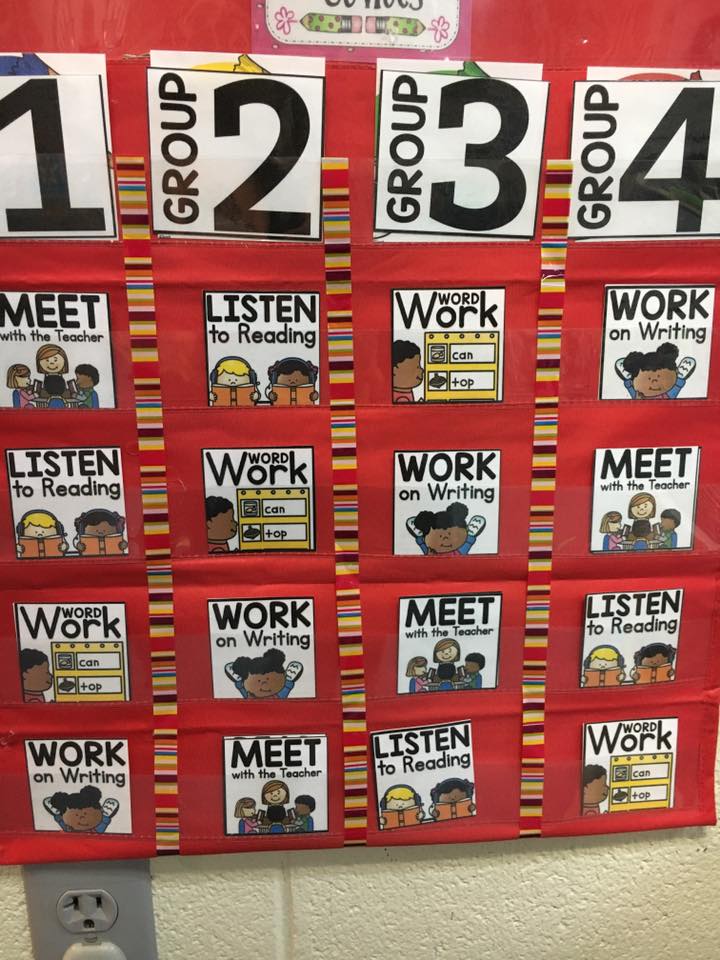
In my classroom, I used a modified version of Daily 5. We had specific stations in the classroom (Work On Writing, Read to Self, Read to Someone, Word Work, and Listen to Reading), but we used rotation cards/rotation wheel/clip system (I’ve switched them up over the years—not one method is better than the other) to move from one station to the next. Then, I pulled my students from wherever they were in the classroom. But my teammate, Susan, stuck with a more traditional Daily 5 system where students chose where to go and when. We did what worked best for each of us!
Lesson 2: Explicitly Model What To Do and Not To Do
I can’t tell you how many times I’ve made the mistake of thinking one explanation is enough. It’s not enough. Model everything.
Model how to choose a book. Model how to hold a book. Model how to find a spot. Model how to find materials. Model what NOT to do. Model how to draw a detailed picture. Model how to stay on task. Model what getting off task looks like. Model how to ask for help. Model, model, model.
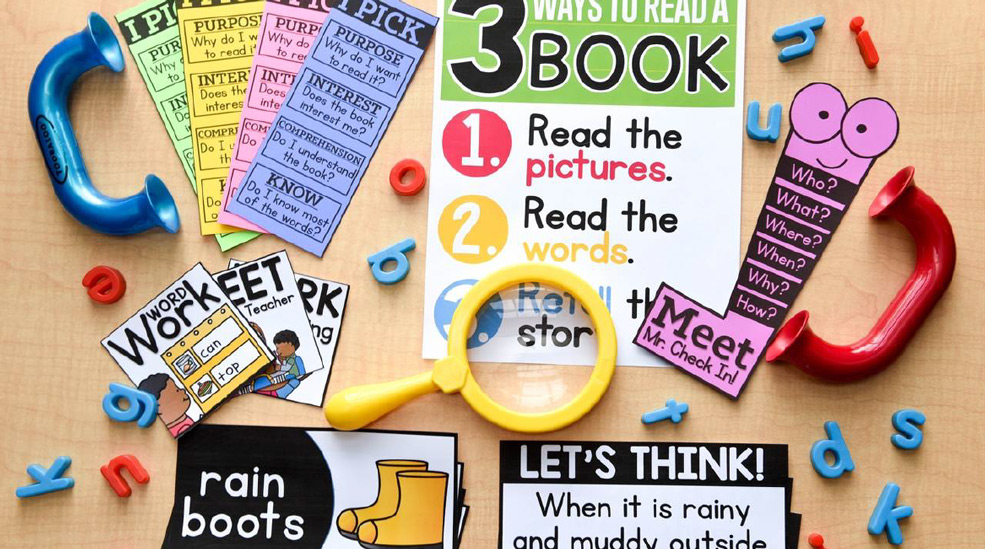
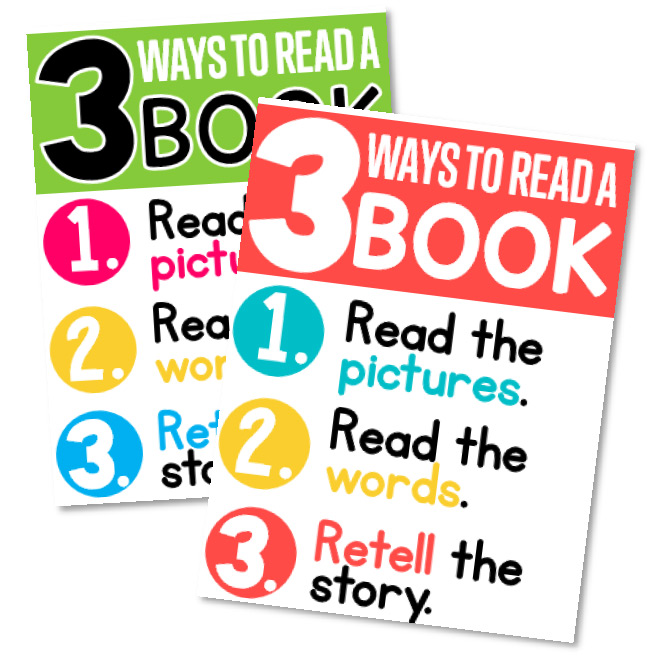
If you’re interested in these 3 Ways to Read a Book posters, you can download them for free. They are the perfect tool to use when modeling (and for students to reference all year).
Then, when you’ve modeled it over and over, ask students to MODEL FOR YOU. Allow them to be the teacher. Allow them to show you what to do vs. not do. Let them take charge!
After you do all of these steps, it’s important to remember one thing: no matter how many times you model it, there will always be students who still don’t follow directions. Is that okay? Yes. Is it normal? Yes. Does it make you a bad teacher? Heck no! Do not give up or try something else THE MOMENT something goes wrong. Stay the course. Remain consistent. Consistency, above all else, is key. Keep at it!
Lesson 3: Provide Engaging, Hands-On Literacy Activities

Research says that students are most successful during independent reading blocks when they are given activities that:
- are interesting and engaging
- are challenging, but not to the point of giving up
- are easy to understand (very clear directions)
- give students CHOICE
- are hands-on and allow students to manipulate and interact
- hold students accountable
But instead of just telling you examples of what kinds of activities to include, I thought I’d share some of my favorite activities with you. You can infuse these activities into your literacy centers or at the stations during your Daily 5 time.
Important Note: If you want to give students choice while still providing structure, you can tell students WHERE to go but have them pick WHAT they do at that station.
Getting Started on Your Hands-On Literacy Stations
When I first began teaching, I tried to change out the station activities weekly. Unfortunately, this was too much movement and switching for my students to handle (and me, too!). So, the beauty of these activities is you can keep them out ALL MONTH.
Prior to releasing them to do these activities independently, practice these skills days (or even weeks) before. For example, if one activity asks students to sequence the mini-story, then students should have had ample practice sequencing with you during shared reading time and in smal- groups before sequencing independently at a center.
In other words, it’s important to view your literacy station time as a review or practice time. Students should not be learning new concepts there. Instead, they should be practicing previously learned concepts.
Time for Hands-On Literacy Station/Centers
The amount of time your students spend at each station is entirely up to you (and what your schedule allows). Each activity I had my students complete took about 10-15 minutes. Although some took a bit longer (but this may be different for you, depending on your students’ ability levels).
You will find that some of your advanced learners may finish the activities quicker than others. If they finish one activity, you can have them move onto another activity or you can challenge them, on their own, to extend their learning. This can be as simple as providing blank paper and having them write their own story that they can sequence. Or, if it’s a word-building activity, ask them to find more words or use the words in a sentence.
One of my favorite ways to encourage my advanced learners to extend their own learning was through video. I had a couple of old iPhones and a tablet in my classroom. Students love to see themselves and hear themselves on camera. I would then have my students record themselves reading so they could listen back. Sometimes they would take turns with a partner. One partner would record and listen while the other partner read, and then vice versa. They loved doing this!
Now that I’ve explained the HOW and WHY, let’s get to the WHAT.
What activities will you provide for your students to complete at the hands-on literacy stations/Daily 5?
If your struggle is to come up with the WHAT because you want engaging, interactive activities that challenge your students and meet the standards, but you feel like your activities have become lackluster, don’t fret. To help you manage WHAT to provide at your literacy centers/Daily 5 stations, I’ve created a yearlong collection of resources. I’m breaking down just some of the January activities for you below.
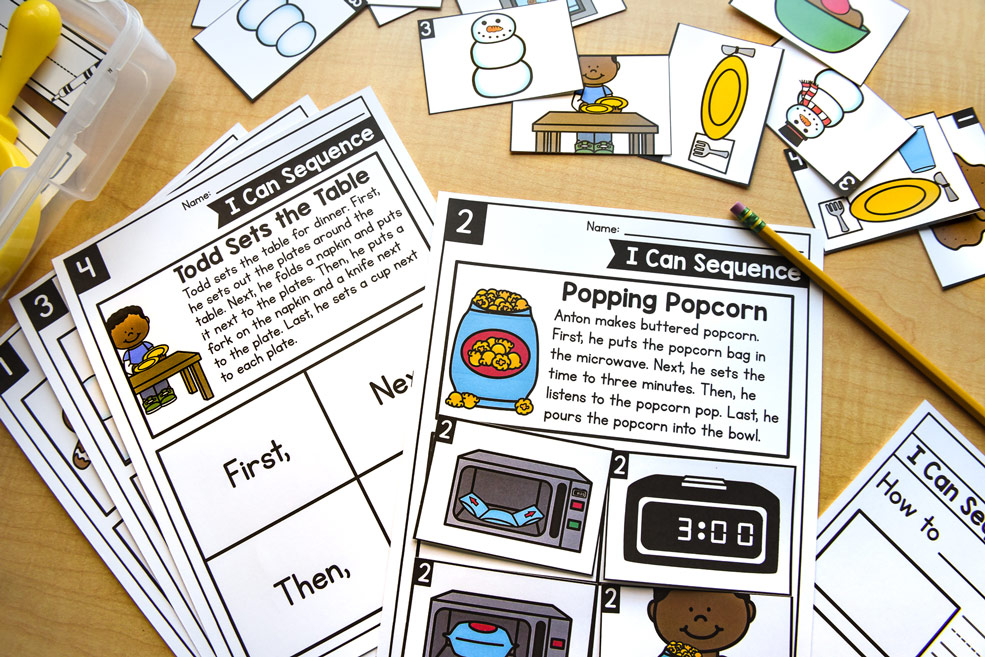
Activity 1: I Can Sequence the Events In the Passage (RL.1.1, RL.1.2)
Students will read the simple passages. Then, they will put the pictures in sequential order. Finally, they will draw a picture and write what happens first, next, then, and last. You may want to read them with the entire class or at small group time before releasing students to complete them independently.
As an extension activity, ask students to write their own “How-To.” on their recording sheet.
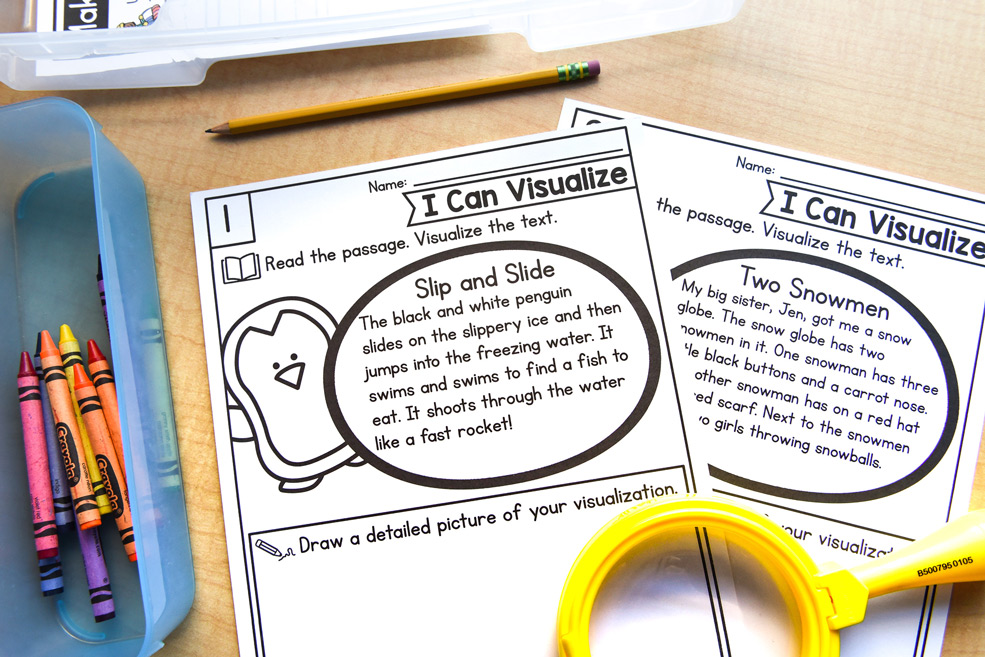
Activity 2: I Can Visualize the Text (RL.1.4, L.1.4)
Students will read the vivid story and then draw a detailed picture to match the story. As an extension activity, you could have students write their own detailed stories with a detailed picture to match. This activity builds vocabulary, fluency, and automaticity.
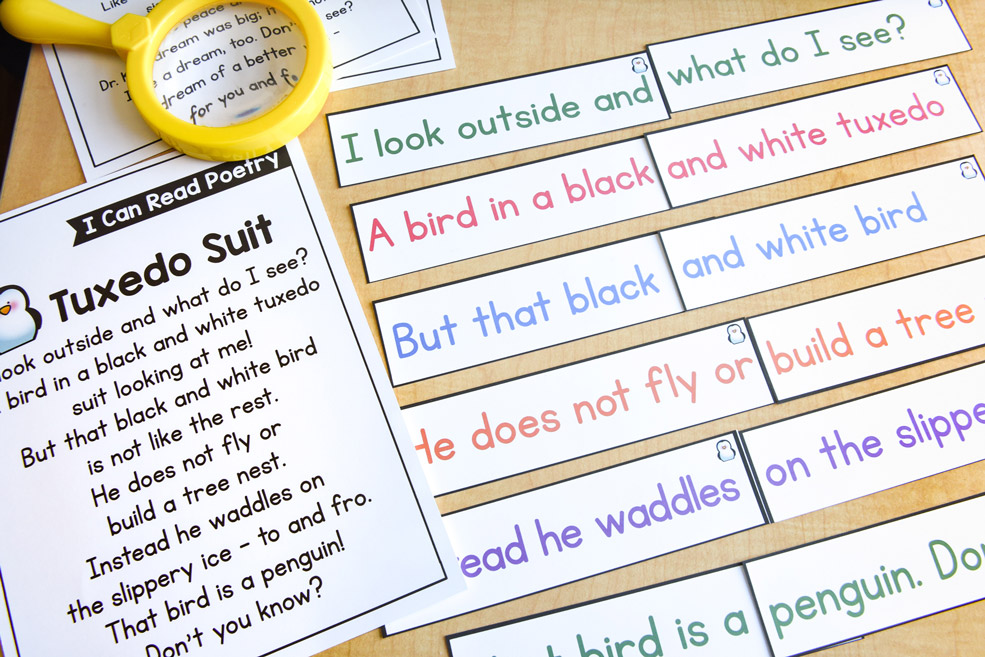
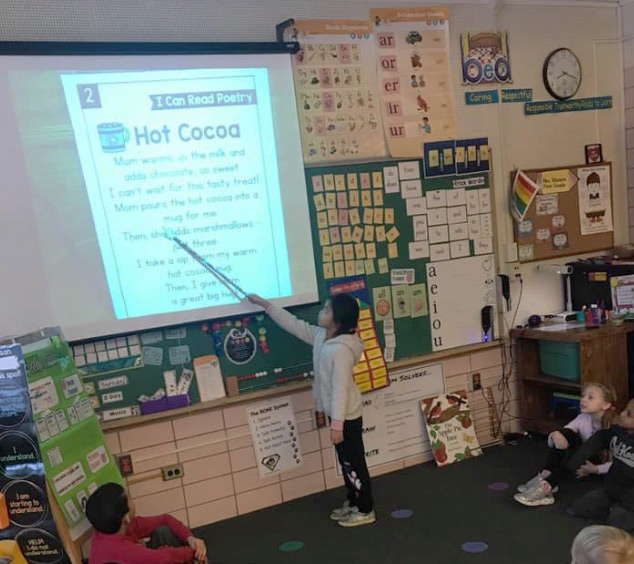
Activity 3: I Can Read Poetry (RL.1.10, L.1.4, RF.1.4)
Students will read the poem multiple times to practice fluency, expression, and automaticity. Then, they will build the poem on their own.
A wonderful teacher, Tina, sent this photo of her class reading the poem aloud as a whole group before building it independently.
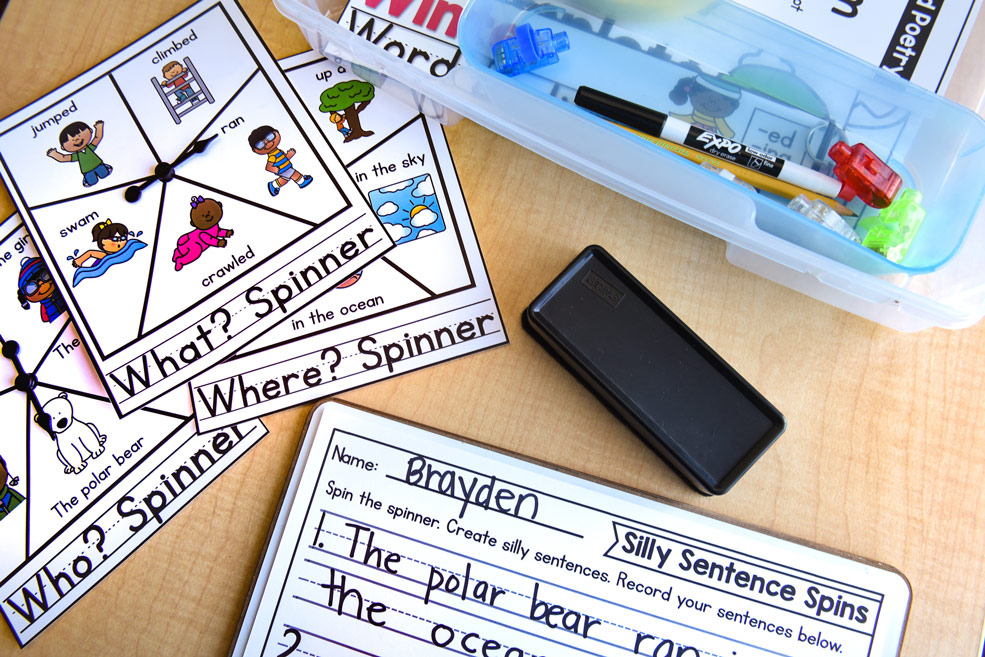
Activity 4: I Can Write Sentences (W.1.3, L.1.1)
Students will spin the spinner and write silly sentences using appropriate capitalization and punctuation.
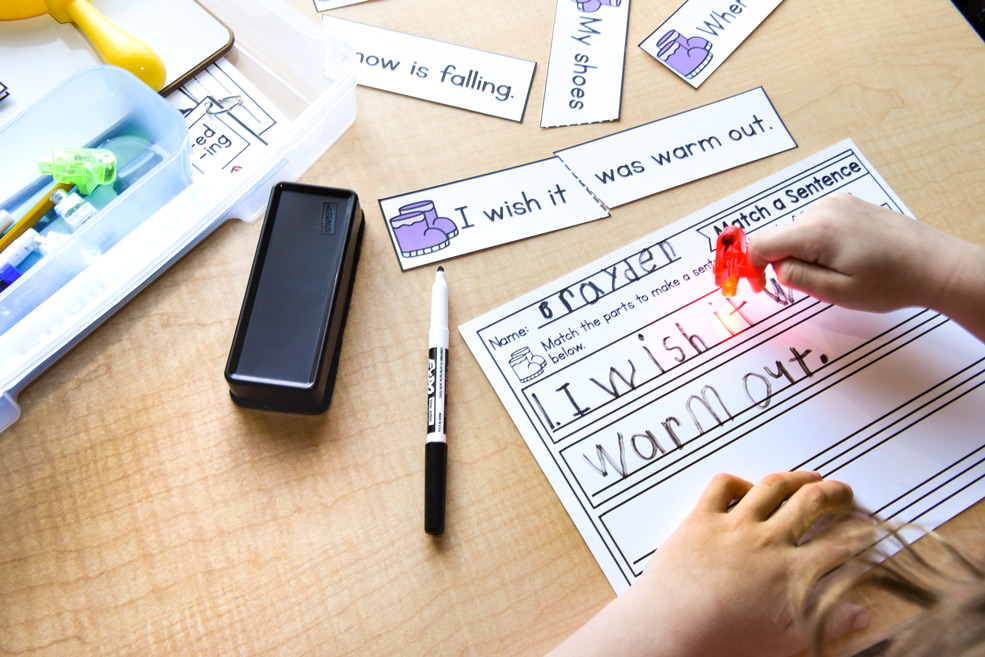
Activity 5: I Can Match a Sentence (W.1.3, L1.1)
For this activity, students will match the parts of a sentence to make a complete sentence. Then, they will record their sentence on the recording sheet.
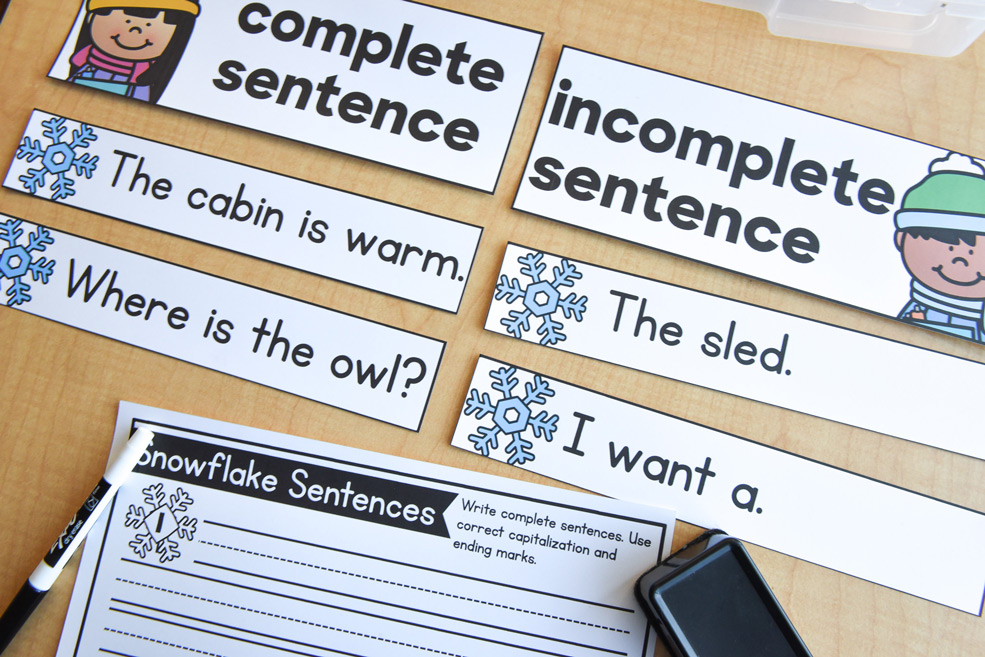
Activity 6: I Can Match a Sentence (W.1.3, L.1.1)
For this activity, students will sort complete vs. incomplete sentences. Then, they will write complete sentences on the lines using correct capitalization and punctuation.
Activity 7: I Can Match a Sentence (W.1.2, W.1.7)
For this activity, students will choose picture cards about January topics and then write a story, letter, or card about the topic (informational or opinion piece).

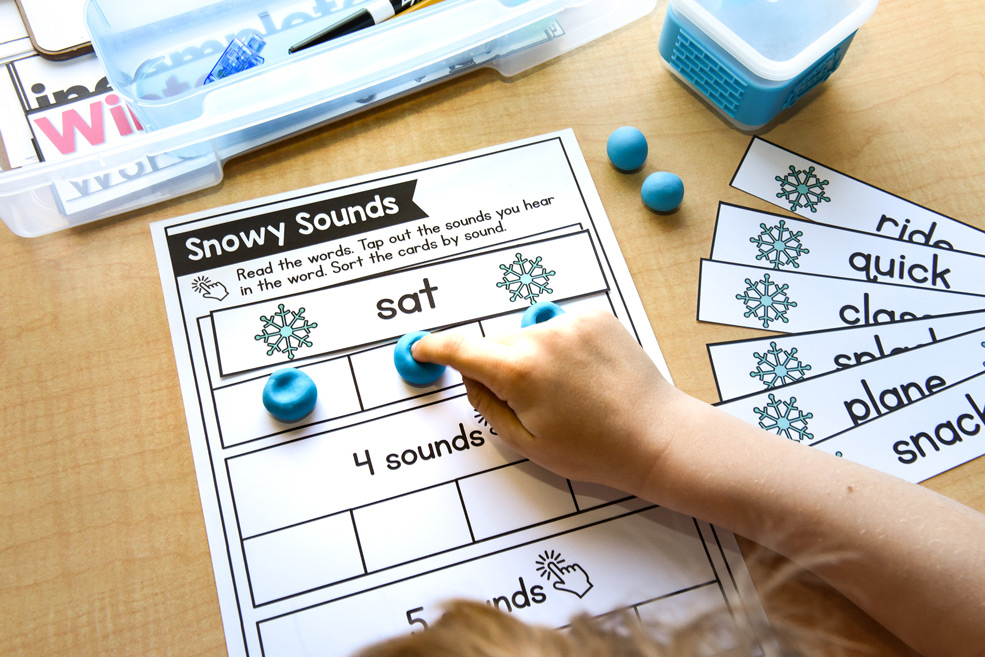
Activity 8: Snowy Sounds (W.1.2, W.1.7, RF1.2)
For this activity, students will read the words, tap out the sounds they hear in the word, and sort the cards by sound. Some students may benefit from using playdough to smash the sounds in the word (great for sensory learners!).

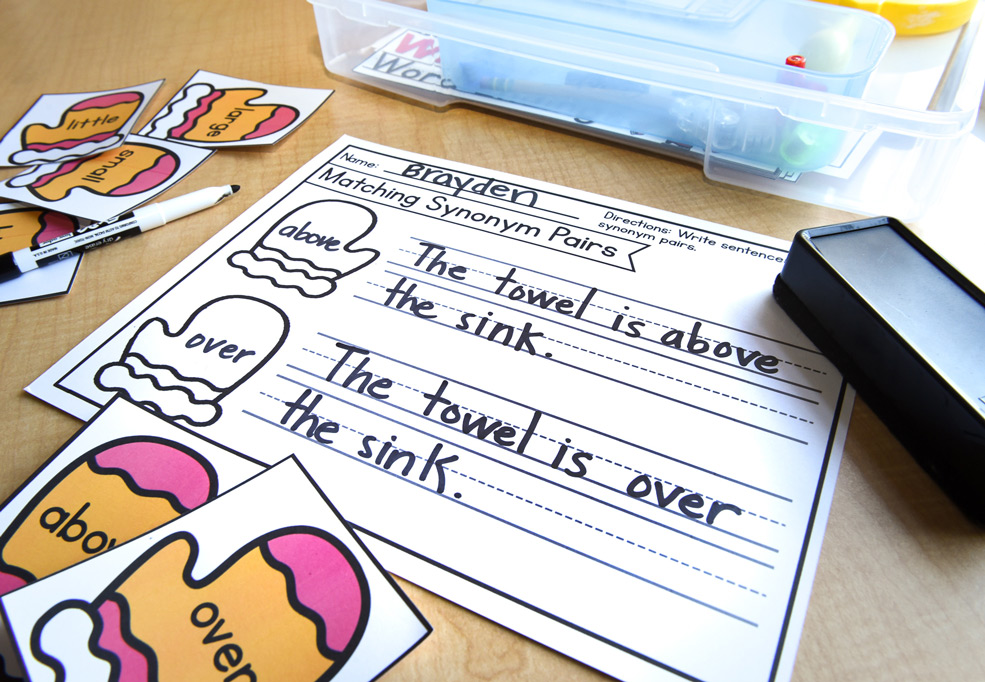
Activity 9: Matching Synonym Pairs (L1.4)
For this activity, students will match the synonym pairs and then write a sentence to demonstrate their understanding of the match.
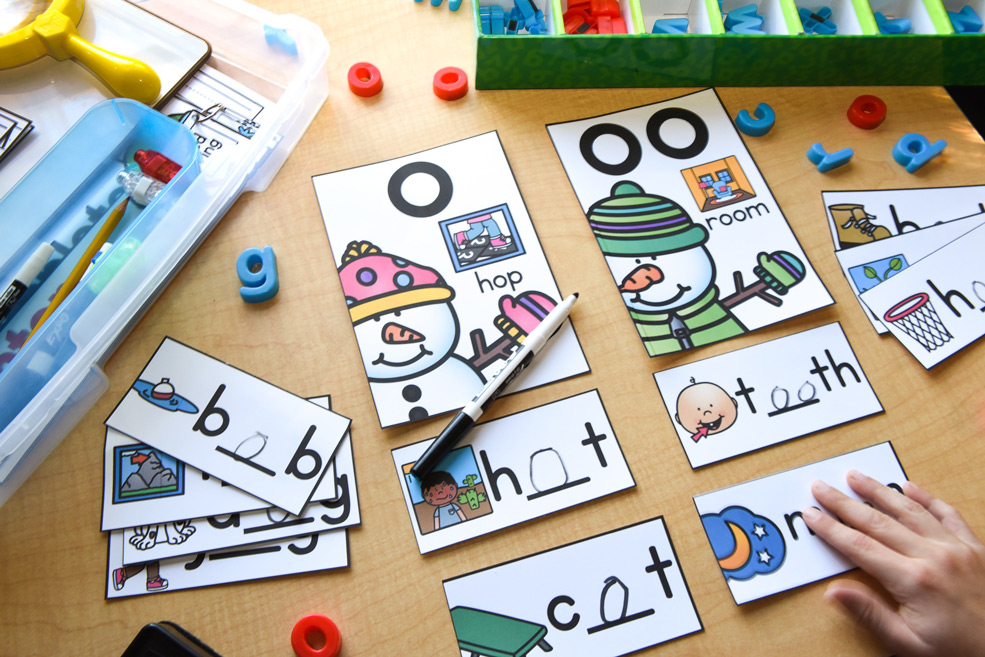
Activity 10: I Can Sort Words by Sound-Spelling (RF.1.2)
For this activity, students will look closely at the picture, determine if it makes the /o/ or /oo/ sound (NOTE: there are both /oo/ sounds included, so you may want to only include the sounds you’ve focused on).
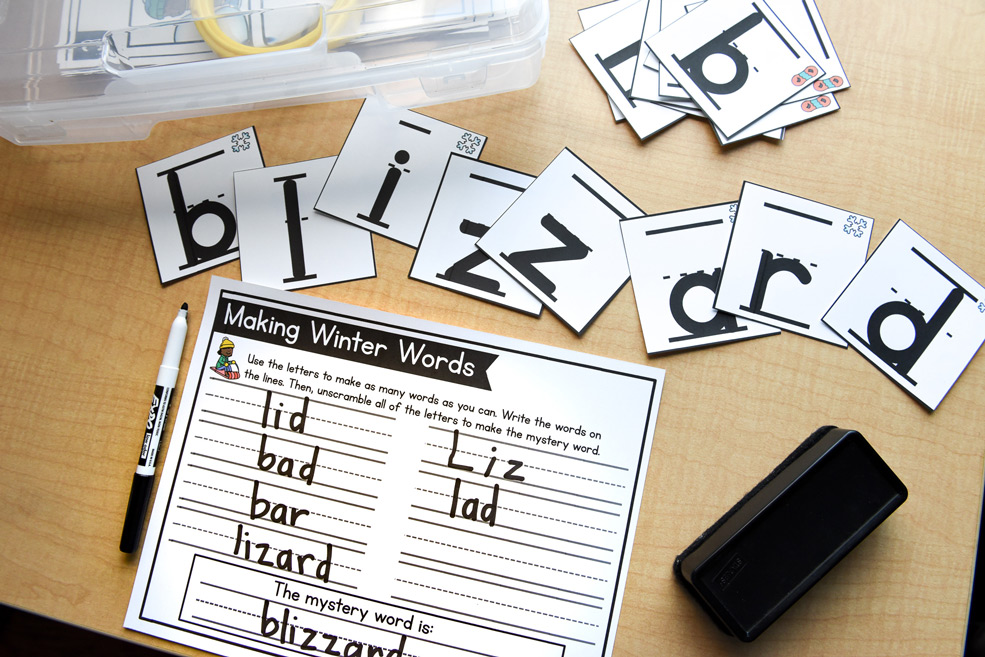
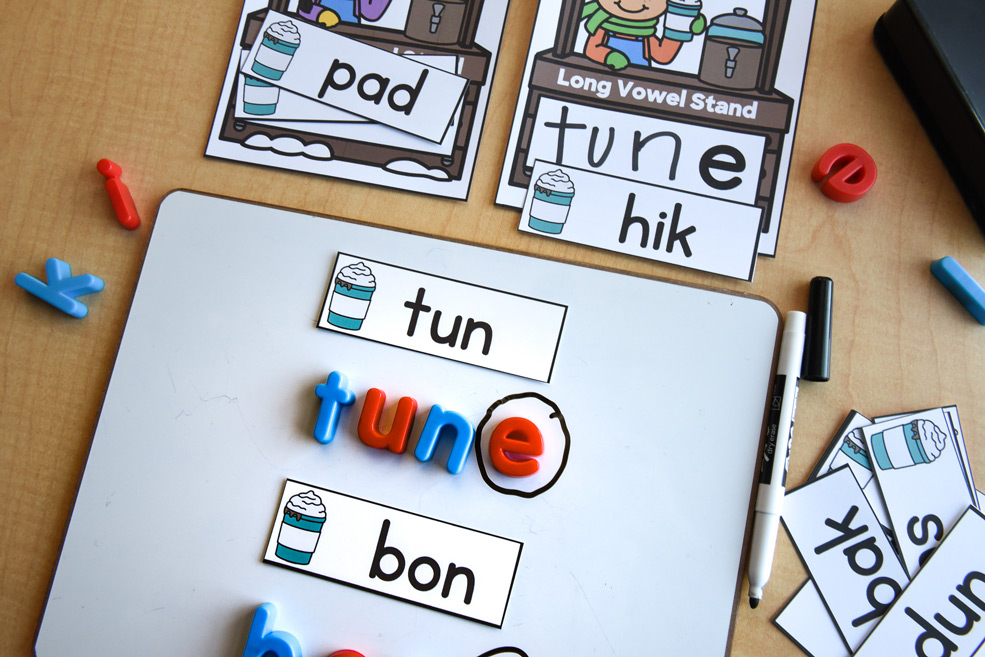
Activity 11: I Can Build Words (RF.1.3)
For this activity, students will use the letters provided to build words. Then, they will unscramble the letters to build the mystery word.
Activity 12: I Can Build Words (RF.1.3)
For this activity, students will sort the words by short and long vowels (silent e).
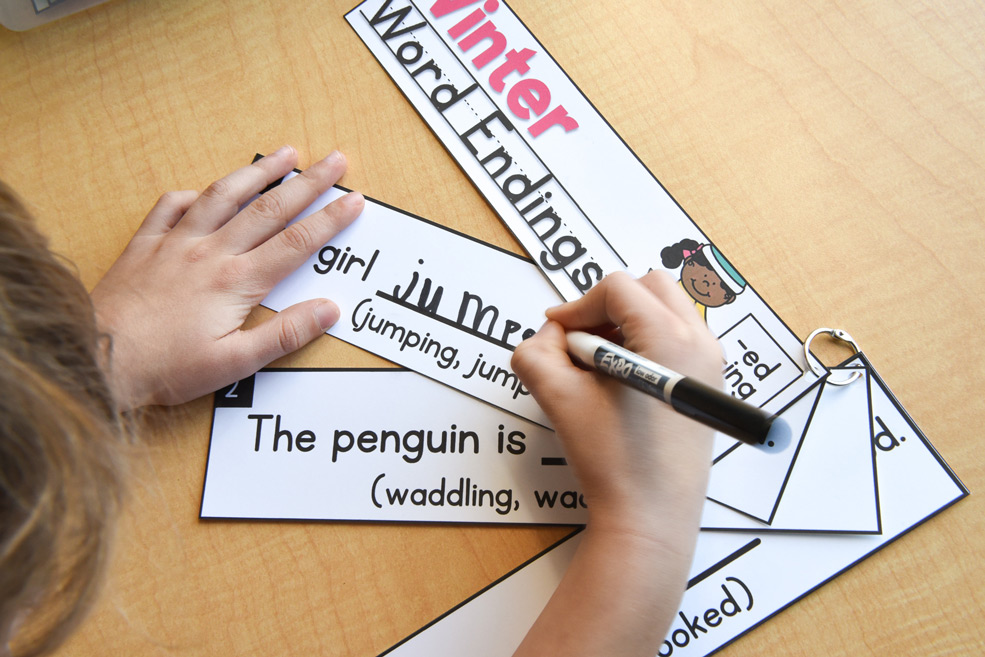
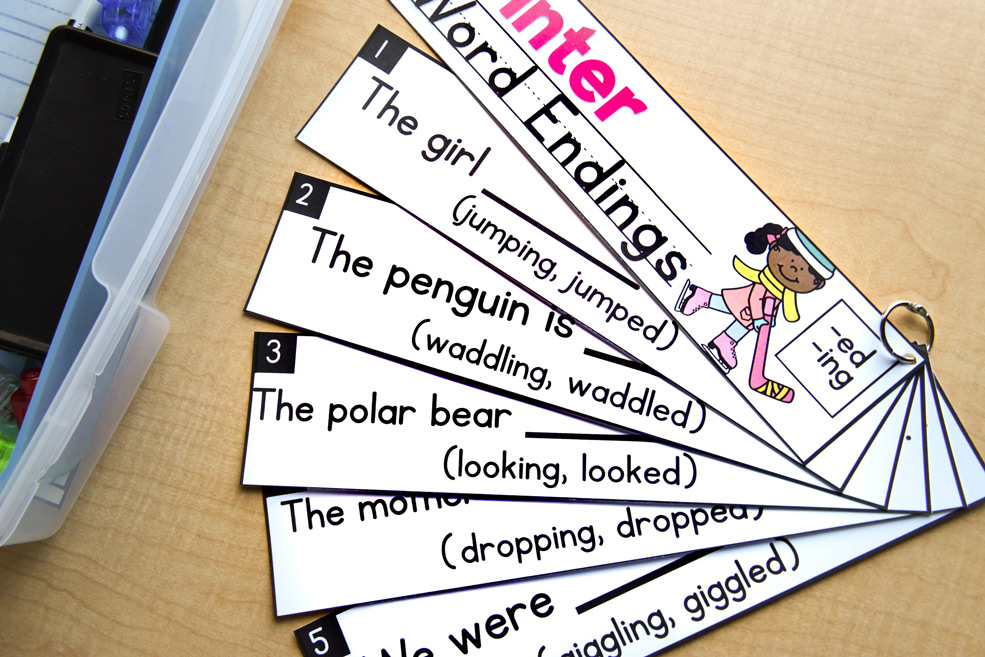
Activity 13: I Can Build Words (L.1.1)
For this activity, students will determine the correct tense of the missing word. (one tip with modeling: if students get stuck, have them write the missing word both ways OR have them build the word both ways).
Hands-On Literacy Materials
If you’d like to provide different hands-on materials for word building, poetry reading, fluency, etc., I’ve provided a list of some of my favorite materials for you below:
- play dough (counting sounds)
- magnifying glasses (reading)
- magnetic tile letters (building words)
- finger beams (reading)
- whisper phones/PVC pipe (listening to reading)
- small pom-poms (counting sounds)
- dry erase markers and whiteboards (writing and building words)
- sprinkles, sand, and rice (to write words in with a paintbrush or finger)
- paint bag (a small amount of paint with a drop of water in a Ziploc; building words)
Storage Solutions for Your Hands-On Literacy Station
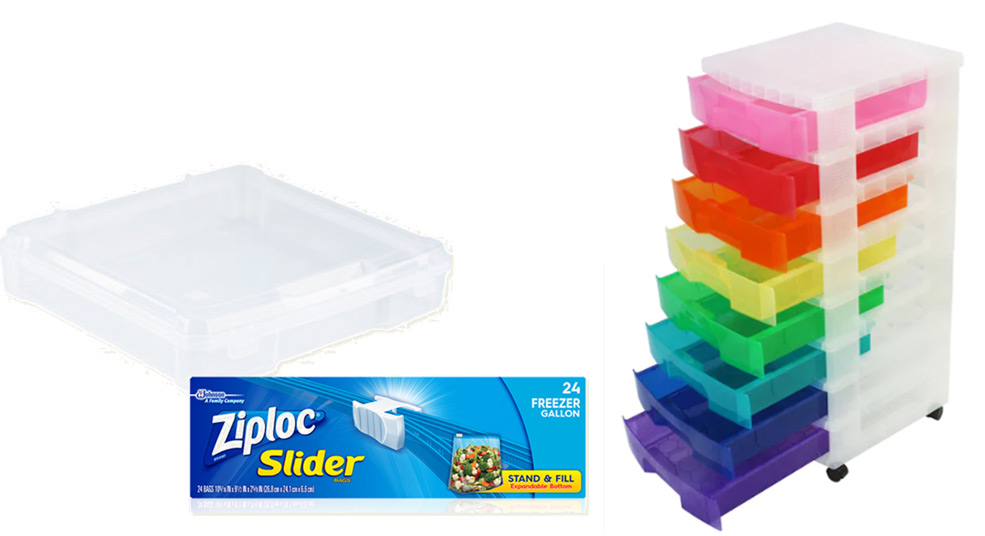
My favorite storage solution for ALL of the hands-on resources I create is this 12 x 12 scrapbook case by IRIS. You can store all of the month’s materials in this container (just place them in Ziplocs). Another great solution is to use a stackable drawer rolling cart like the ones below. The scrapbook case and rolling cart are from Michael’s.
I want these hands-on literacy activities!
If you’re needing engaging, hands-on literacy activities that you can use all month long, I’ve got you covered for the year with the Hands-On Literacy Bundle. This bundle includes more than 135 hands-on literacy activities. Oh yeah!
Love this resource and wish you had access to more like it? Want instant access to a library of resources (for ALL content areas) catered specifically to you and your students’ needs? If you’re nodding yes, then be sure to join the LK Teacher Club!
When you join the LK Teacher Club, you gain instant access to the resource I share all about in this blog post, plus every other resource I’ve ever created ($6000+ value).
Not only that, but you’ll also have immediate access to more than 100 exclusive resources that aren’t found anywhere else!
Get ready to tackle teaching with confidence and ease! Click here to find out more about the LK Teacher Club.
P.S. I’ve also written a blog that talks about teaching phonics to your students. It’s right here!
Here are other hands-on activities that might interest you:
Ruby
January 14, 2019Hi Lindsey,
This was a great post! I love that you gave specific examples of types of activities students could work on at different stations. I have a couple questions for you. How will I know if students are doing the work correctly? Should I make 25 copies of each activity, collect them after students complete them, and check them? I worry about the amount of paper I would need to buy to have enough for all students at each station. I also worry about administration asking me how I know if students are completing each task correctly when I am not at their area to check their work.
Mikaela
January 14, 2019Hi Lyndsey, such a great post and awesome deal on some terrific resources. I just grabbed it! Thanks! I’m having trouble finding the Reader’s Workshop Freebie in the VIP Resource Library. Is it titled something else? Thanks!
Kimberly Cran
August 22, 2021How can I get the literacy center signs? Do I need to buy the whole packet?