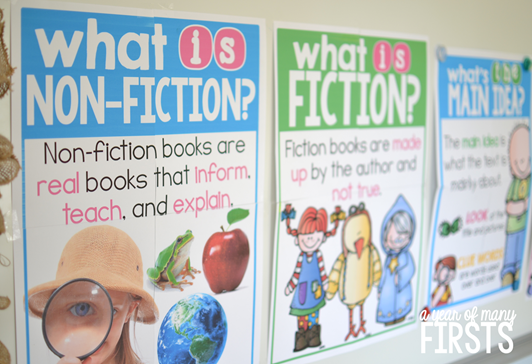
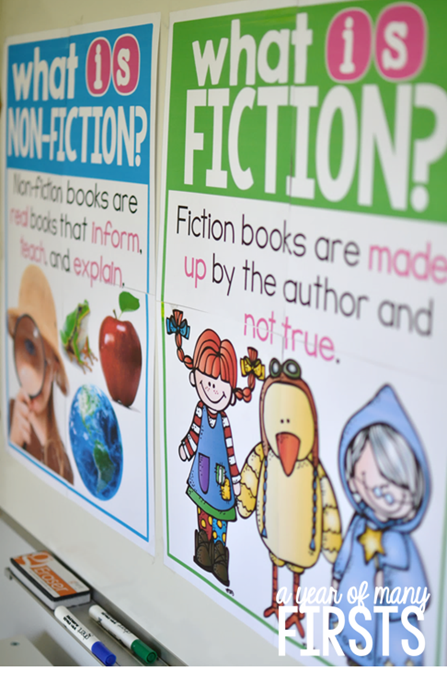
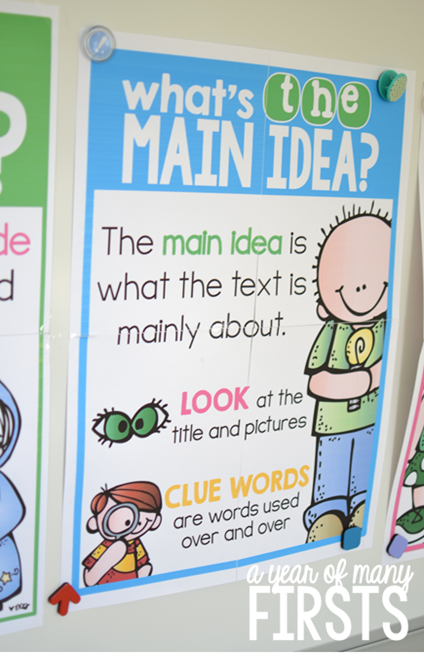
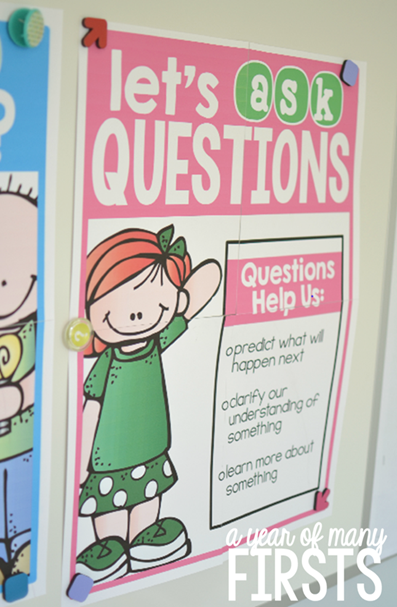
Making sure you’re successfully meeting your students’ needs while still meeting each and every Common Core Standard can be a difficult and daunting task. A few years ago when I was first beginning to implement the Common Core Standards in my classroom, I created some thinking sheets and helpful posters to align with each of the Literature and Informational Text Standards for first and second grade. In my class, we used the organizers and posters each day during small group instruction, partner activities, and independent time. Since then, I’ve added many more graphic organizers to the collection and given the posters a complete re-vamp. Check out the updates below… These are the colorful and fun posters I made that align with the Literature and Informational Text standards for the Common Core. I used kid-friendly language for these. I also purposely added clip art to the Literature Standard posters to help students solidify their understanding that fiction means not real. {There are more posters included in this packet.} 
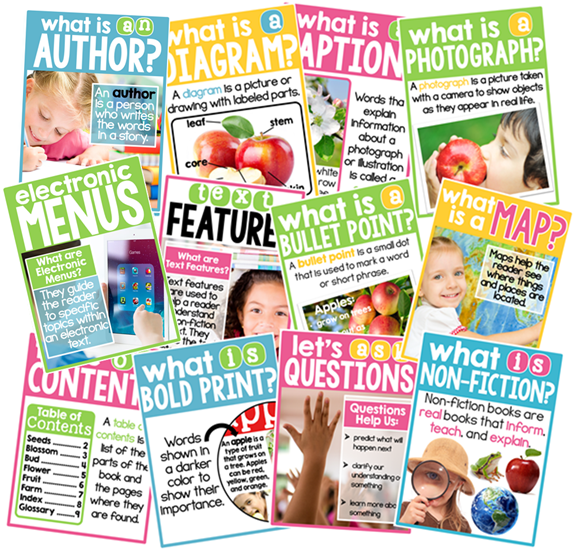
I also updated the posters for the Informational Text standards. The layout of these posters are similar to the fiction ones, except I used real photographs for these. I wanted to make these non-fiction posters as realistic as possible to help students understand that non-fiction texts are about topics that are real. I also made sure to include posters for each of the text features that we teach.
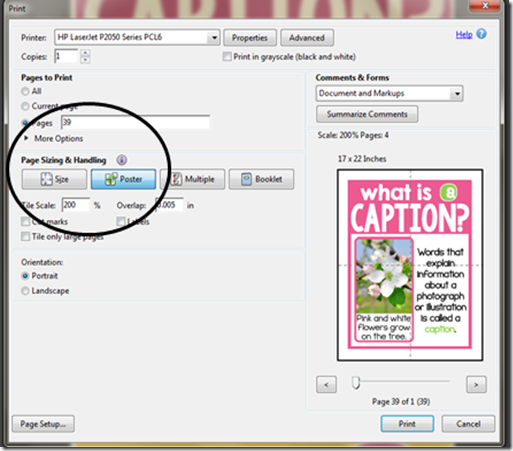
If you really want these posters to stand out in your classroom, you can print these as LARGE POSTERS by changing your options when printing to “Poster” and 200% tile scale. Easy peasy!
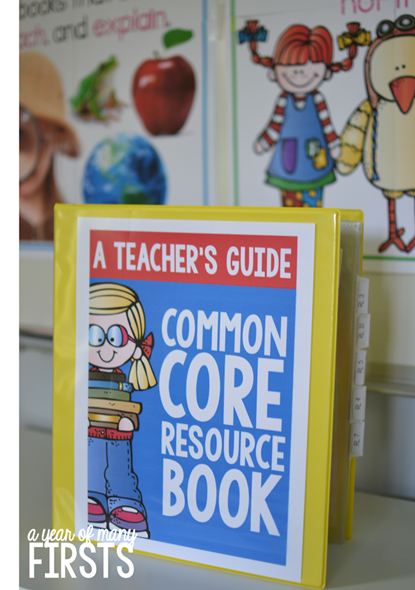
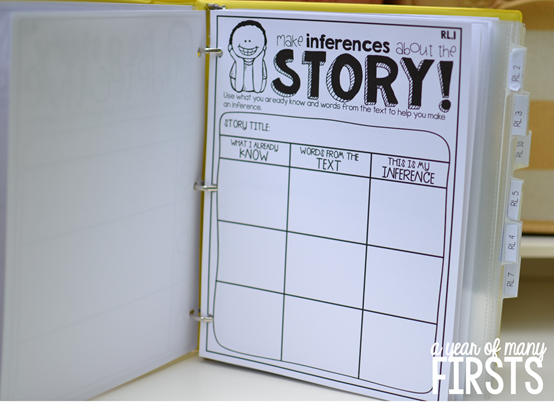
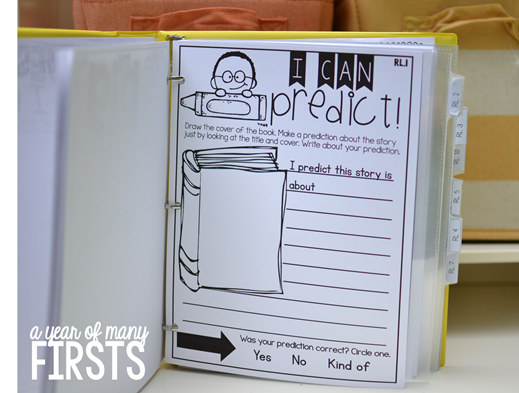
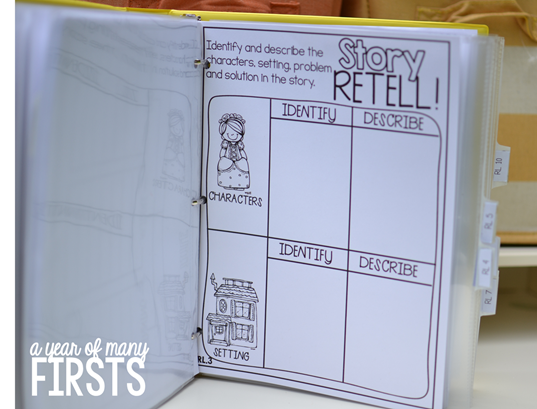
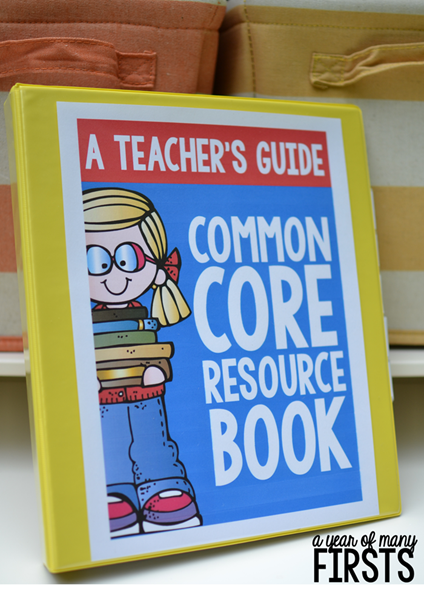
 Like I mentioned above, the posters weren’t the only things that got a face-lift. I also added LOTS more to this packet. Two years ago, I blogged about the Common Core Resource Binder {HERE} I made to help keep myself organized. The binder held anything and everything that was connected to the Common Core Literature or Informational Text Standards for first grade (graphic organizers, a list of books I used for each standard, etc.) Now you can create your own binder, too! Inside the updated packet, you’ll find this fun and fresh binder cover. I suggest using divider tabs (like I did) to create a section for each CCSS. It takes a little prep work in the beginning, but you’ll be thanking yourself later on.
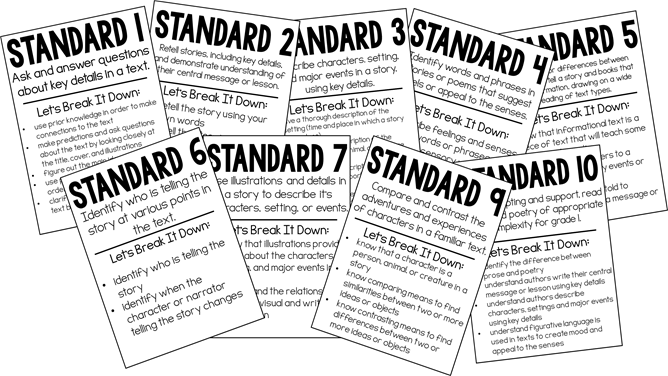
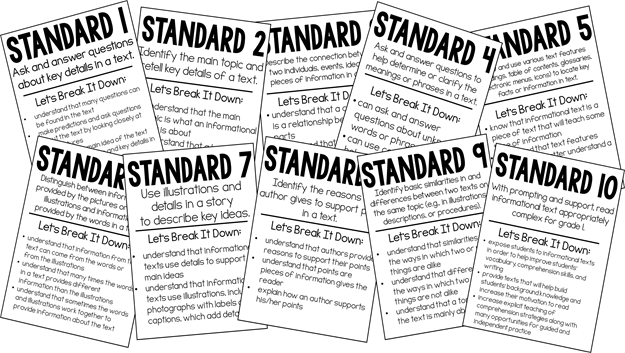
 These “Let Break It Down” sheets were SO HELPFUL for me last year. I broke down each standard into simpler terms to help me understand what each standard is asking my students (and me) to do. I added these to my binder after spending a lot of time researching what each standard means. Yes, you still teach your students to make inferences with the Common Core. Yes, visualizing is still a key part of reading! These sheets help you see and understand where those skills and strategies fit into the Common Core.
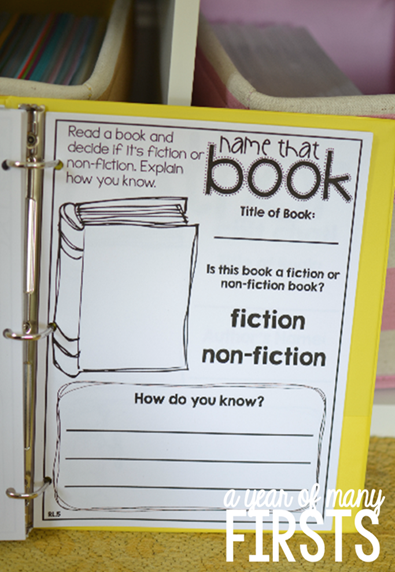
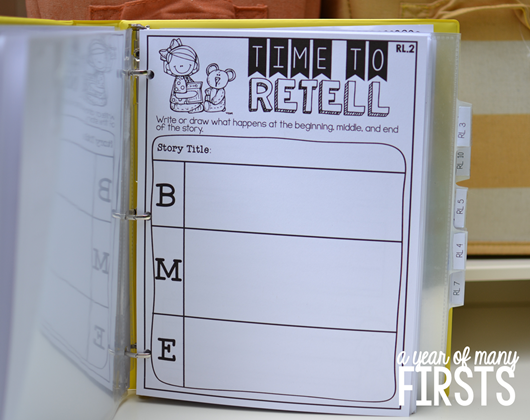
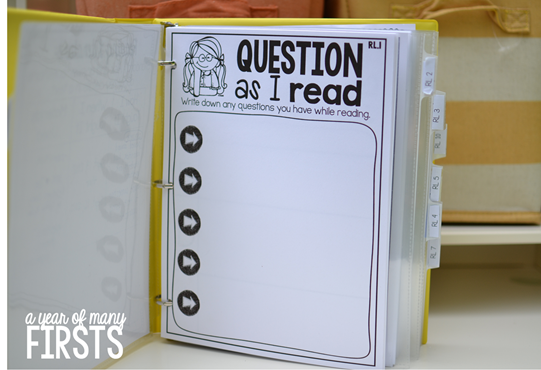
I keep a hardcopy of each graphic organizer in the binder to make copying easier. Just carry your binder with you to the copy machine, flip open to the standard, find the organizer, and copy as many as you need for your class. I’ve nicely labeled the corner of each organizer with the correlating standard. This will help keep you organized and will help you better understand what you have and haven’t taught.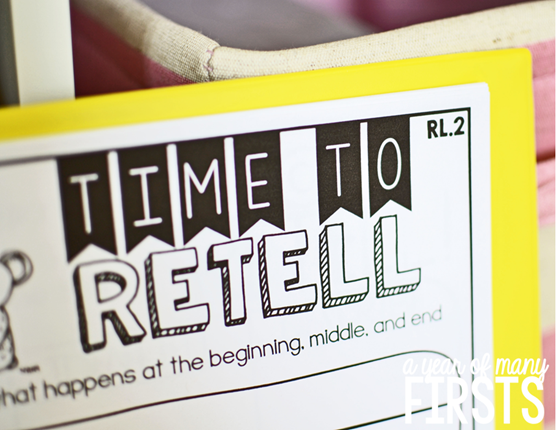
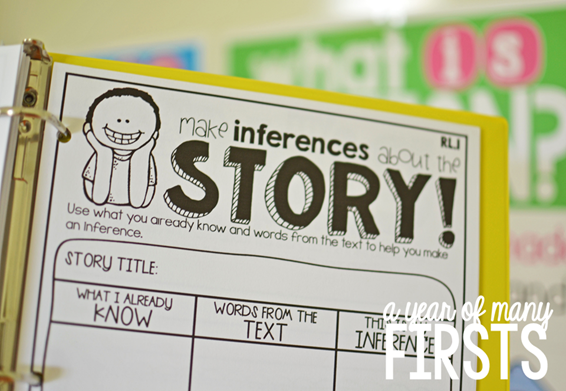
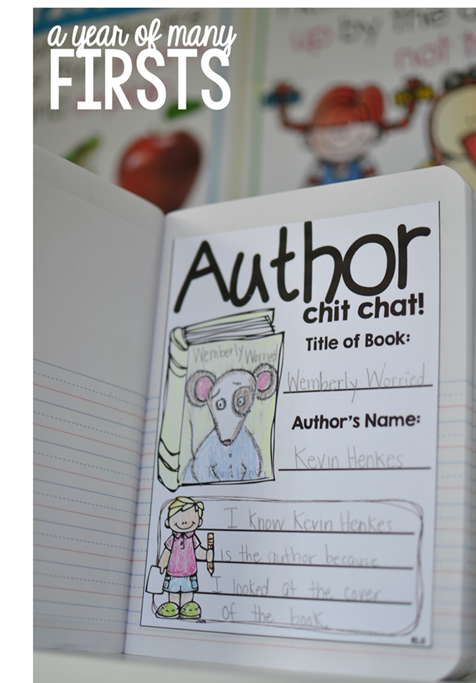
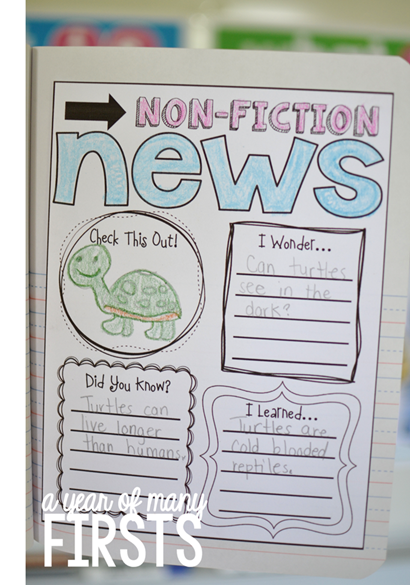
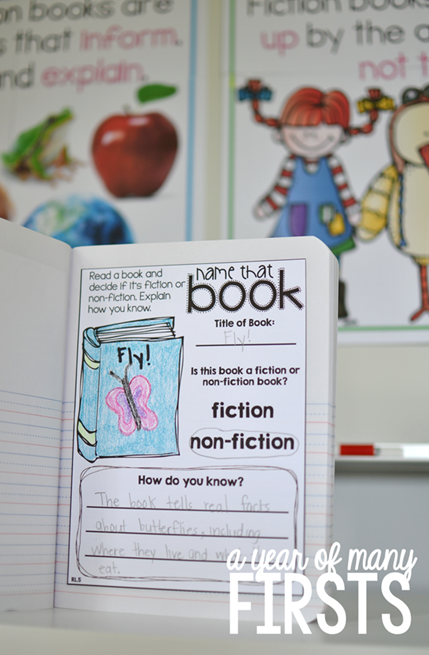
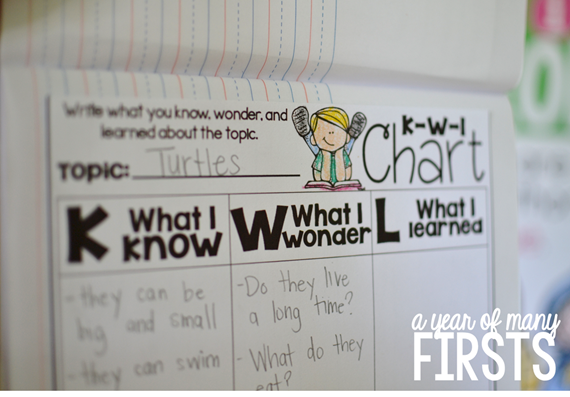
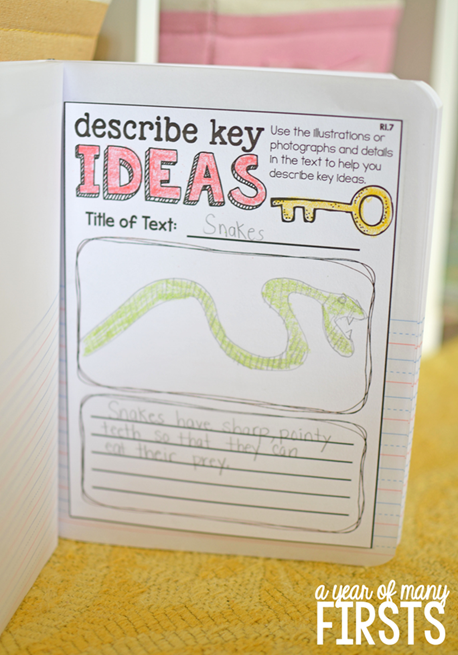
If your students use a composition notebook for all of their thinking sheets, you can still use the organizers in this packet. Just set the tile scale to 85% when you go to print and they will fit in a composition notebook perfectly. You can also use your school copy machine to shrink the sheets. Here are some of the organizers in a composition
notebook:
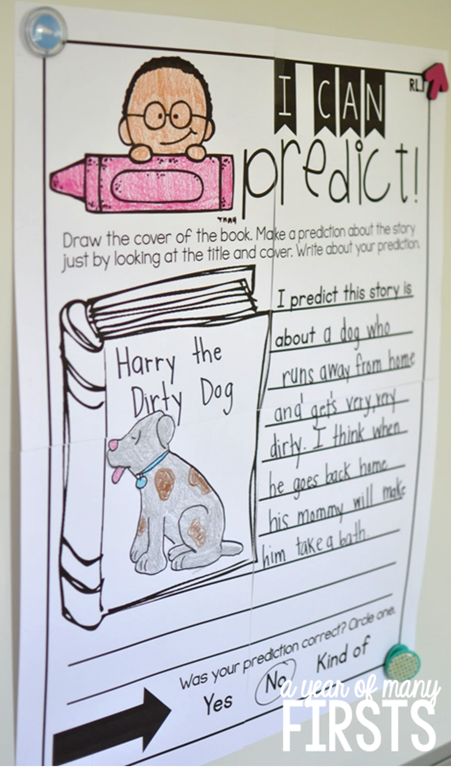
 One of the coolest tricks I learned last year that I wish I had learned earlier is that you can print your graphic organizers at poster-size too. Just simply follow the same steps that I mentioned for the posters above. Creating a large copy of the same organizer that your students will be using will save you SO MUCH prep time and will truly make the words, “FOLLOW MY MODEL!” really click in your students’ brains. It will also help eliminate a LOT of questions when it’s time for students to work independently! Below I printed a graphic organizer as a poster to show you what I mean. Just print, trim the edges, and tape the sheets together. You can even laminate these modeling sheets and hang them in your classroom for students to refer back to all year long. Here’s a large poster-size version of the graphic organizer to use when modeling. Every child on the carpet or at the small group table will be able to CLEARLY see this model organizer.
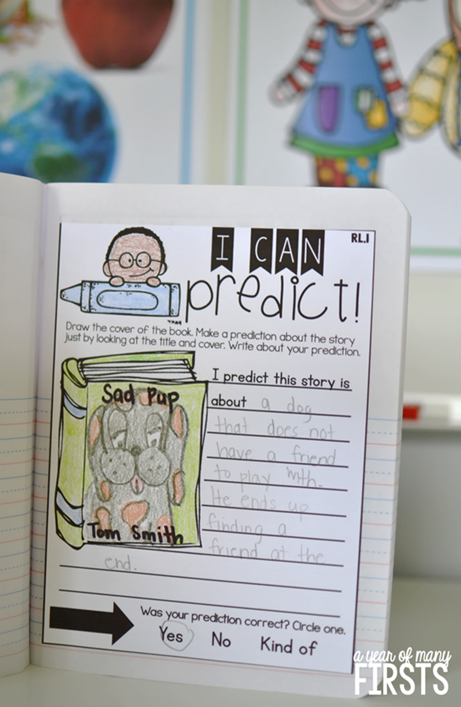
 And, here’s the SAME graphic organizer (only smaller) for your students to practice with. LIFESAVER, I promise you!
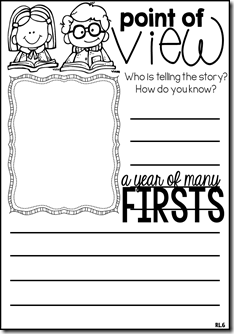
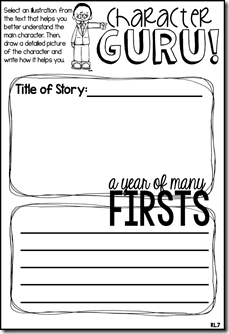
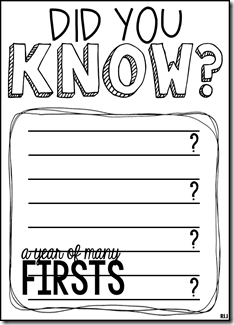
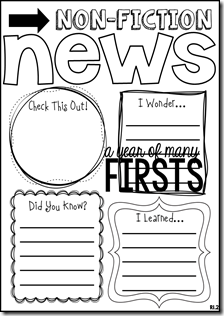
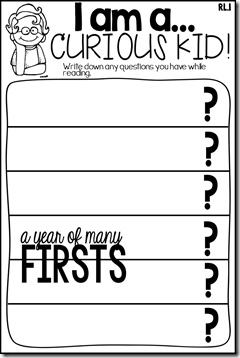
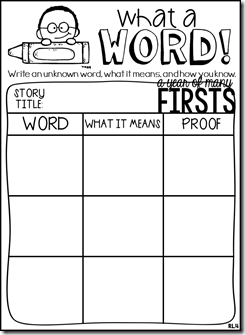
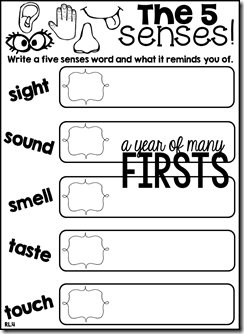
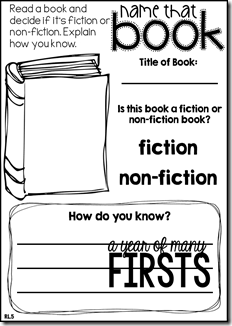
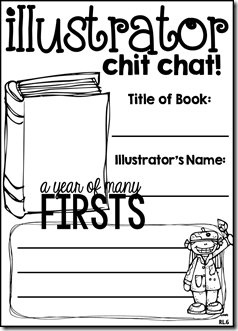
Here are some of the other graphic organizers in the packet. There are MANY others included than what you see
below!

I also updated the 2nd grade version too! Grab the 1st and 2nd grade updated packets below. If you already own
them, go re-download to grab the updates. Click on the covers below.
Happy Teaching!


