Like I hear from so many of you, a few years ago I was faced with an extremely diverse group of readers. Some students were reading and comprehending at a third-grade level while others were still identifying letter-sounds. For some time, it felt challenging and nearly impossible to meet the needs of all of my learners—particularly with my early readers.
I knew my early readers needed to participate in close reads with rich, authentic texts. However, I also knew they needed more phonics instruction so they could build fluency and comprehension.
So, to help with this I increased the amount of phonics instruction for those students and became more intentional about my teaching. To help with my planning, I often asked myself the following questions.
Small-Group Phonics Lesson Planning Questions:
- Do I have a plan that covers all of the phonics sound-spelling rules?
- Am I starting with simpler rules first and moving towards more challenging ones as the year progresses?
- Do I have a routine in place? Am I sticking to that same routine each time I meet with my group?
- Are students simultaneously using visual-, auditory-, and kinesthetic-tactile modalities?
- Does each lesson build upon the last lesson to ensure students have mastered the sound-spelling?
By increasing the time that I spent teaching phonics in small groups, I saw enormous growth with my early readers. My only wish was that I had even more time with them for reading intervention. So I began brainstorming. I had one parent volunteer who came in on Tuesdays and Thursdays, and I knew I needed to better utilize her during our Reading Rotation time.

So, I began creating easy-to-implement phonemic awareness and phonics booklets for her to do with students one-on-one and in pairs. The outcome was phenomenal!
The results were so great that I also began sending home the little books in Ziplocs for students to work on with their parents with a step-by-step instruction sheet.
These reading intervention with intention books became a staple tool in my classroom for my early readers!
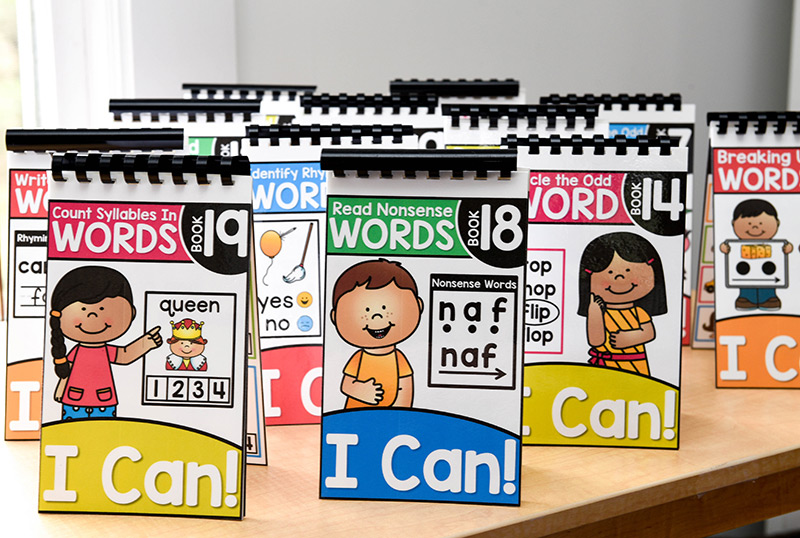
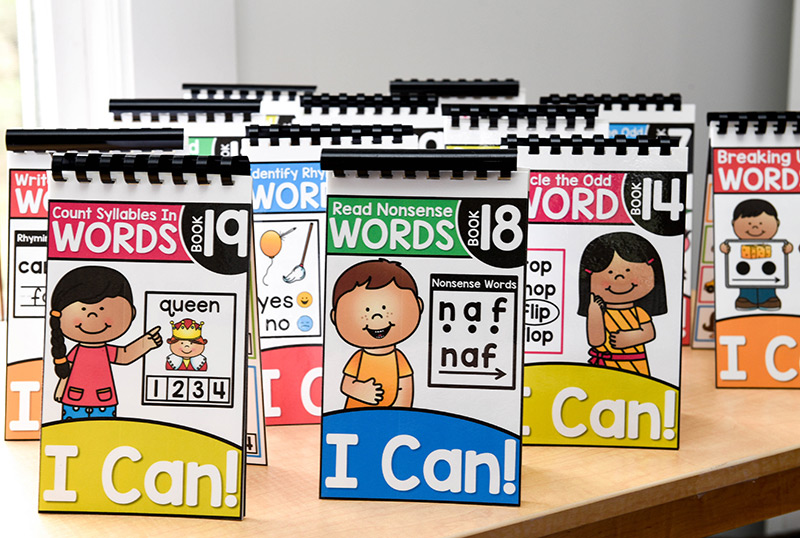
Since then, I’ve spruced up all of the books I created a few years ago and turned them into 20 printable reading intervention books. I also turned the instruction sheet into a step-by-step teacher guide.
Interested in using these books in your classroom? Today’s post is all about them.
Reading Intervention with Intention Books
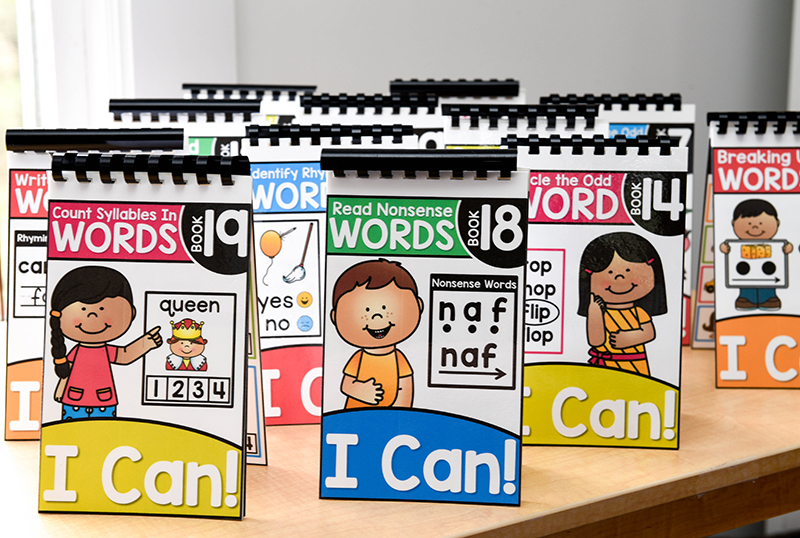
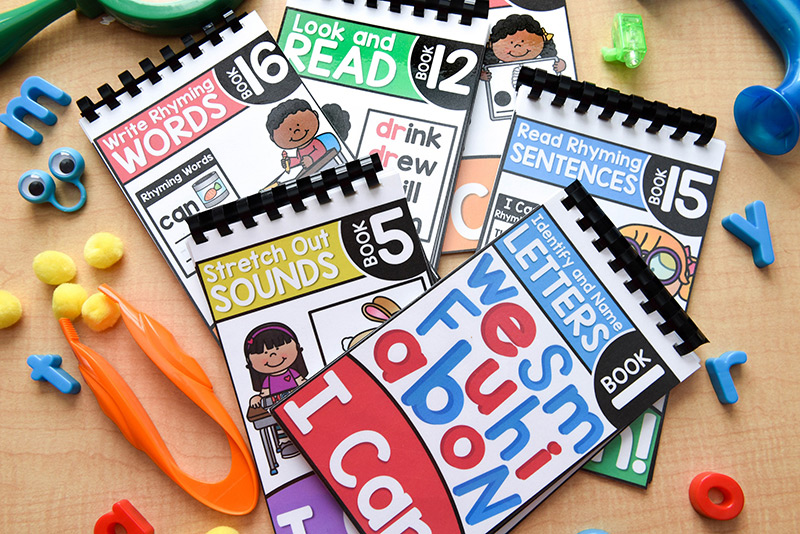
These 20 reading intervention books are a meaningful literacy tool to help you monitor your students’ progress. They get progressively more complex as you move through the books.
You can use these reading intervention books in the following ways:
- RTI/Intervention tool
- Small group instruction
- One-on-one practice
- Independent practice for struggling students
- Use with a parent volunteer/aide
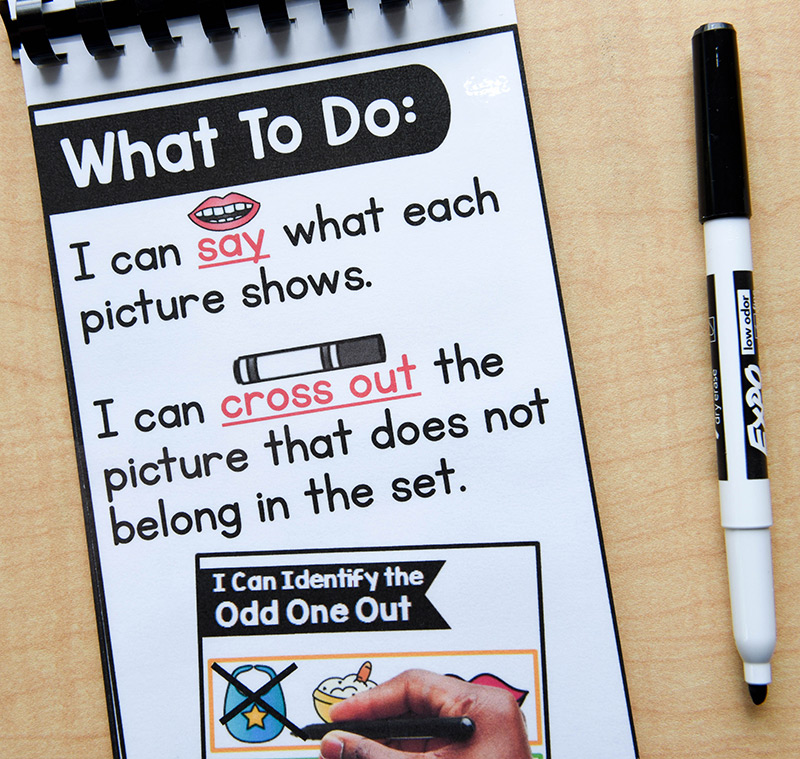
Each book includes an “I Can” statement sheet to help students understand exactly what they are being asked to do. Also, you will find a Step-by-Step Teacher’s Guide with explicit instructions to help guide you along as students work through the books. The guide also includes student-anticipated responses and scaffolding strategies.
You will see that I included the entire script for you below so you can see exactly how these books are used.
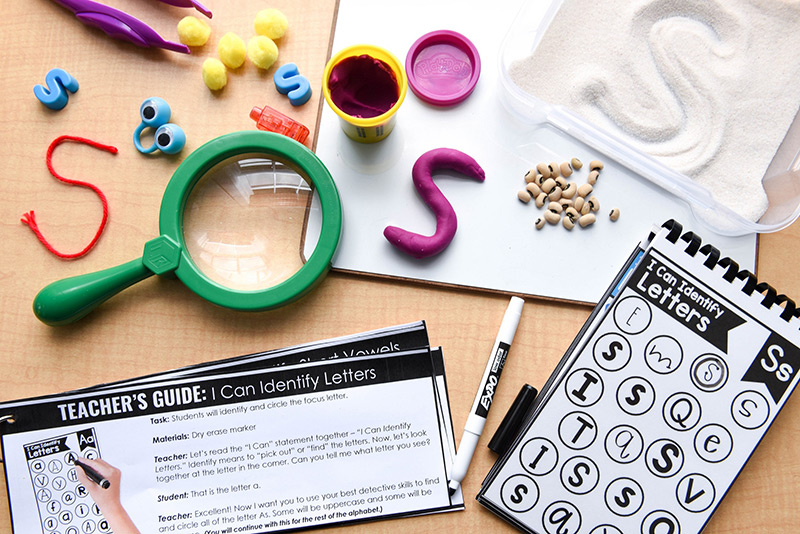
You may also want to have these materials on hand. These are not necessary, but your students will find them highly motivating.
Motivating Hands-On Materials:
- playdough
- yarn
- small wooden sticks
- acorns
- dry beans
- magnetic alphabet letters
- small pom-poms
- beads
- little cork pieces
- small rocks or stones
- watercolor paints and paper
- dry-erase markers and whiteboards
- sprinkles, sand, and rice (to write words in with a paintbrush or finger)
- paint bag (a small amount of paint with a drop of water in a Ziploc)

Below I’m sharing a breakdown of each reading intervention book. Like I mentioned before, also included is a step-by-step teacher guide script to give you an up-close look at what those look like.
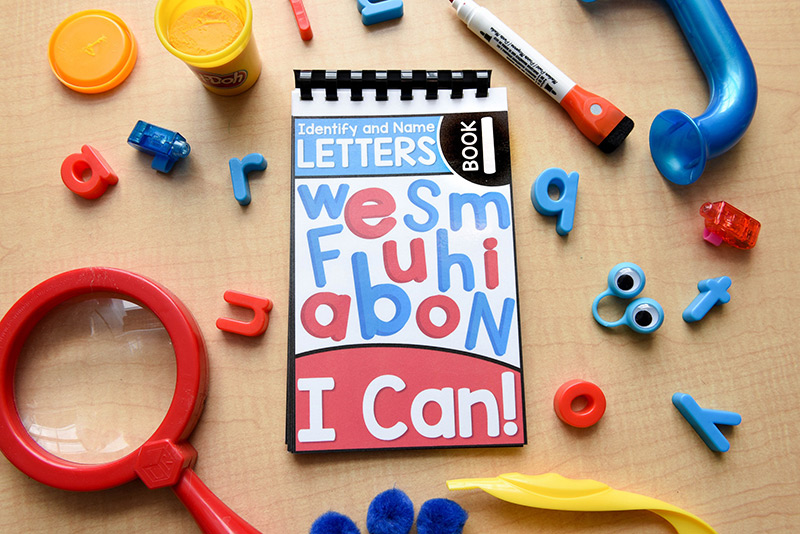
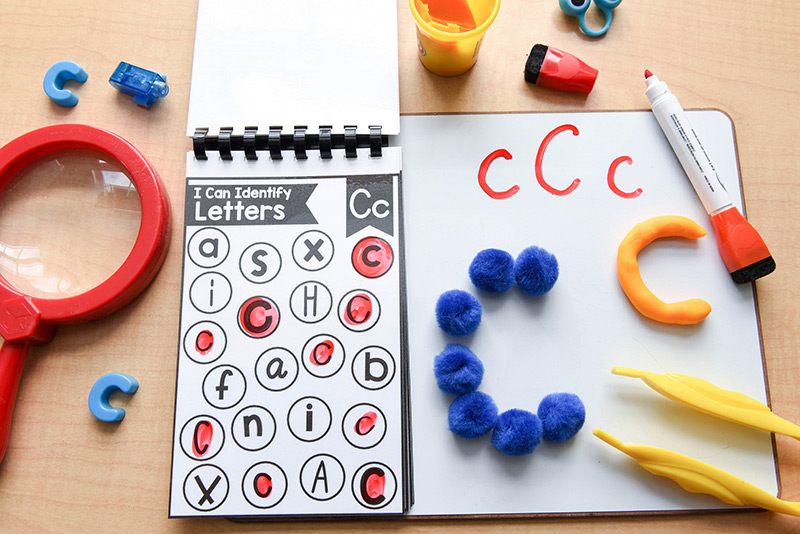
Book 1: I Can Say Each Letter Sound
Task: Students will identify and circle the focus letter. Students can use materials to build each letter.
To make this multi-sensory, have students say the letters aloud as they see and create them with materials.
Teacher: Let’s read the “I Can” statement together – “I Can Identify Letters.” Identify means to “pick out” or “find” the letters. Now, let’s look together at the letter in the corner. Can you tell me what letter you see?
Student: That is the letter A.
Teacher: Excellent! Now I want you to use your best detective skills to find and circle all of the letter As. Some will be uppercase and some will be lowercase. (You will continue with this for the rest of the alphabet.)
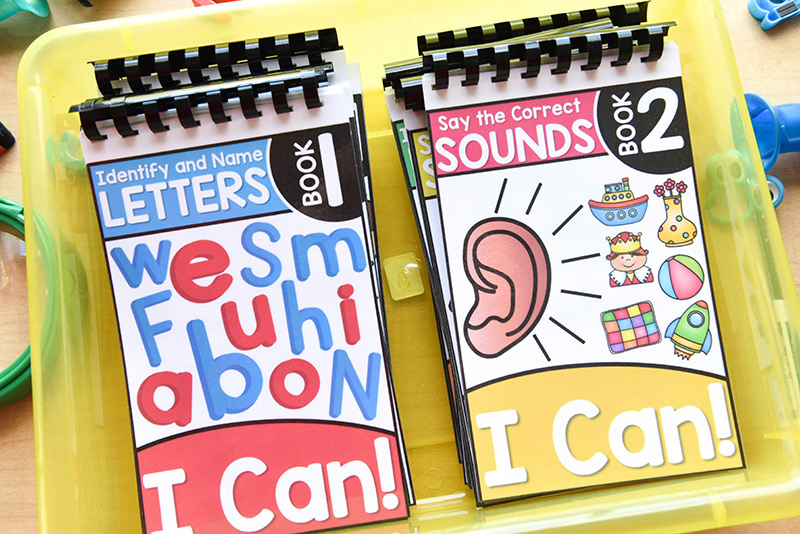
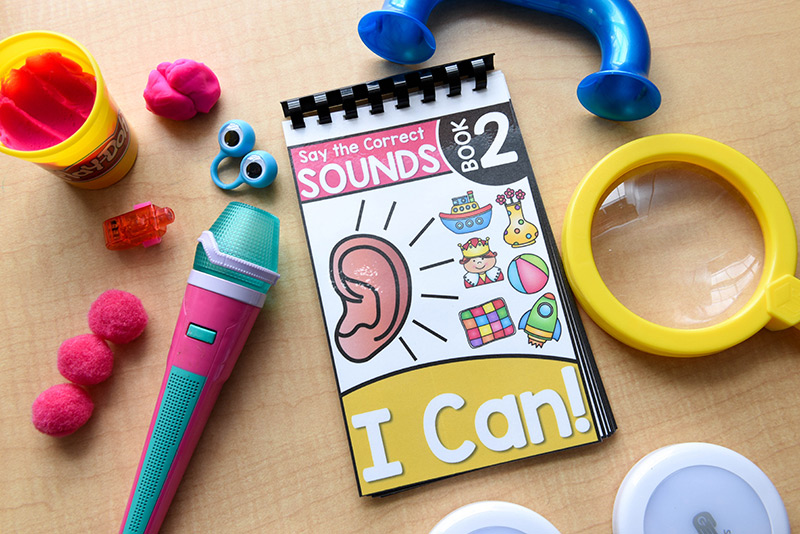
Book 2: I Can Say the Correct Sounds
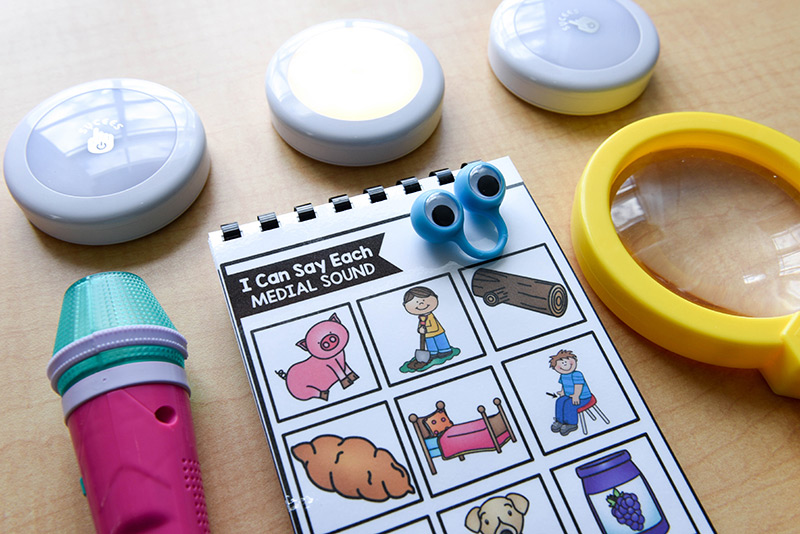
Task: Students will identify the initial, medial, and ending sounds.
Teacher: Let’s read the “I Can” statement – “I Can Say Each Beginning/Middle/Ending Sound.” Now, I want you to say each picture and then tell me the beginning/middle/ending sound.
Student: Octopus – /o/, Apple – /a/, etc.
Teacher: Fantastic job identifying each sound!
Do the example together. You may even want to go through each picture and say the name of each picture together. This will help to alleviate any confusion about what the pictures are showing.
If a student incorrectly identifies the sound for a letter, you can say, “Let’s try ‘I DO,’ ‘WE DO,’ ‘YOU DO.’” You will point to the picture and say the sound by yourself. Then, you will have the student join you to say the sound together. Finally, the student will say the sound alone.
Fun tip: I found these little LED touch lights on Amazon. They are a wonderful multi-sensory tool that help students identify each sound they hear in a word.
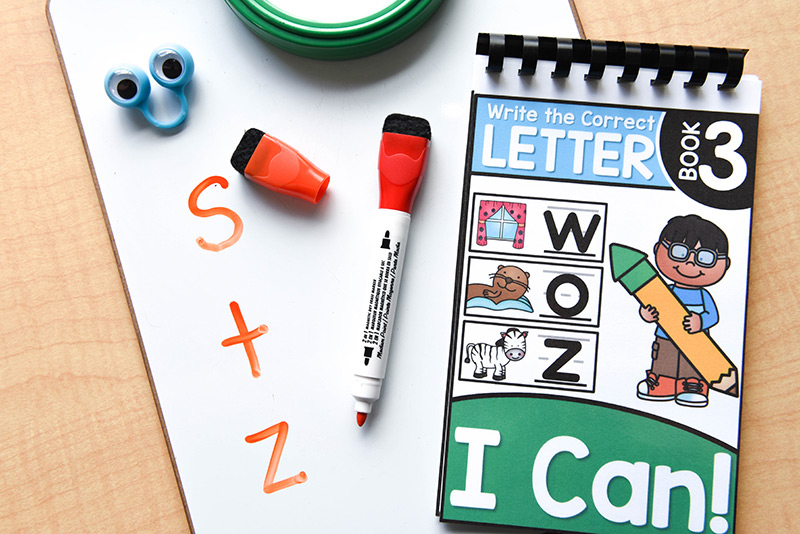
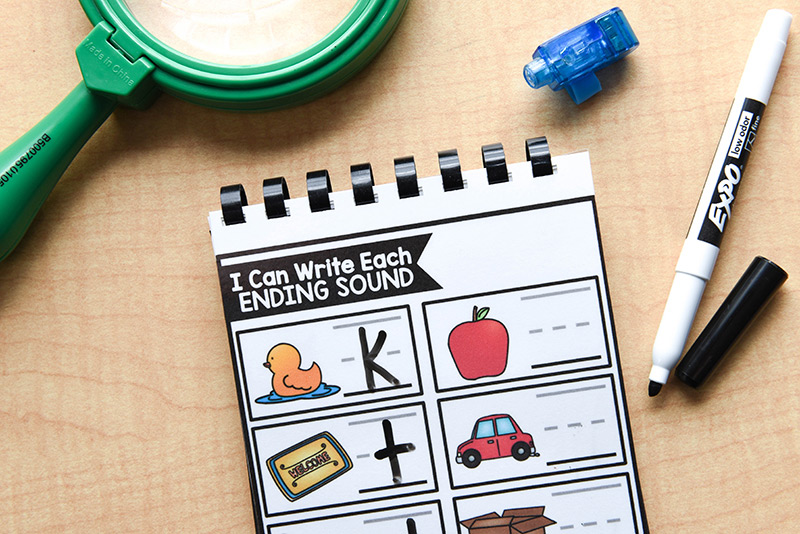
Book 3: I Can Write the Correct Letter
Task: Students will write each letter sound.
Teacher: Let’s read the “I Can” statement – “I Can Write Each Beginning/Middle/Ending Sound.” First, you will say what the picture shows. Then, you will write the letter that matches the sound you hear.
Student: Hippo – /h/ (writes the letter h)
Teacher: Wonderful! Now I want you to do that for the rest of the pictures you see.
Model with the first example. Then, talk together about the second one as the student completes it. Finally, have the student work independently while you monitor. If students struggle with this, you may want to have them use a soundbox and chips to help them isolate each individual sound.
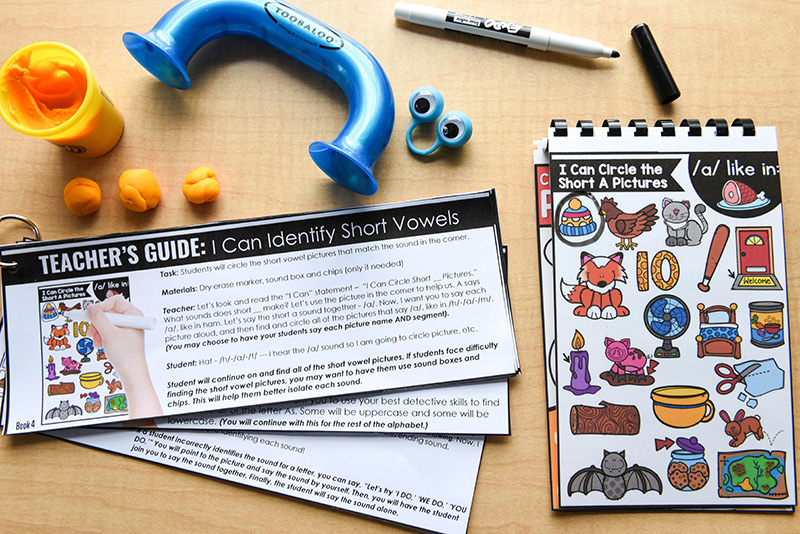
Book 4: I Can Circle the Short Vowel Pictures
Task: Students will circle the short vowel pictures that match the sound in the corner.
Teacher: Let’s look and read the “I Can” statement – “I Can Circle Short __ Pictures.” What sounds does short __ make? Let’s use the picture in the corner to help us. A says /a/, like in ham. Let’s say the short a sound together – /a/.
Now, I want you to say each picture aloud, and then find and circle all of the pictures that say /a/, like in /h/-/a/-/m/. (You may choose to have your students say each picture name AND segment).
Student: Hat – /h/-/a/-/t/ — I hear the /a/ sound so I am going to circle picture, etc.
Students will continue on and find all of the short vowel pictures. If students face difficulty finding the short vowel pictures, you may want to have them use sound boxes and chips. This will help them better isolate each sound.
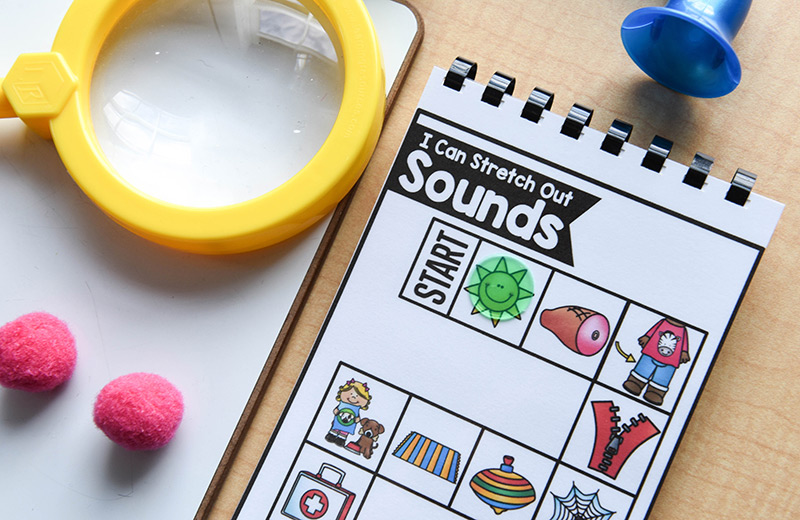
Book 5: I Can Stretch Out Sounds
Task: Students will stretch out the sounds they hear in each picture.
Materials: Slinky, stretch band, poms, or play dough (not necessary, but helpful) and chips
Teacher: Let’s read the “I Can” statement – “I Can Stretch Out Sounds.” What does stretch mean? Discuss and show how to stretch out hands using slinky, stretch band, or play dough.
I want you to say the name of each picture. Then, I want you to stretch out the sounds and say each sound you hear. Use the manipulatives to model how you will stretch out the word. Example: Say “hog” (keep slinky coiled up) — /h/-/o/-/g/ (slowly pull slinky apart as you say each individual sound) — hog (say the word again as you coil up slinky). Now, I want you to try.
Student: Sun – /s/-/u/-/n/ (Starts with the slinky wound up, then slowly pulls it apart as he/she says each sound, and then coils up the slinky again as he/she repeats the word). As the student says each word, he/she can cover up the picture with a bingo chip.
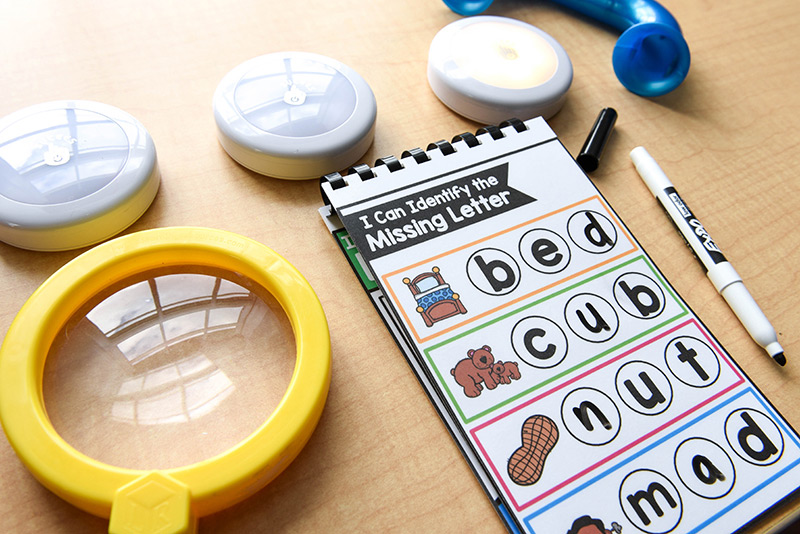
Book 6: I Can Identify Missing Letters
Task: Students will identify the missing letters.
Teacher: Let’s read the “I Can” statement – “I Can Identify the Missing Letter.” In order to identify the missing letter, we first have to identify the sound that that letter makes.
First, I am going to say the picture name. Then, I am going to segment the sounds I hear. Finally, I’m going to write the letter that matches the sound in the missing space.
Example: Dog — /d/-/o/-/g/ “The ending sound I heard is /g/. I know /g/ is the sound that the letter g makes. I am going to write the letter g in the missing circle. Now you try.
Student: The middle letter is missing in “bun.” Bun — /b/-/u/-/n/ — The middle sound I heard is /u/. I know that /u/ is the sound that u makes. I am going to write u in the middle circle.
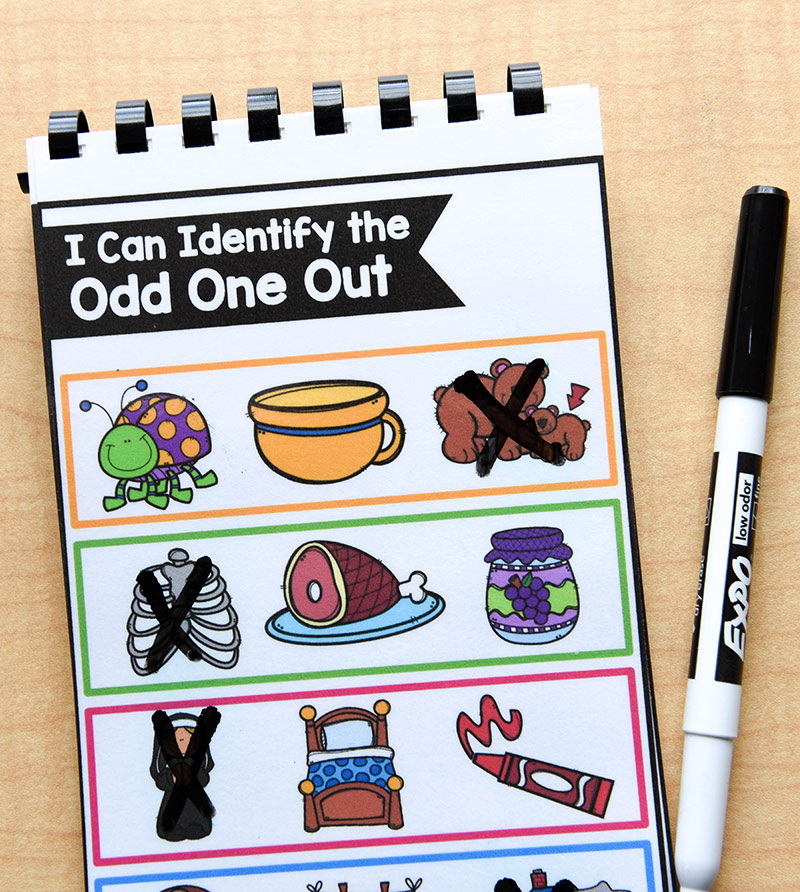
Book 7: I Can Identify the Odd Picture
Task: Students will identify the picture that does not belong in the set.
Teacher: Let’s read the “I Can” statement – “I Can Identify the Odd One Out.” Odd means the one that does not belong. Let’s find the picture that does not belong in the set. Say each picture name. Then, determine the picture that does not have the same ending sound.
Example: bib, chip, lip — the /ip/ sound is the same in chip and lip, but bib has a different ending sound. Bib is the odd word. Let’s cross out “bib.” Now you try. First, say each picture name.
Student: Points to each picture and says, “bun”, “cut,” and “sun.” Student will recognize that “bun” and “sun” have the same ending sound and “cut” does not. Student will cross out “cut.”
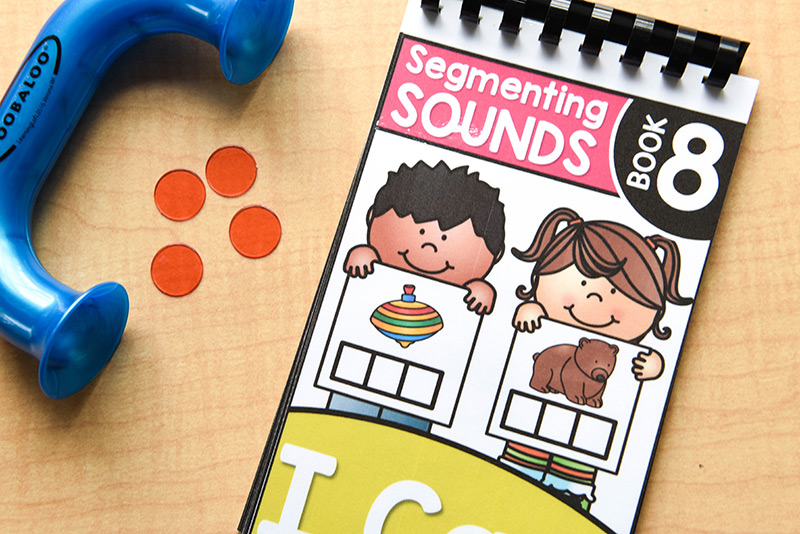
Book 8: I Can Segment Sounds
Task: Students will segment sounds.
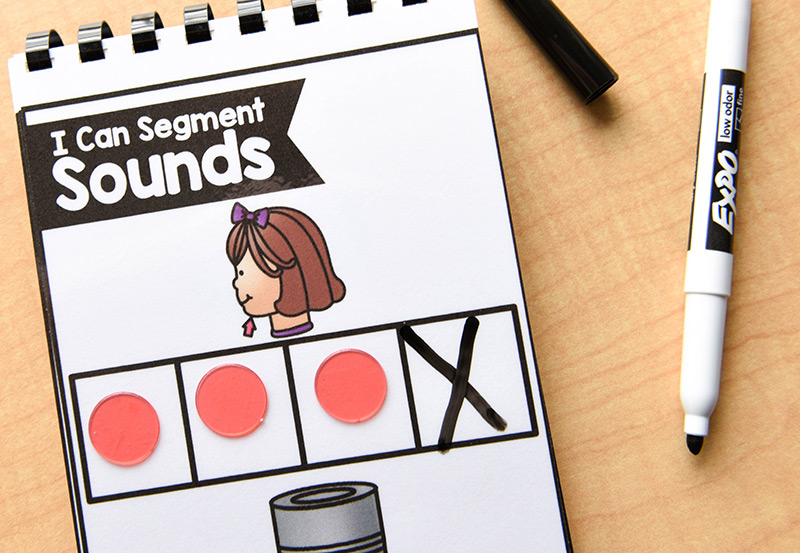
Teacher: Let’s look together at the “I Can” statement – “I Can Segment Sounds.” Segment means to break apart. Let’s say each picture name and then break apart the word into individual sounds. For each sound, we will place a chip/cube/marker into the sound box.
Example: net — /n/-/e/-/t/ – Place a chip into each box to represent the individual sounds. Now I want you to try.
Student: Pig — /p/-/i/-/g/ – Student will place 3 chips into each box to represent the individual sounds.
Some students benefit from using their arms, in addition to the sound boxes, to help them break up the sounds they hear.
Have them “chop” the top of their arm with their opposite hand for the beginning sound, “chop” the middle of their arm for the medial sound, and “chop” the bottom of their arm for the final sound.
Then, have them blend the whole word together as they smoothly move their hand from the top of their arm to the bottom.
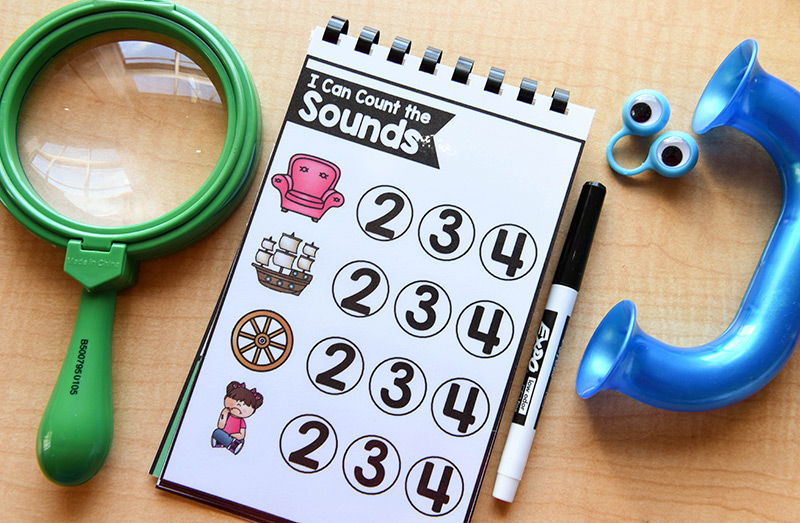
Book 9: I Can Count Out Sounds
Task: Students will count the sounds they hear.
What To Say and Do: Let’s read the “I Can” statement – “I Can Count the Sounds.” We are going to say the picture aloud. Then, we are going to count the sounds we hear. Do the first one alone. Say the picture name aloud. Then, break up the word into the separate phonemes.
Ex: snail /s/-/n/-/ai/-/l/ — There are 4 sounds in snail. I am going to bubble in the number 4. Do one with the student, and then have the student count the sounds alone. Some students may benefit from using a soundbox and chips.
Important: If a student struggles to hear and count the sounds, focus on the number of mouth moves the student makes when saying the word. You can’t break digraphs, like /ch/, because they represent one single mouth move. Have them slow down their speech as they are saying each word. Blends require a succession of mouth moves. It’s a very helpful trick!
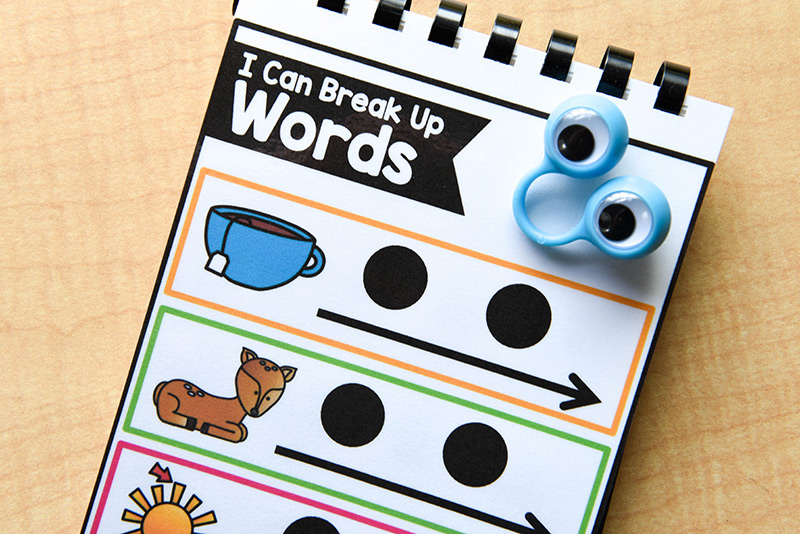
Book 10: I Can Break Up Words
Task: Students will segment, or break up, each word.
What To Say and Do: Let’s read the “I Can” statement – “I Can Break Up Words.” Let’s point to the picture, say its name, break it up into the separate sounds we hear, and then blend the word back together. Example: tea – /t/-/e/ – tea.
Have students point to the dots as they say each individual sound, and then have them run their fingers along the line as they blend the word back together.
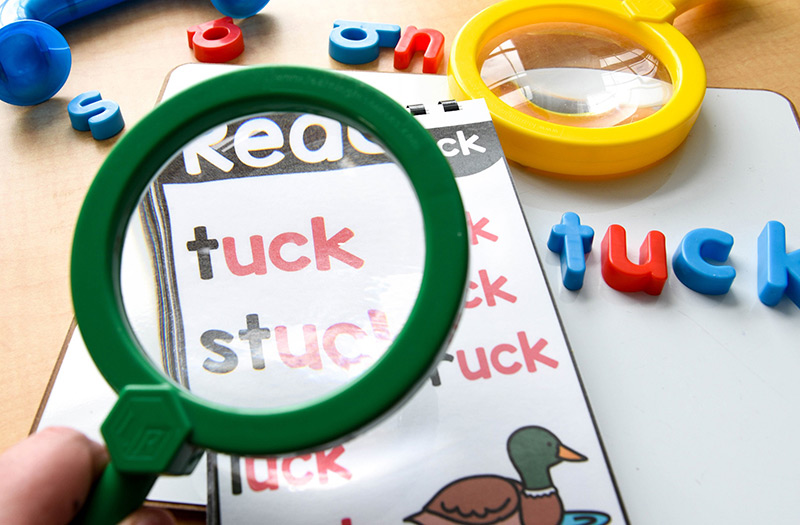
Book 11: I Can Read and Match (free book)
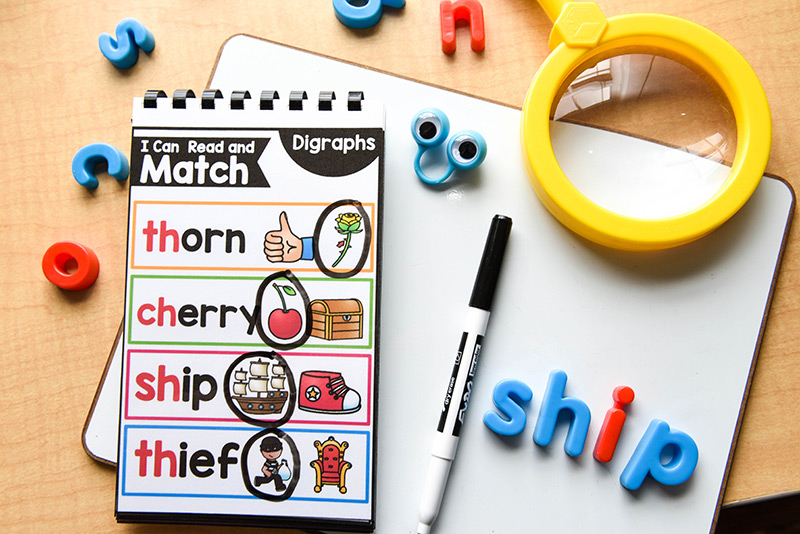
Task: Students will read the word and circle the picture that matches.
What To Say and Do: Let’s read the “I Can” statement – “I Can Read and Match.” Let’s look closely at the first word. What do you notice about the text? (The consonants are in black and the vowels are in red) Have students break apart the word and then blend it together. Then, have them circle the picture that makes the word they read. Example: /s/-/u/-/b/ — sub. The student will circle the picture of a sub.

Note: Some students may benefit from working backwards (to have the
picture support). To do this, you can have them say each picture first,
read the word, and then circle the picture that matches.
Book 12: I Can Look and Read
Task: Students will read words with the same sound-spelling pattern.
Teacher: Let’s read the “I Can” statement – “I Can Look and Read.” I want you to pay close attention to the sound-spelling in the corner and tell me what you notice about the words in the rows.
Student: The sound-spelling in the corner is “-at.” The words in the rows all spell “at” and say /at/.
Teacher: Now that you read the sound-spelling in the corner, you can read every word.
Students will practice reading all of the words. You may want to have him/her read ONLY the section you are focusing on in your phonics instruction. Or, you may use these as a way to review sound-spellings previously taught. It is up to you!
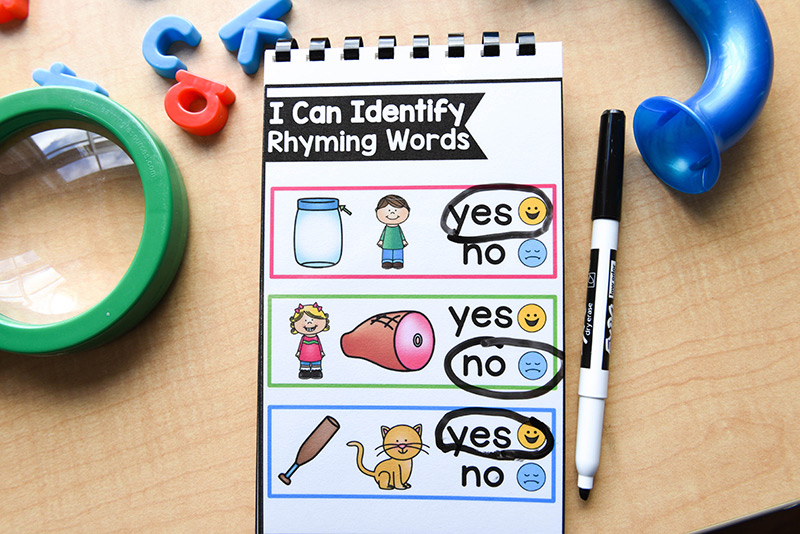
Book 13: I Can Identify Rhyming Words
Task: Students will identify rhyming words.
What To Say and Do: Let’s read the “I Can” statement – “I Can Identify Rhyming Words.” What is a rhyming word? (Discuss meaning together.) Model saying the picture names and think aloud about the ending sounds you hear. Example: lip and rip – Do they have the same ending sound? I hear
/ip/ at the end of both of the words. That means they rhyme. So, we are going to circle “yes.” Now let’s do one together (and then the rest independently).
Some students may benefit from writing both words out on a whiteboard so they can visually see that the two words have the same final vowel and consonant.)
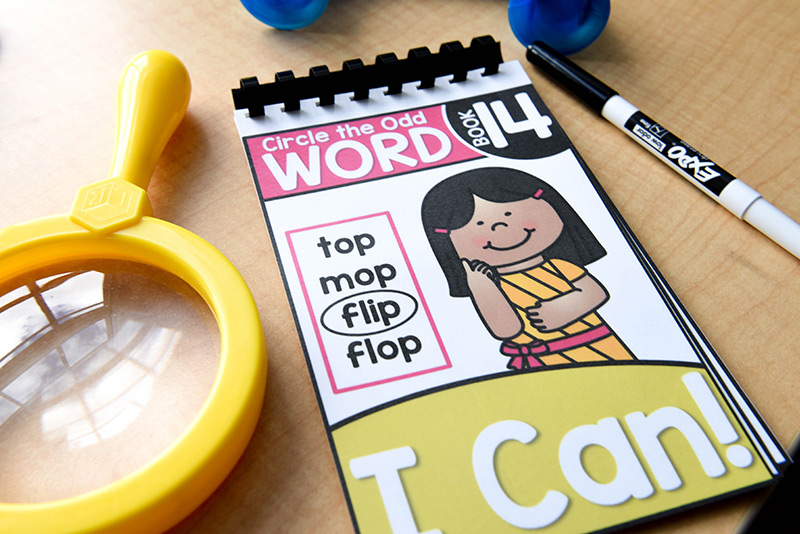
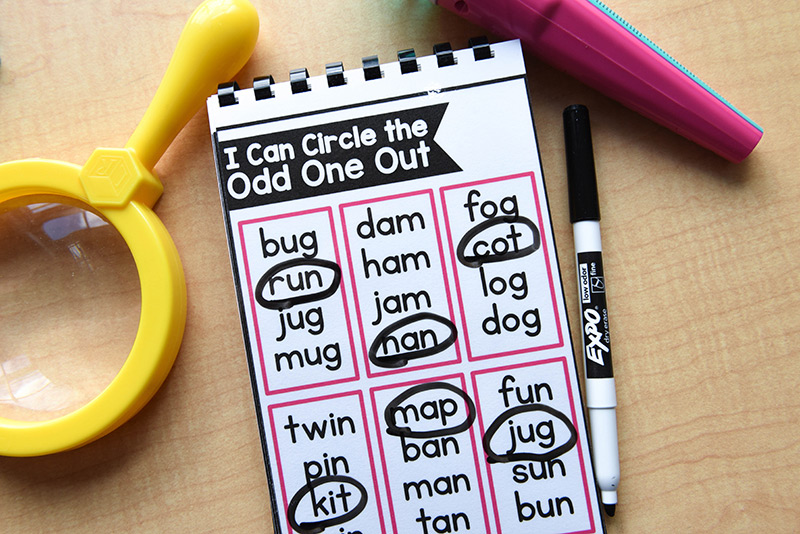
Book 14: I Can Circle the Odd One Out
What To Say and Do: Let’s read the “I Can” statement – “I Can Circle the Odd One Out.” Discuss what “odd” means. Then, read the four words in the first section aloud. Stop and discuss what word they think does/does not belong.
Have students use “turn up their listening ears” and use their “eagle eyes” to help them determine which word does not belong in the set. Discuss how the word that does not belong LOOKS and SOUNDS different from the rest of the words in the set. Circle the word that does not belong. Then, do a set together with the student. Finally, have the student do the rest of the sets independently.
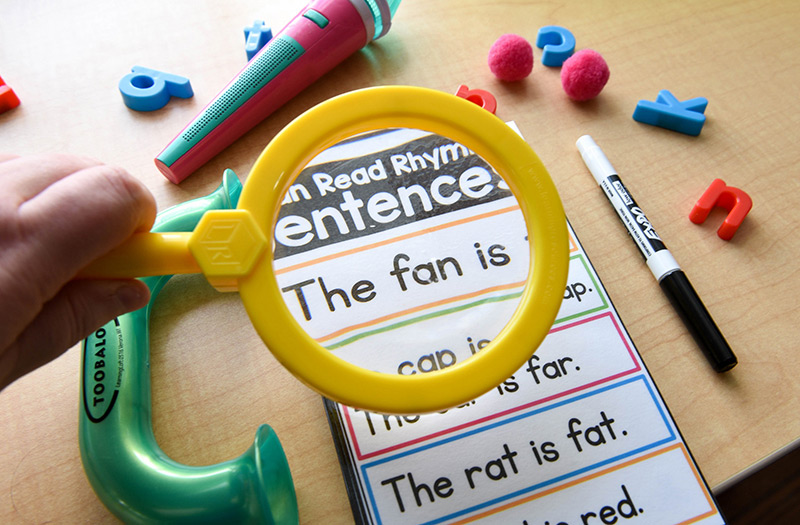
Book 15: I Can Read Rhyming Sentences
Task: Students will read rhyming sentences.
What To Say and Do: Let’s read the “I Can” statement – “I Can Read Rhyming Sentences.” I want you to read each sentence. If you come to a word you do not know, you can stop and break apart the word.
Note: To take this practice book a step further, you could provide your student with a dry-erase marker and have him/her circle the two words that rhyme.
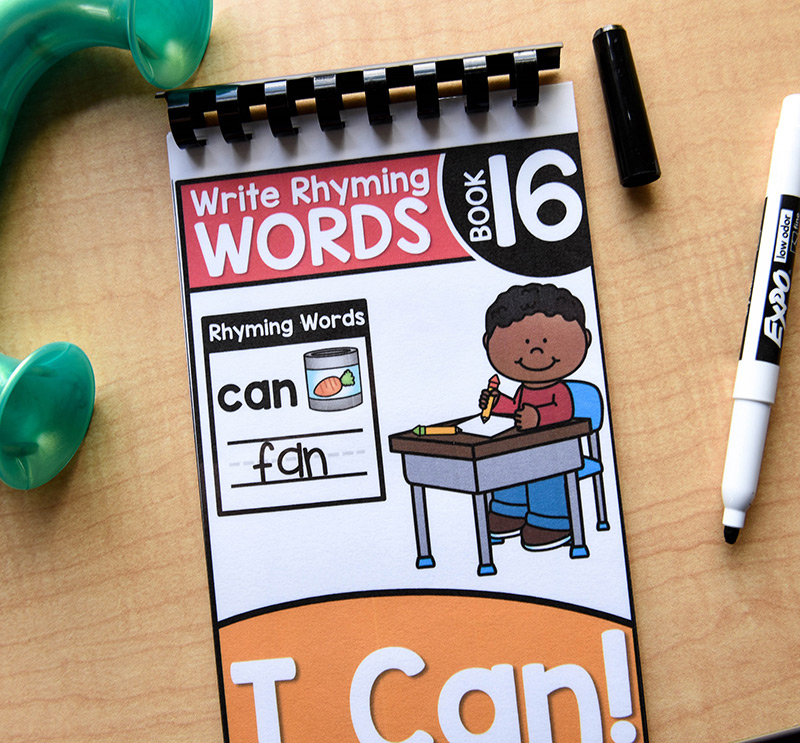
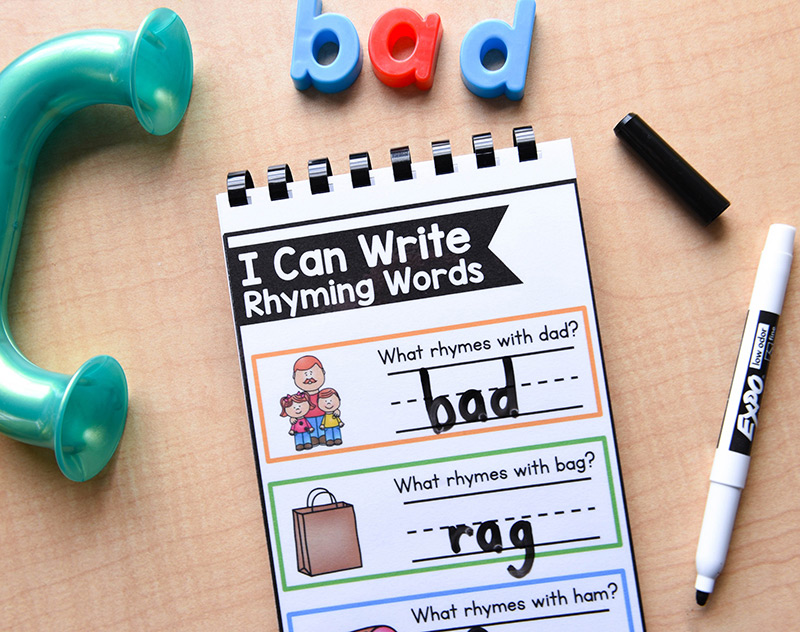
Book 16: I Can Write Rhyming Words
Task: Students will write a word to rhyme with the word/picture card.
What To Do and Say: Let’s read the “I Can” statement – “I Can Write Rhyming Words.” Review what “rhyme” means. Have students look closely at the picture. Then, have them read the question, “What rhymes with ____?” Think aloud as you decide on a word that rhymes. Then, write it in the space.
Some students may need additional support with this. In that case, have the student write the word that is shown on his/her whiteboard. Read the word aloud. Then, change out the initial letter and replace it with another letter to make a new word. Explain that the first and second word rhyme because the only part that changed was the initial sound/letter.
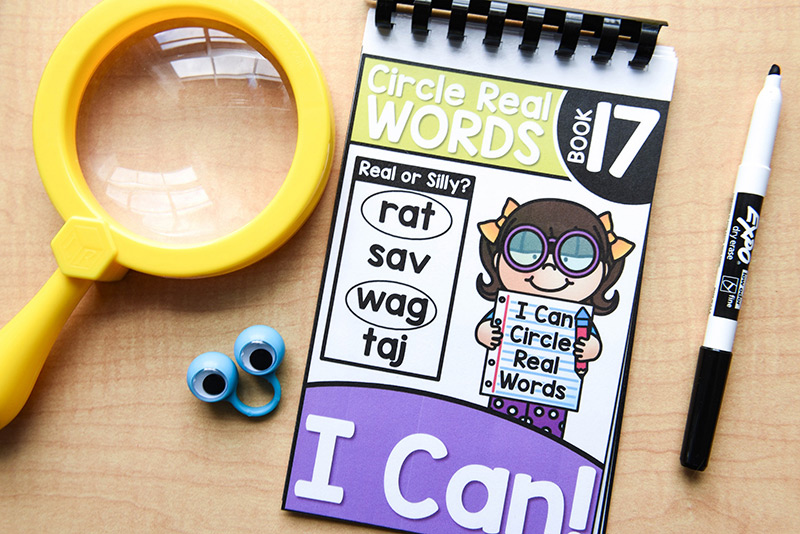
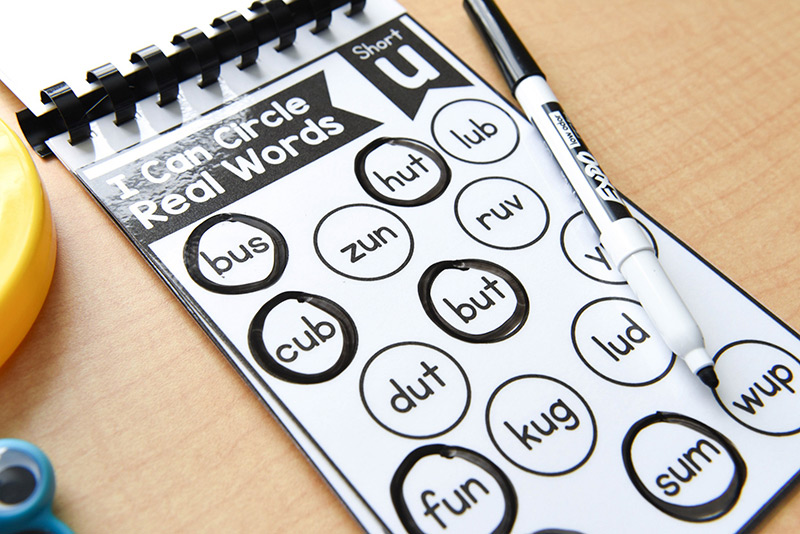
Book 17: I Can Circle Real Words
Task: Students will identify and circle only the words that are real.
What To Do and Say: Let’s read the “I Can” statement – “I Can Circle Real Words.” You will see that in the circles there are some words that are real and some words that are made up. The made-up words are called nonsense words.
Today, I only want you to circle the words that are real. This means you will have to carefully read all of the words (real and not) before circling the real words. The letter in the corner will help you identify the vowel sound you will find in all of the words on the page.
Let’s look together at the vowel sound on this page. Short a = /a/ is the focus vowel for this page. That means that all of the words will have the /a/ vowel sound in them. I am going to pick a word and read it. Then, I’m going to decide if it’s a real word or not. If it is real, I am going to circle it.
(Do the same steps with the student, and then have the student complete these steps independently.)

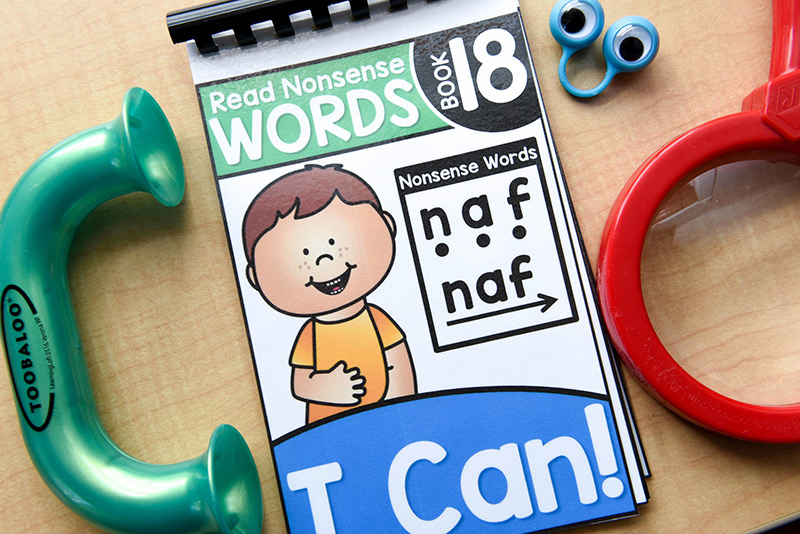
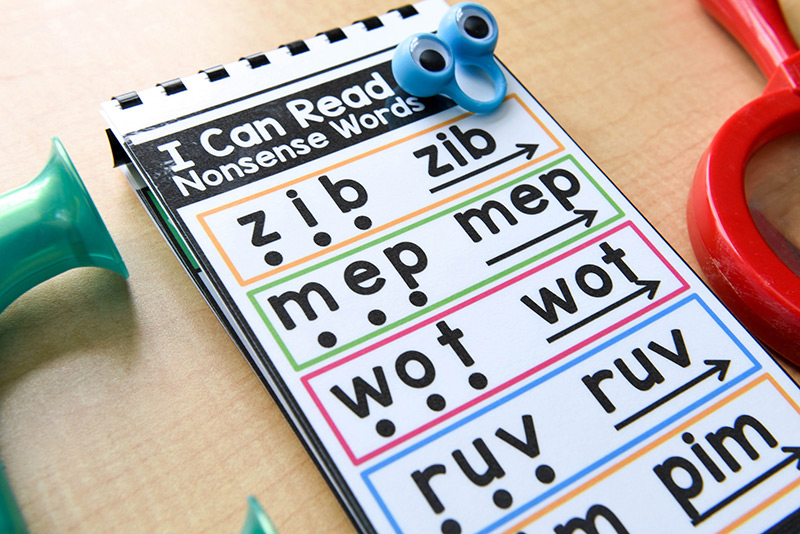
Book 18: I Can Read Nonsense Words
Task: Students will point and read nonsense words.
What To Do and Say: Let’s read the “I Can” statement – “I Can Read Nonsense Words.” Nonsense words are words that are not real. Under each letter is a dot. I want you to say the sounds for each letter. Then, I want you to blend the letters together to read the nonsense word. You can run your finger along the arrow as you blend the word.
Model one time. Have students do one with you. Then, have the student do the rest independently.
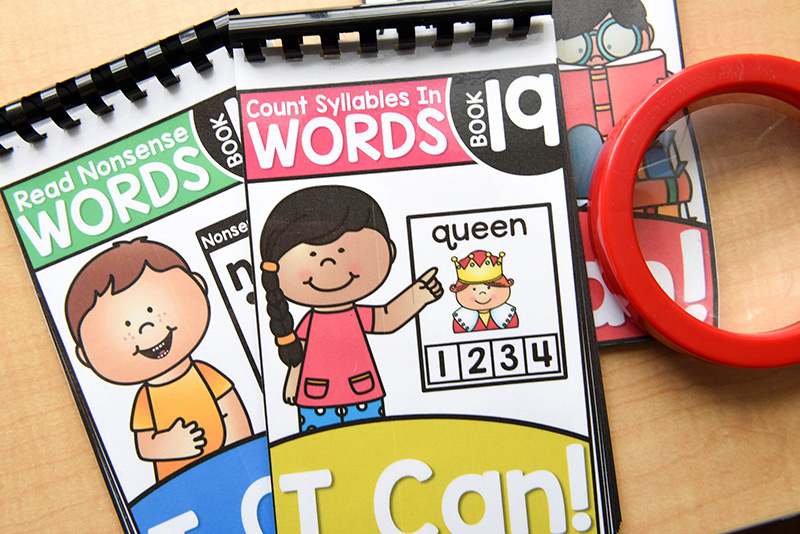
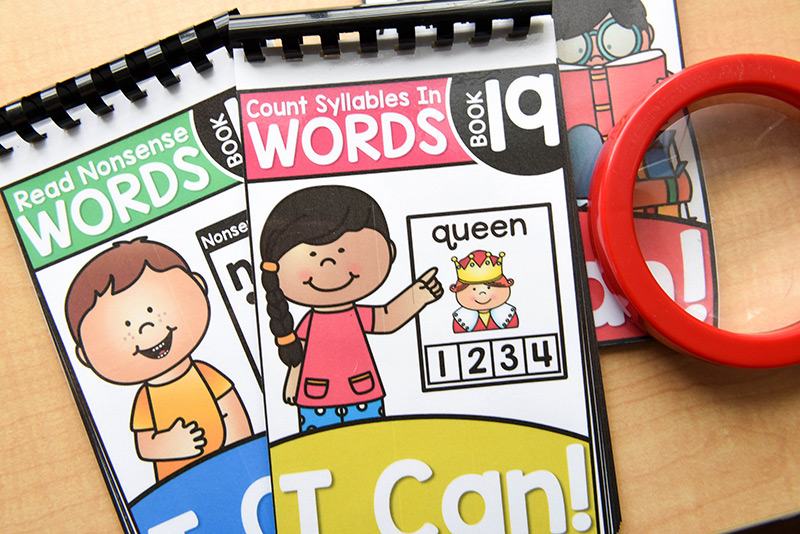
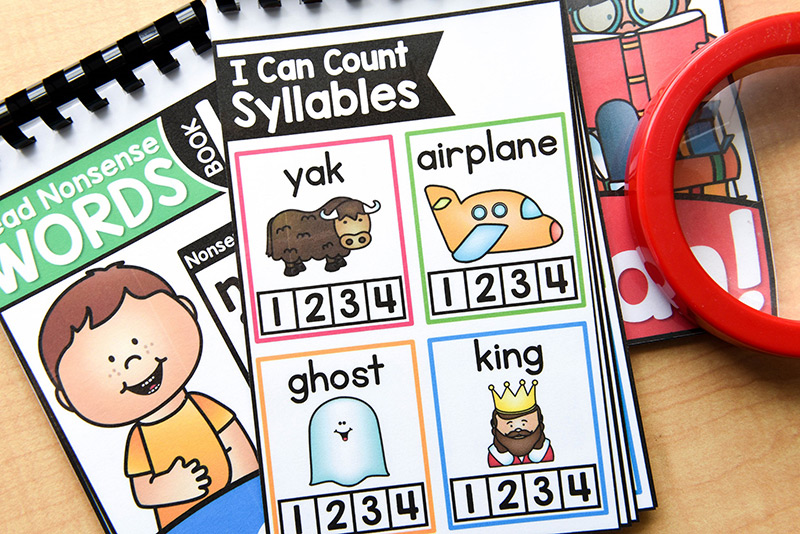
Book 19: I Can Count Syllables
Task: Students will count the number of syllables in a word.

What To Do and Say: Let’s read the “I Can” statement – “I Can Count Syllables.” Review what a syllable is. (A syllable is a part of a word with only one vowel sound.) Let’s count how many syllables we hear in some words together.
Ex: socks (1 vowel sound = 1 syllable). The student can clap out the syllables in the word or you can have them place their hand under their chin and feel how many times their chin moves up and down.
After you have modeled, shade in the box that shows the correct number of syllables. You may have to do a few together.
Dividing Into Chunks: If students need help reading the word, they can use the picture for support. They can also divide the word into smaller chunks on a whiteboard and then say each part together.
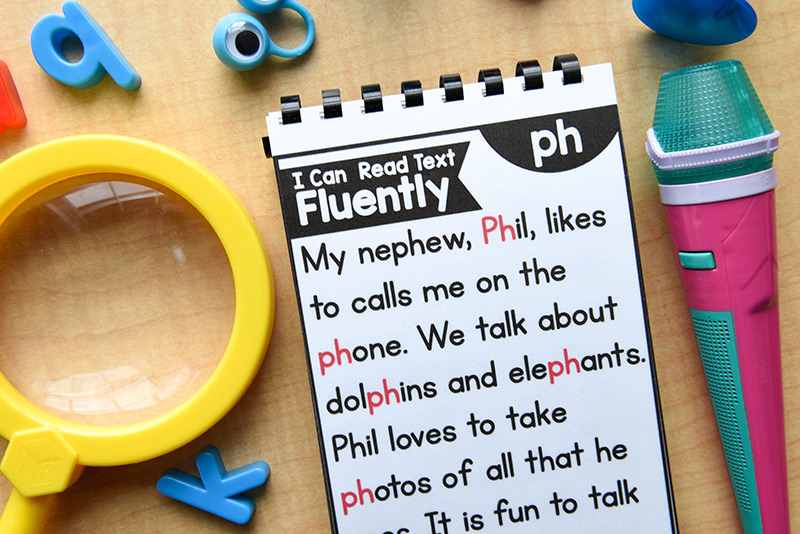
Book 20: I Can Read a Text Fluently
Task: Students will read the short text 3 times to build fluency.
What To Do and Say: Let’s read the “I Can” statement – “I Can Read Text Fluently.” Discuss what “fluent readers” look like, sound like, and feel like. Explain that the more readers read, the more fluent they become. Have your student read the short text. After each time, have the student color in the star.
You may or may not want him/her to read the text 3 times during the same time block. It is up to you! Although the sound-spellings are already highlighted, you may want your student to go back after the third time reading and have him/her read and circle each individual word that has the focus sound-spelling.
Answers to your FAQs:
How do you use these reading intervention books?
You can use these books during your RTI time, during morning work/morning tubs, or you can have a para-educator or parent volunteer pull students. Another option is to send the books home with some students. These books are not intended for whole-class use. They are only for students who need additional phonemic awareness and phonics support.
What is the best way to work through the reading intervention books?
These books are intended to help you monitor your students’ progress. These books were not created for the purpose of assessing. You will find that the books get progressively more challenging as you work through them.
How do you prep all of the materials?
The reading intervention books are available in color and black-and-white. I suggest laminating the sheets and binding them into books (or placing them on rings). This way students can use them over and over again by using a dry-erase marker.
How do you store all of the materials?
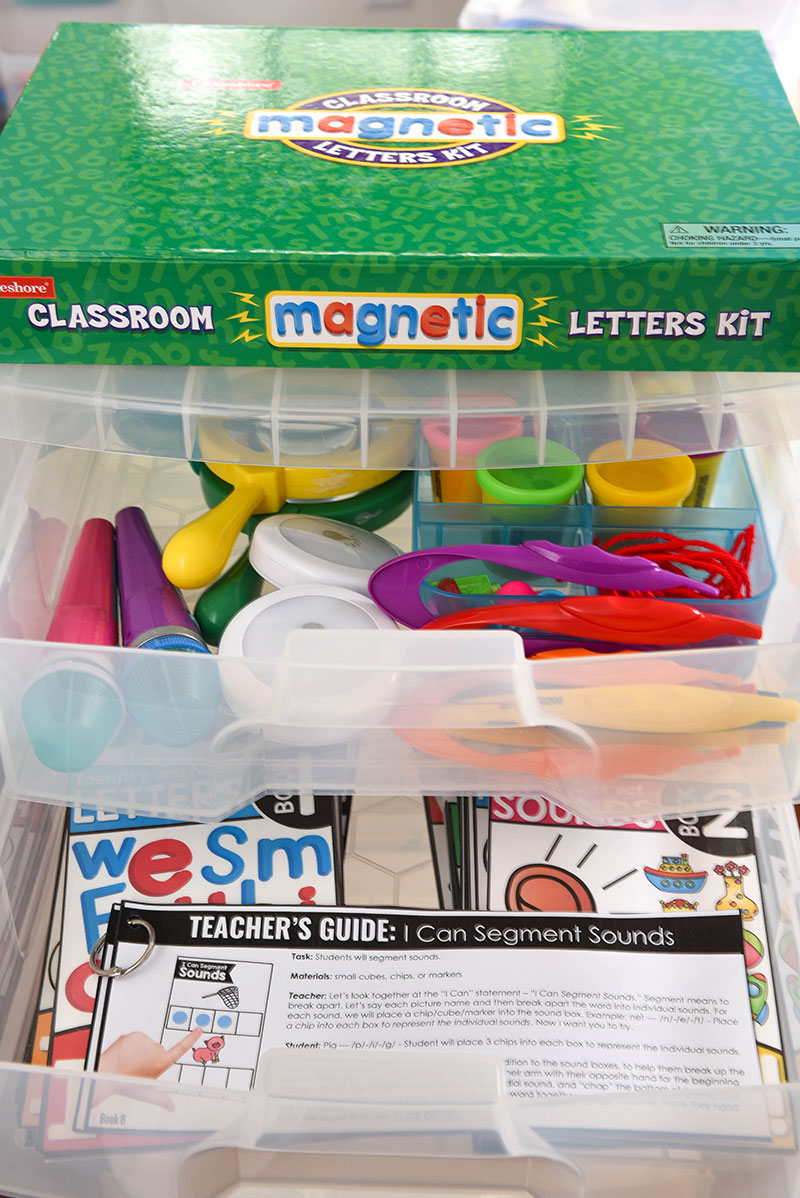
I like to keep everything in one location, so I put all of my materials in drawers. However, if you’re tight on space, you can use tubs or Ziploc bags.
I purchased this heavy-duty drawer system at Michael’s. It’s large enough to hold all of the materials needed and all 20 reading intervention books.
What sound-spellings are included in the reading intervention books?
The following sound-spellings are included: short vowels, silent e, vowel teams, diphthongs, digraphs, blends, hard and soft c/g, r-controlled vowels, and trigraphs.
Where can I find all of the resources to implement these ideas in my classroom?
Awesome question! To help you save time and have more ease in your classroom, I’ve done all of the work for you.
You can get all 20 books in the Reading Intervention with Intention packet for just $21. This packet includes color and black-and-white images, plus the entire Step-by-Step Teacher Guide.
Get ALL 20 reading intervention books today for just $21. Click here to snag it.
Want to try one of the reading intervention books for free?
If you’re eager to try these reading intervention books in your classroom but you want to see some of the activities up close, I’ve got a sweet freebie for you. Click on the link below one of the books for FREE. This freebie includes the color and black-and-white book.

Have any questions? Leave a comment below.
Love this resource and wish you had access to more like it? Want instant access to a library of resources (for ALL content areas) catered specifically to you and your students’ needs? If you’re nodding yes, then be sure to join the LK Teacher Club!
When you join the LK Teacher Club, you gain instant access to the resource I share all about in this blog post, plus every other resource I’ve ever created ($6000+ value).
Not only that, but you’ll also have immediate access to more than 100 exclusive resources that aren’t found anywhere else!
Get ready to tackle teaching with confidence and ease! Click here to find out more about the LK Teacher Club.



angela
February 22, 2018I thank your for the freebie it will be very helpful.
Melissa
February 22, 2018Thank you for your freebie and all the time you put into helping your fellow teachers. I appreciate all your activities and my kinder’s love doing them. Thank you.
Shannon Beckles-Rahming
February 22, 2018This is an awesome resource! I bought it and thought it was great but didn’t realize its potential until I read this article. Thank you for both.
Sumayya
February 23, 2018great resources to help struggling readers
Maureen Murtagh
February 27, 2018Thank you so much for the freebie I will enjoy using this with the little poppets
Dana
March 1, 2018These look AMAZING! I’m an interventionist and I think they’d be great for my kinders!! They are in my cart now. Thank you!!
Lillian
March 2, 2018This was so helpful and informative. Great for me since I’m new to the grade level.
Thank You!!
Wendi
June 28, 2020I love the looks of these books and was wondering if you had anything like this for vowel teams?