If every teacher received a quarter each time an early finisher asked the question, “I’m done! What do I do now?” we’d all be millionaires. Am I right or what?
The fact is: some students are fast finishers—even when given enriching, rigorous activities. So it’s our job to have early finisher activities ready to go, which, let’s face it, isn’t the easiest thing to do.
Of course, students can always read a book, listen to a story, write in their journal, or complete an additional (dare I say lackluster?) worksheet. But, if you’re anything like me, you’re always looking for more hands-on, meaningful, and engaging activities that require critical thinking, problem-solving, perseverance, and reflection.
So, that’s where the idea for Flip & Create STEM Books came in.
What are Flip & Create STEM Books?
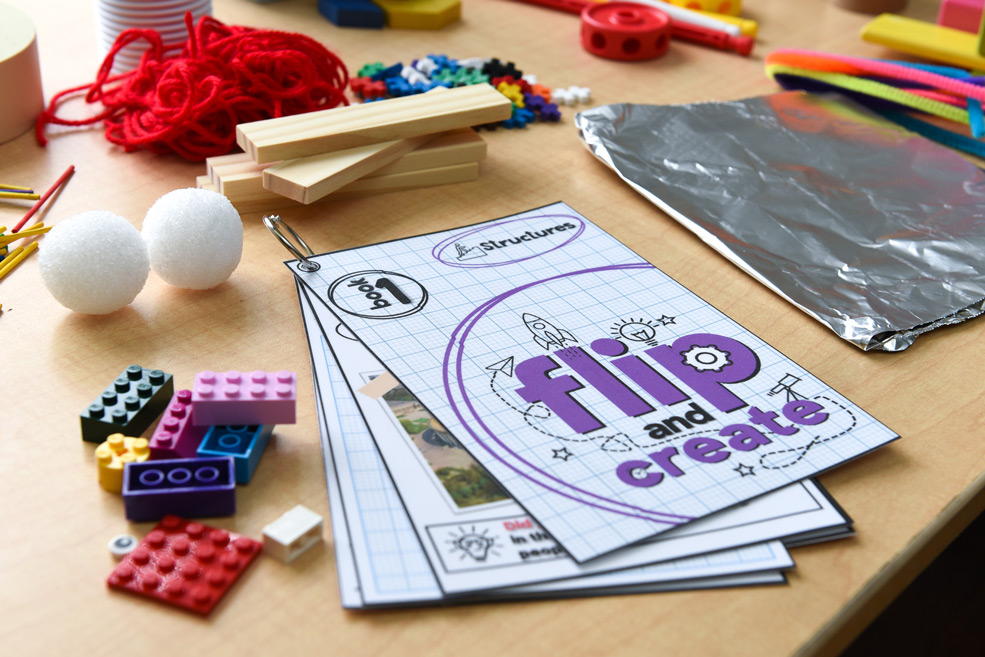
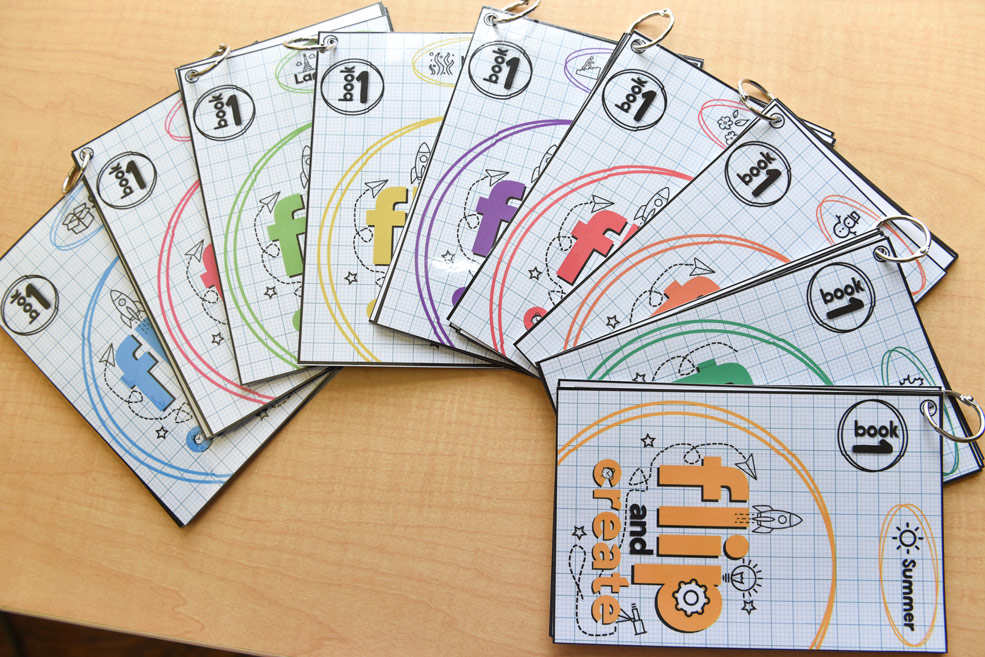
Flip & Create Books are all-in-one STEM activities for early finishers geared to promote engineering, creative thinking, reflection, and play.
When to Use the STEM Activities:
- early finisher activity
- STEM station/STEM challenge
- Makerspace
- morning work alternative
- free choice
- indoor recess
- positive reinforcement activity
- fine motor practice
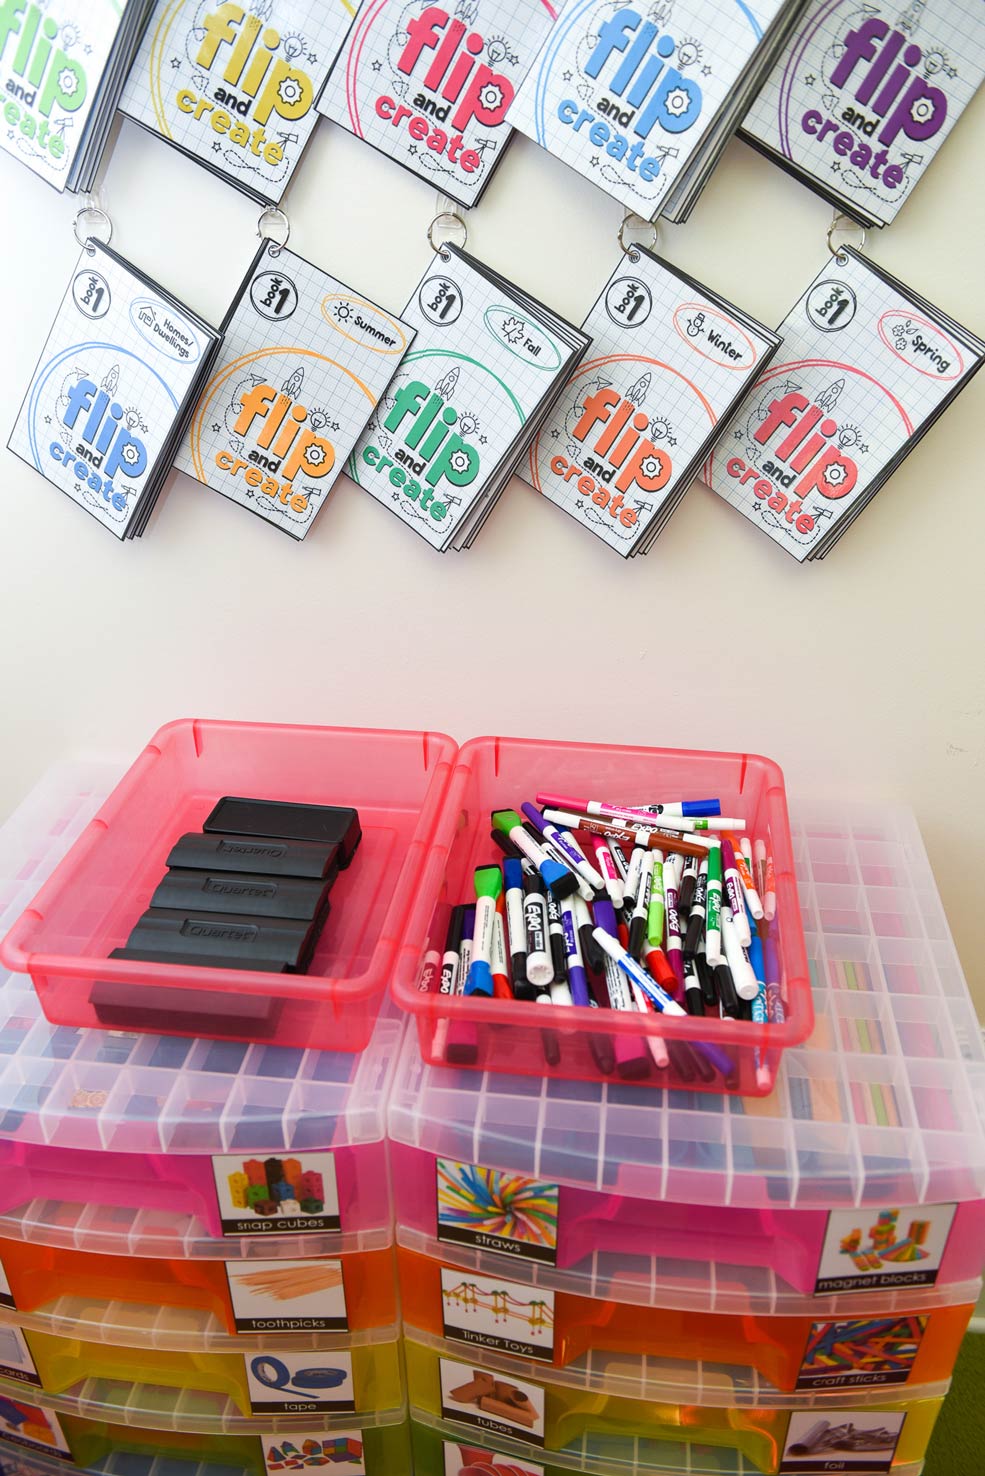
How They Work
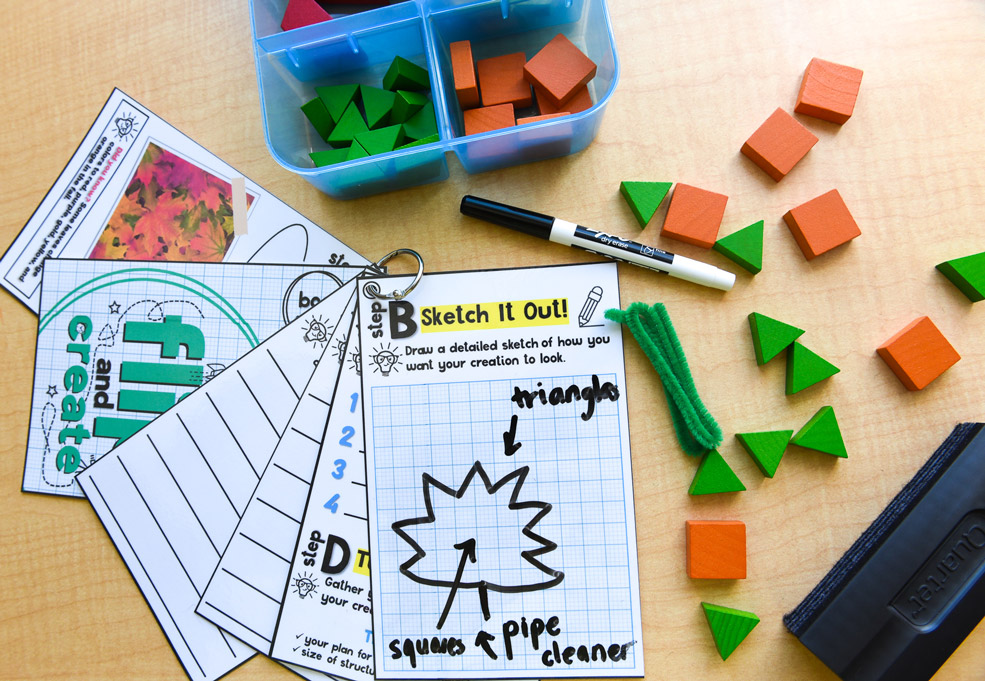
When students finish their independent practice, they can grab a flipbook, find a spot in the classroom (on the carpet or at a designated table, just as long as they aren’t distracting their neighbors), grab engineering materials, and then get creative.
The flipbooks encourage students to think like engineers and inventors. They are set up so students have ample time to design, build, and reflect on their creations.
About the STEM Flip Books
The layout of each book is the same. This is so students can spend more time creating and less time deciphering instructions. Also, this allows you to have more teaching time.
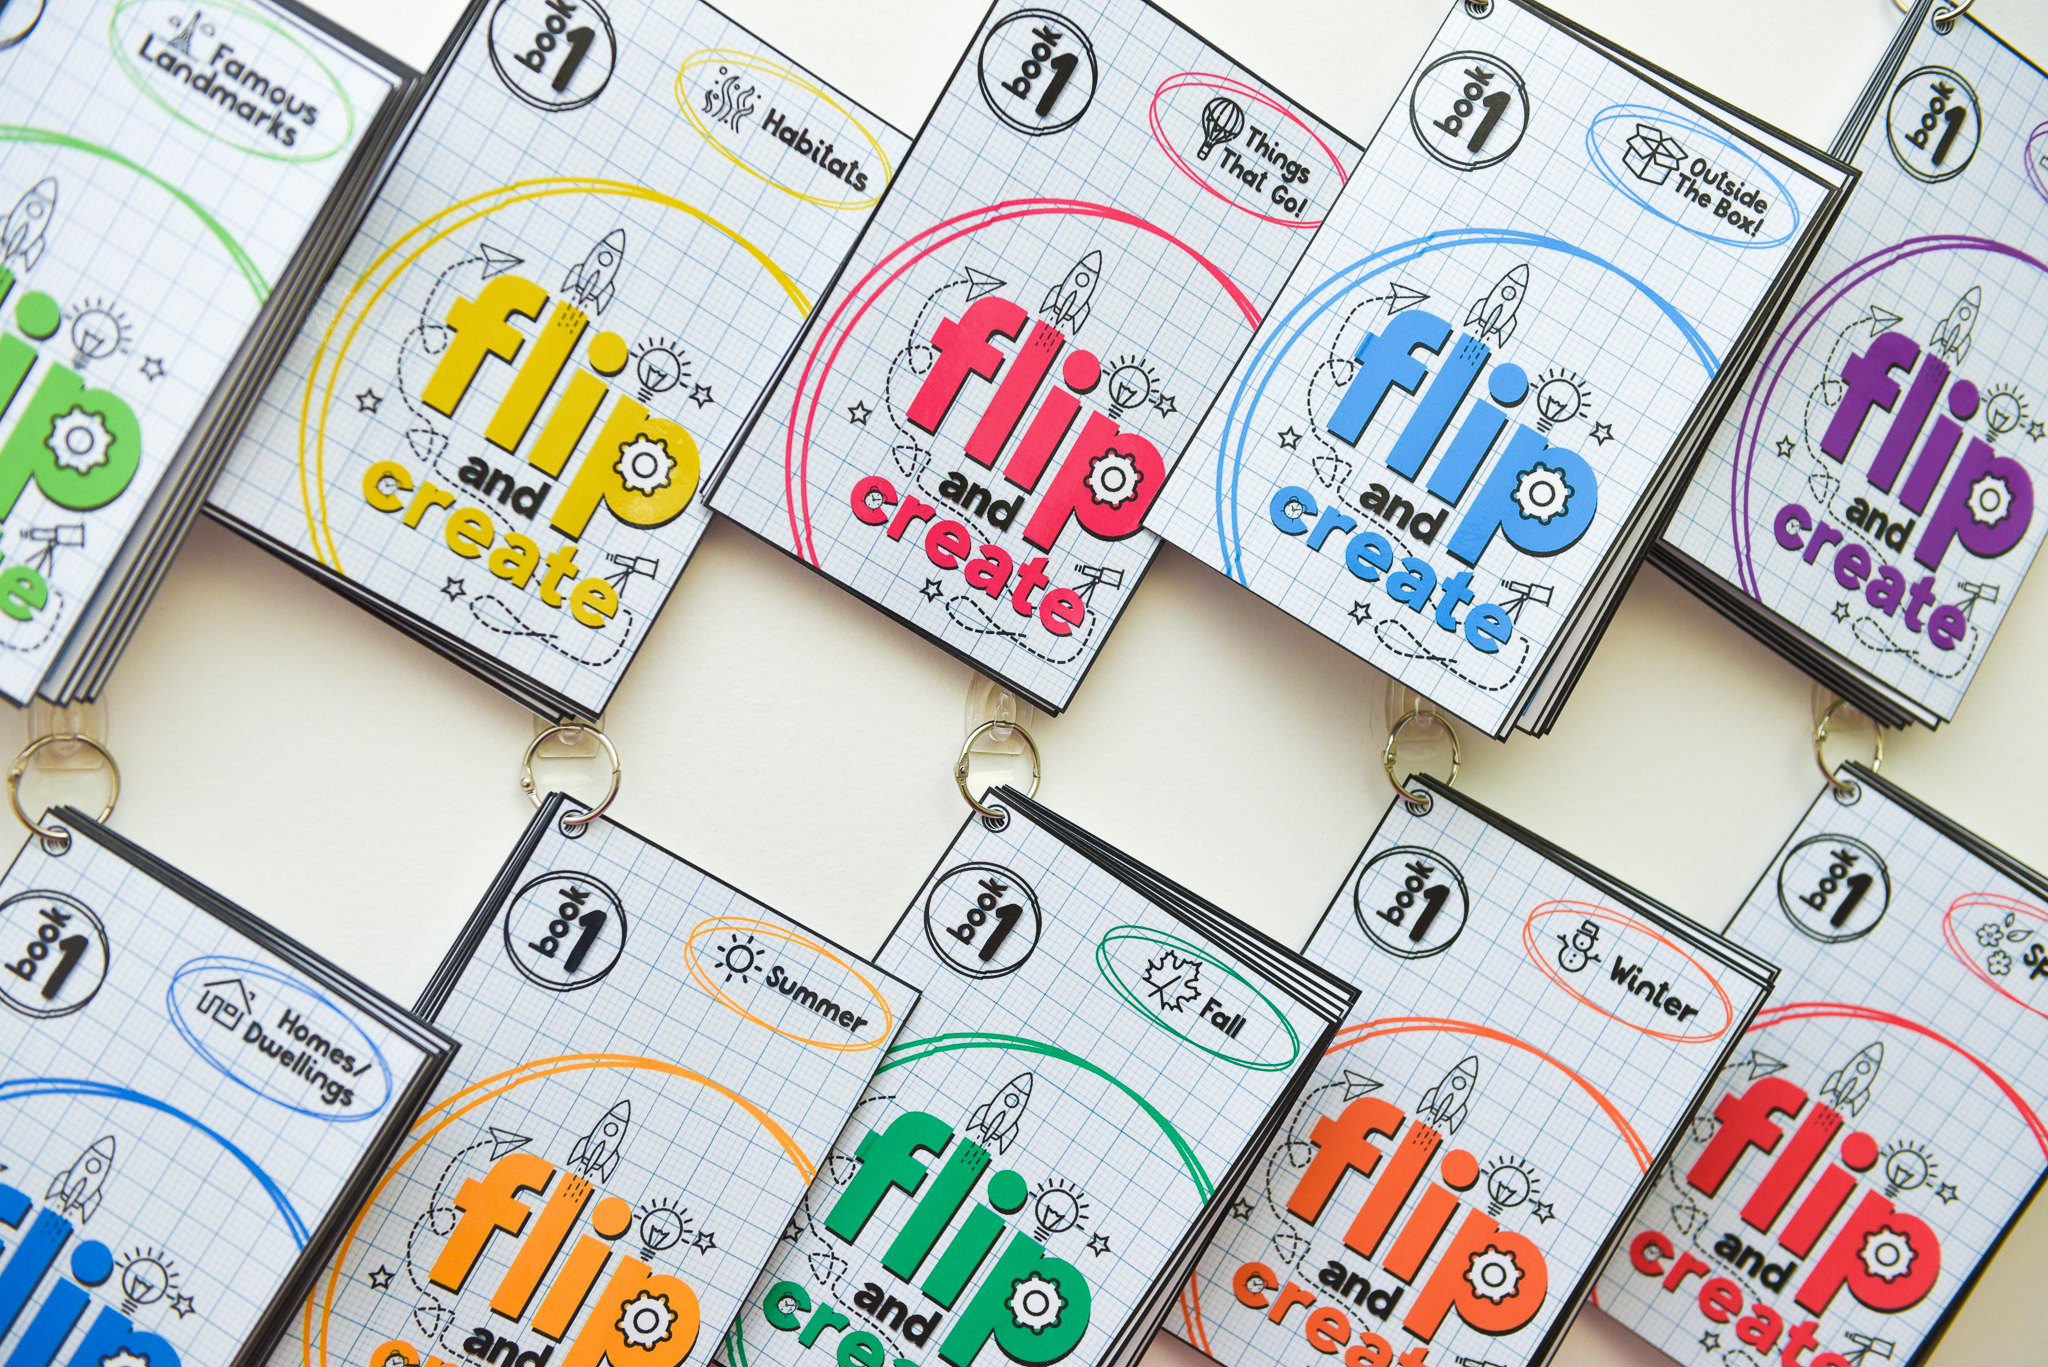
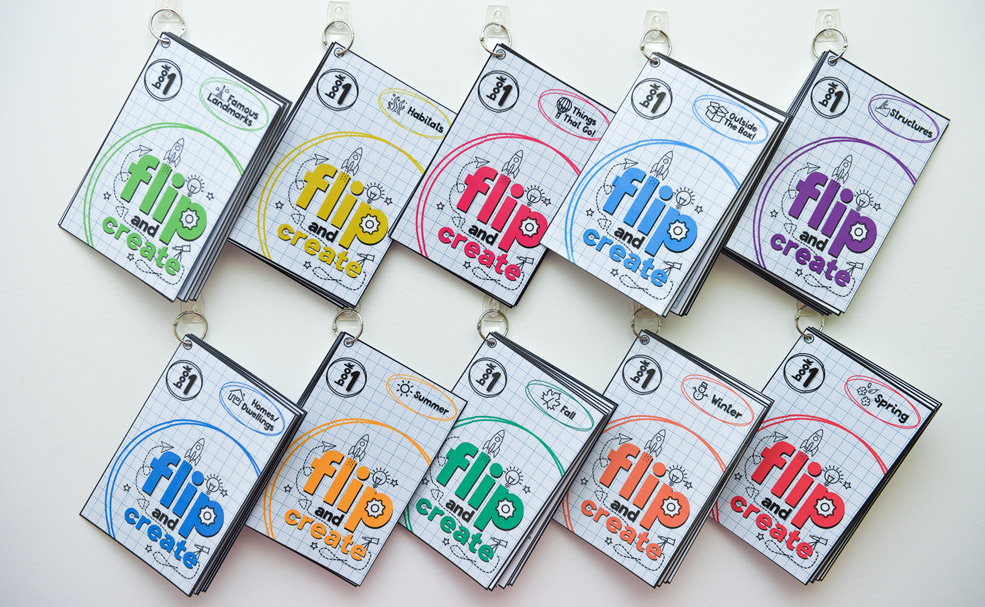
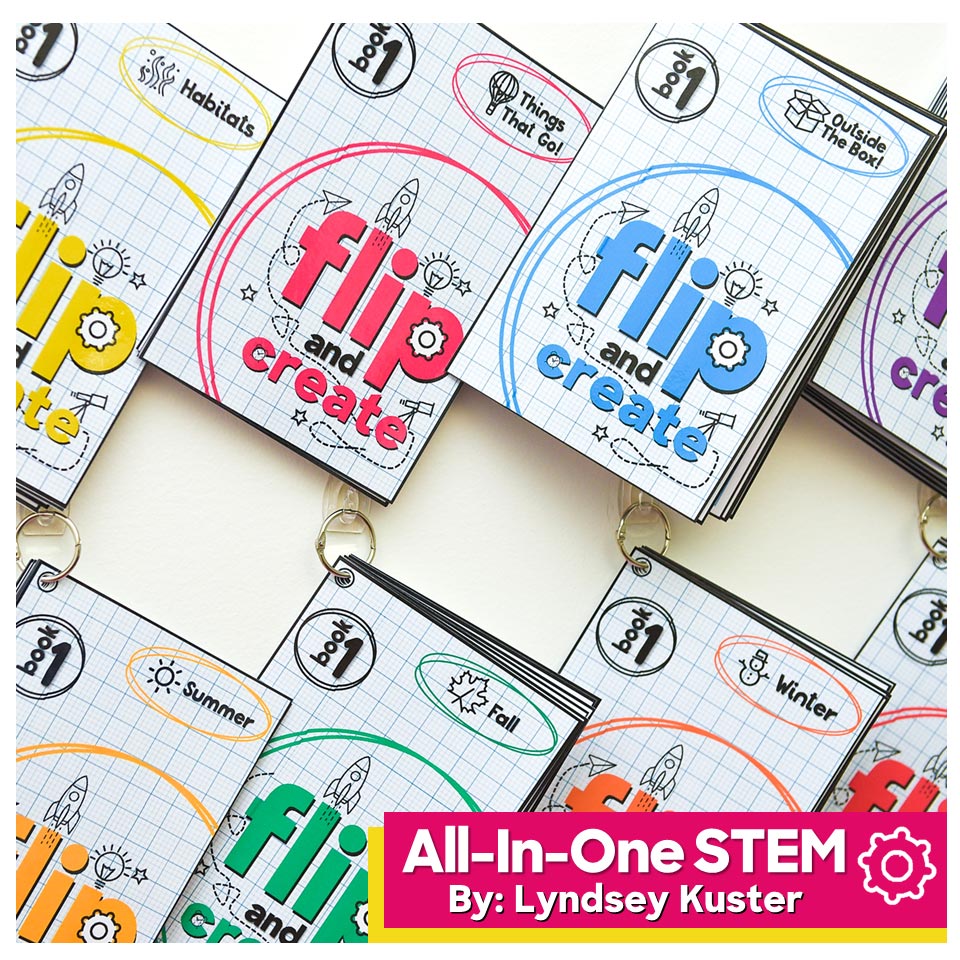
The books cover 10 topics. I will be adding new topics all the time. So far, there are ten books for each topic (100 books in all and more coming!):
- Famous Landmarks
- Things That Go!
- Structures
- Homes/Dwellings
- Outside the Box
- Habitats
- Winter
- Spring
- Summer
- Fall
About the Materials
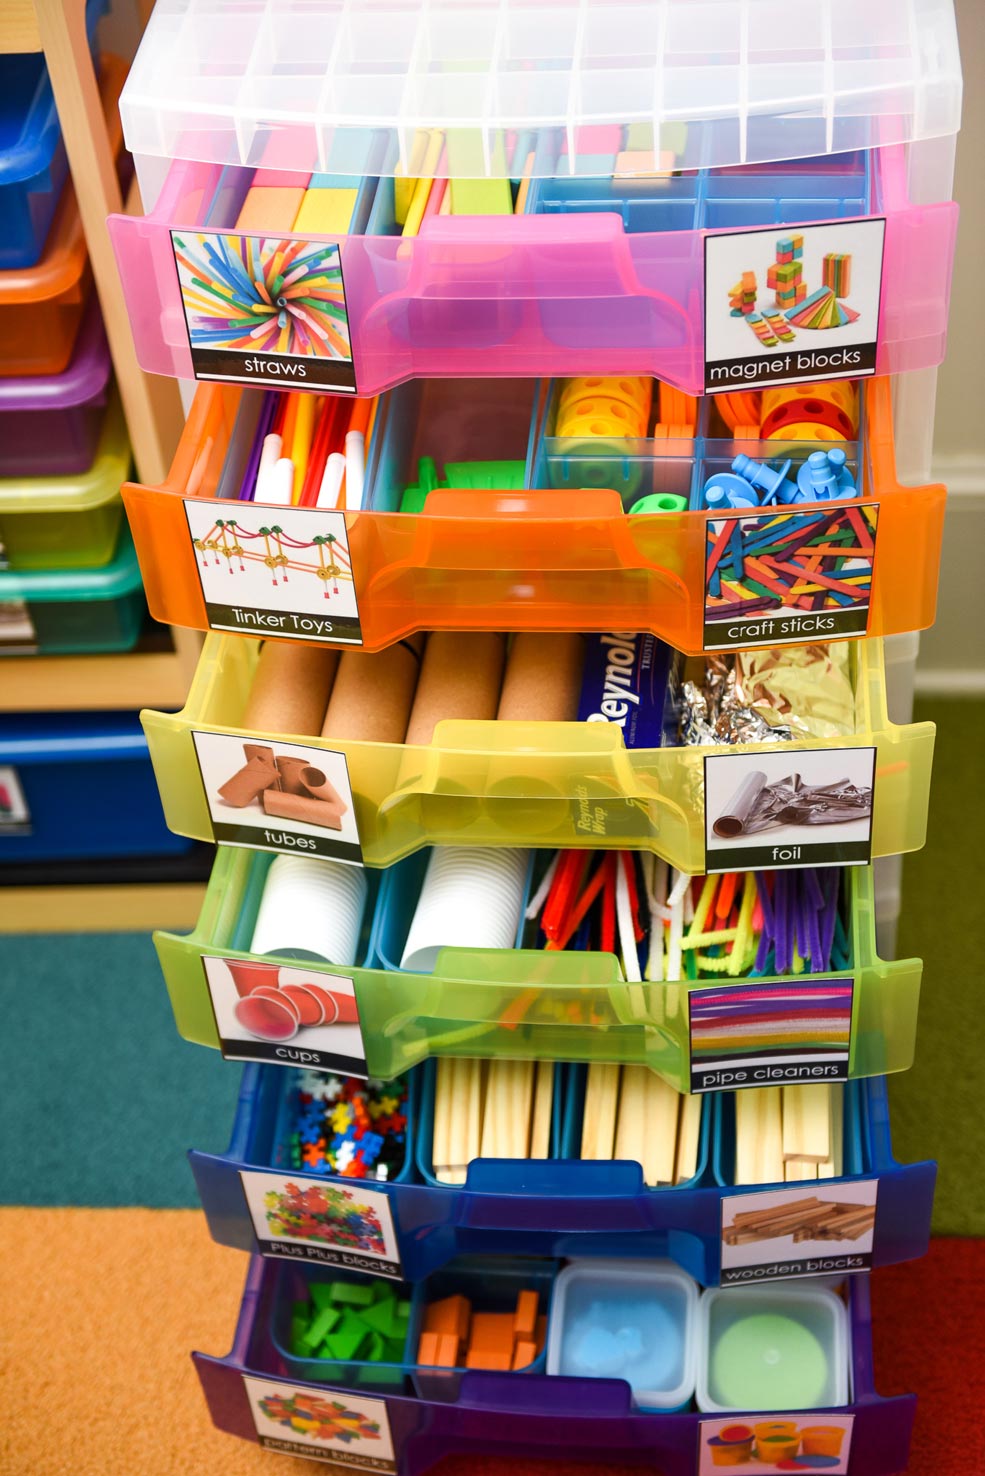
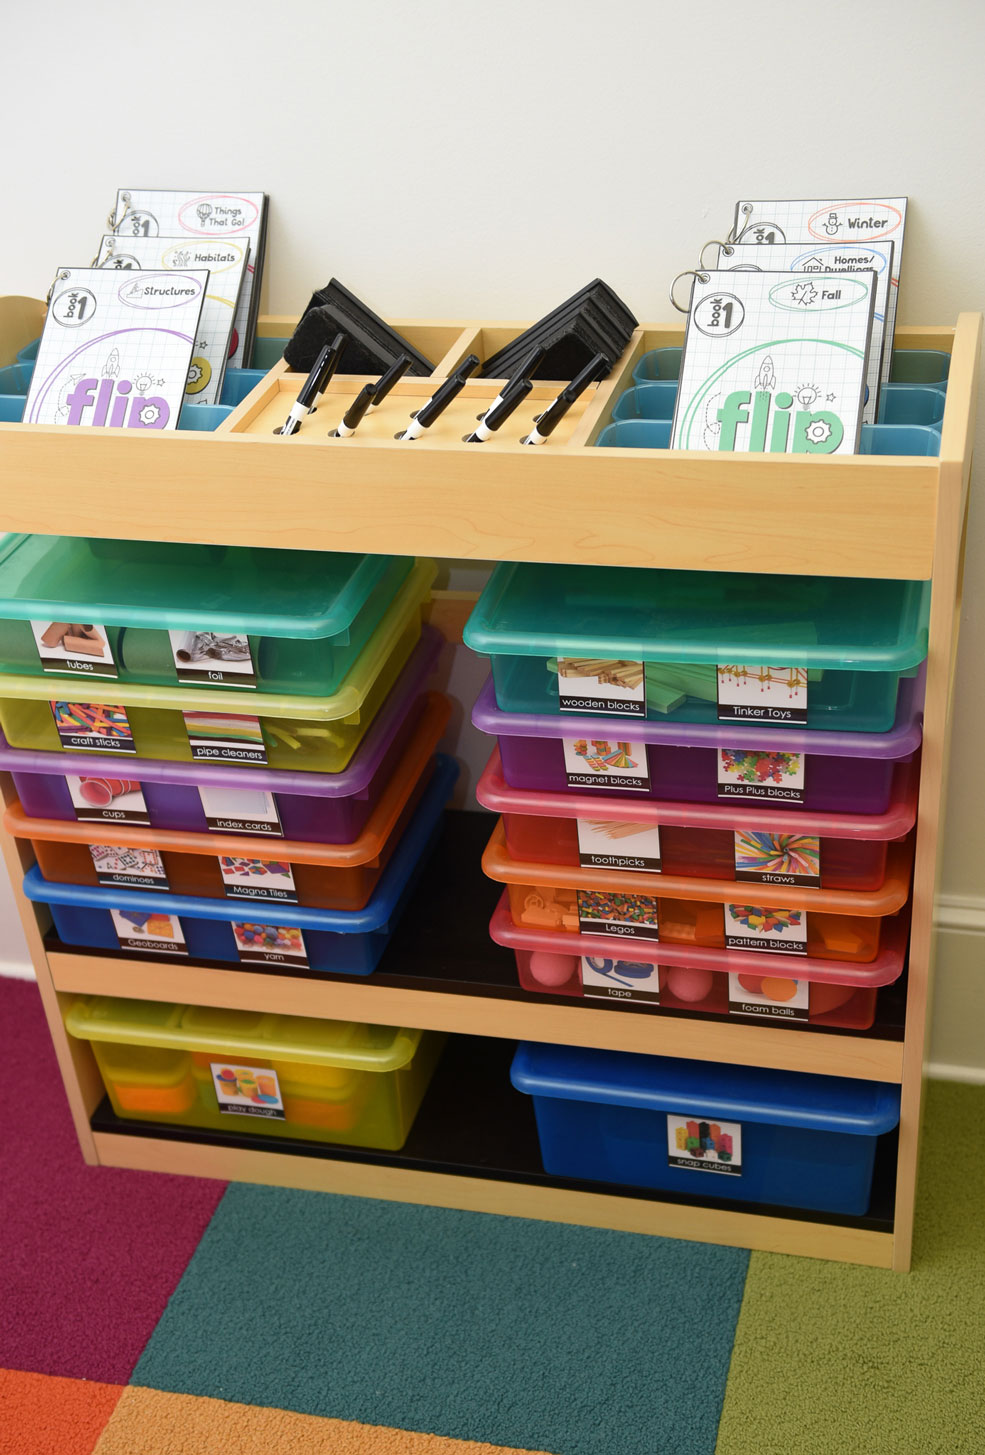
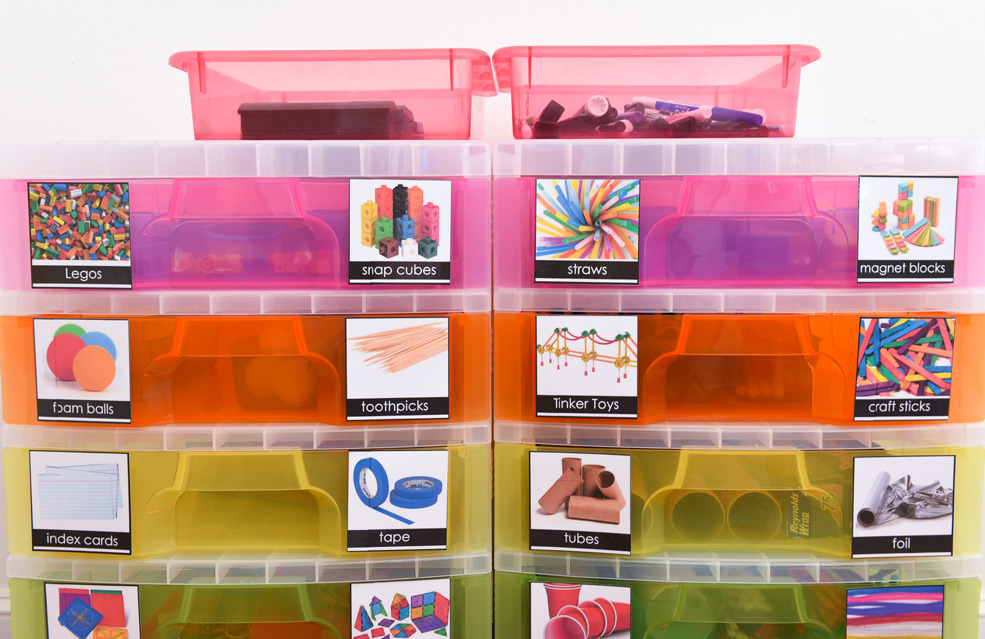
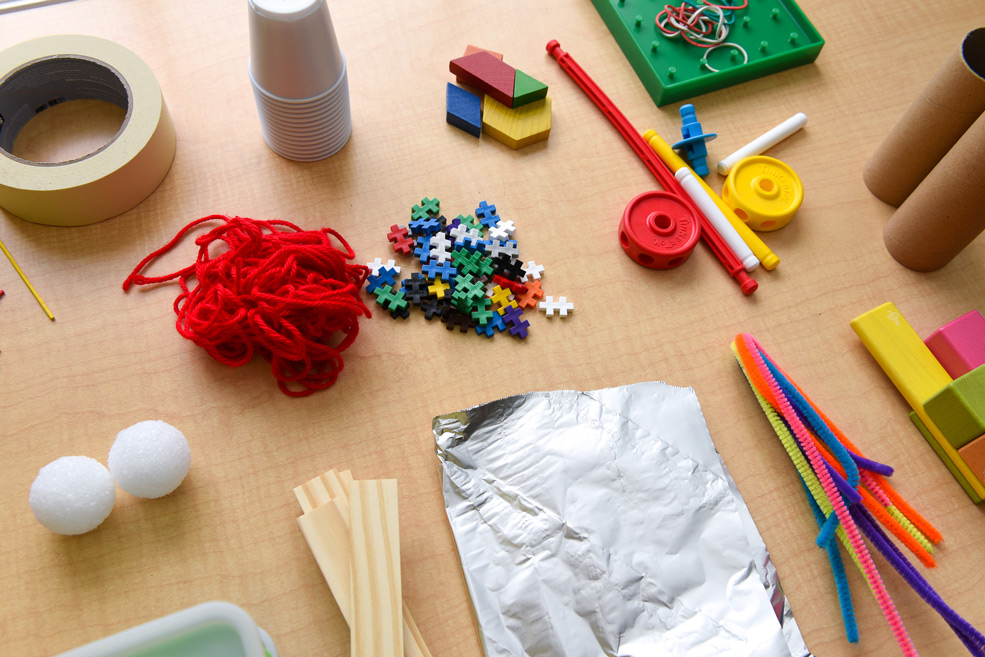
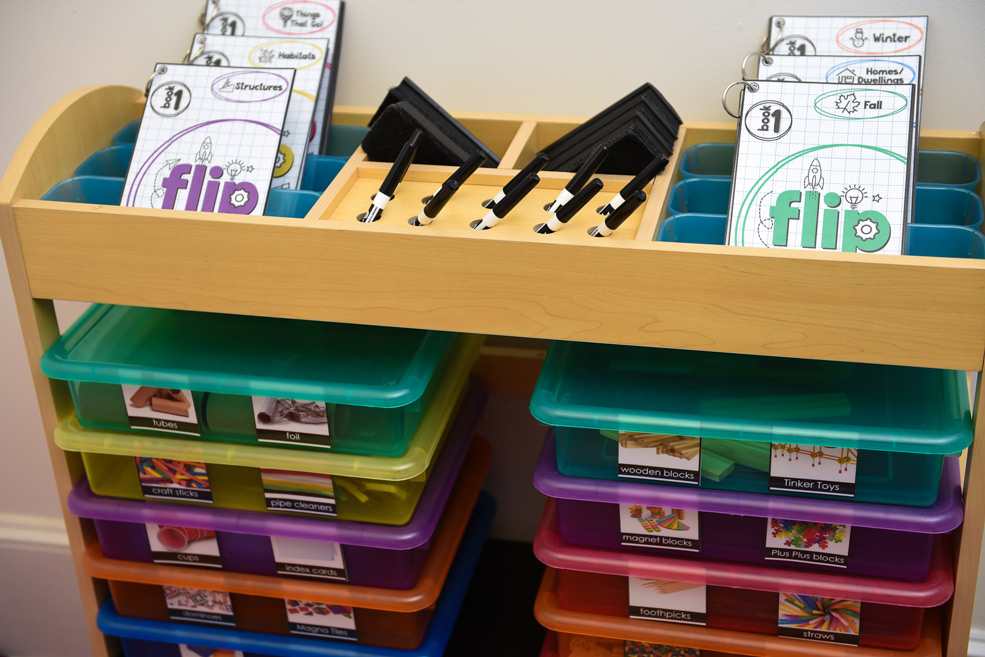
You’ll want to have a designated spot in your classroom where students can gather the engineering manipulatives for their STEM activities. You can use a storage tower, bins, tubs, or even Ziplocs. What is most important is that students can easily access the materials
A lot of the materials I suggest are ones you probably already have on hand (for example index cards, tape, aluminum foil) or items you can borrow from a teacher. Additionally, labels are already made for you (I also provide an editable version for you too!).
A Breakdown of the Steps In Each Flip & Create Book
- Accept the Task
- Sketch It Out
- Write Materials
- Gather Materials & Build
- Explain Your Creation
- Reflect On How to Make It Better
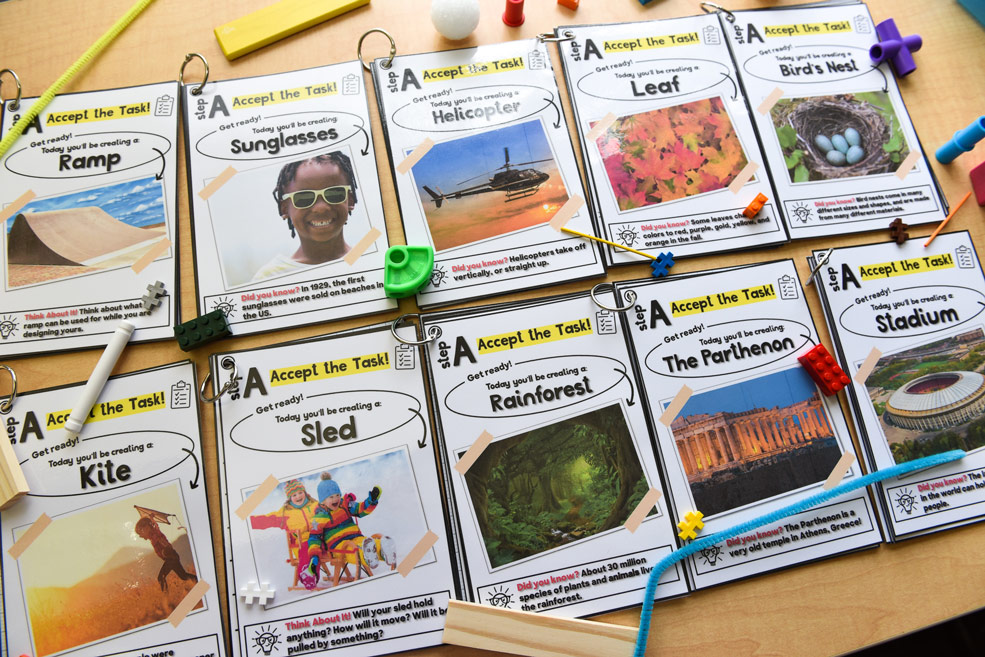
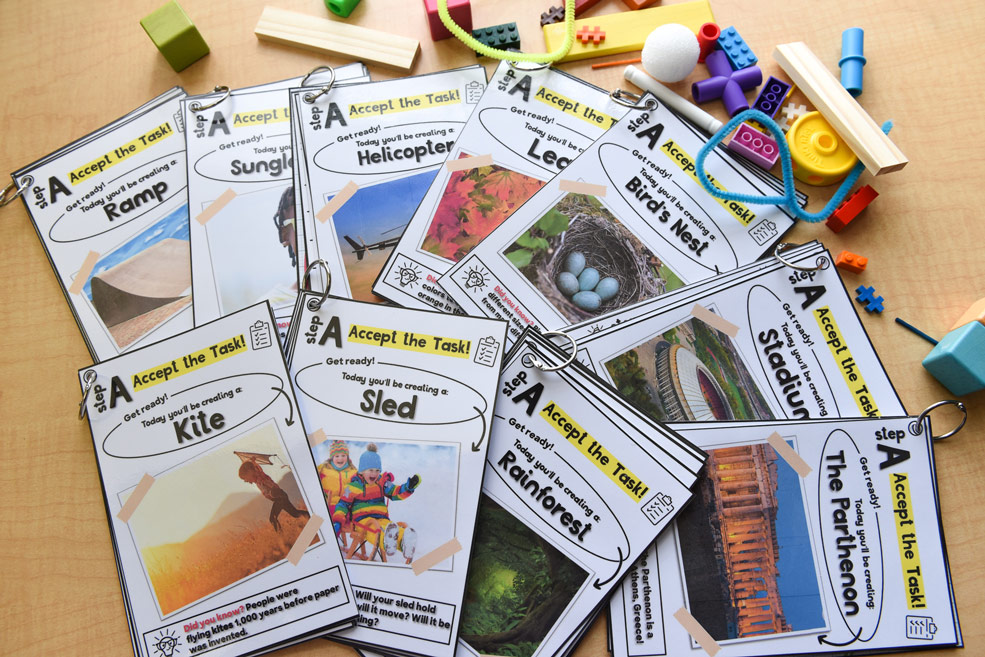
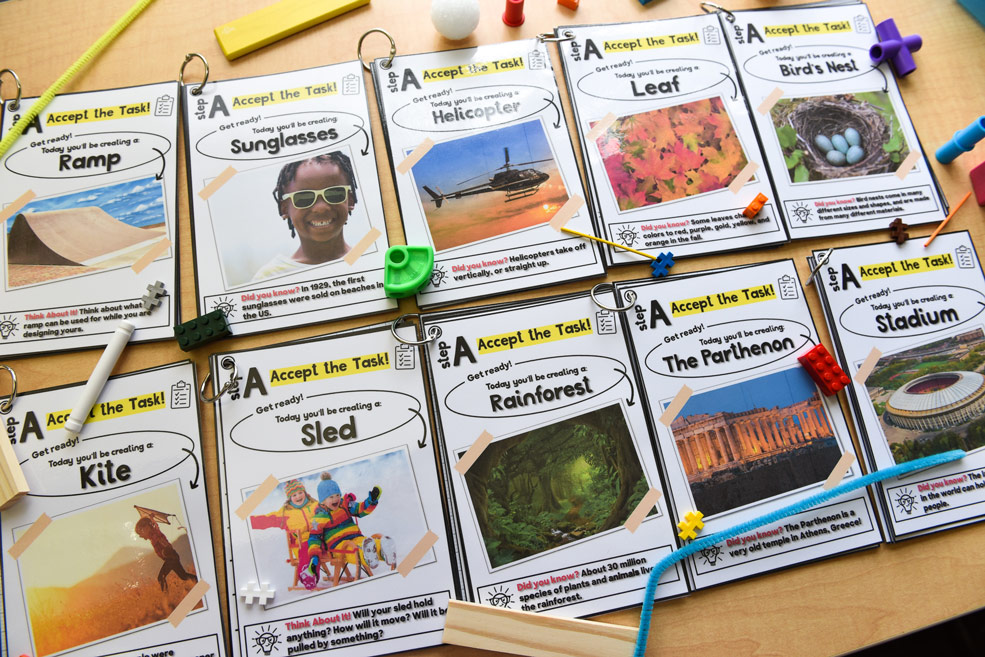
Step A: Accept the Task
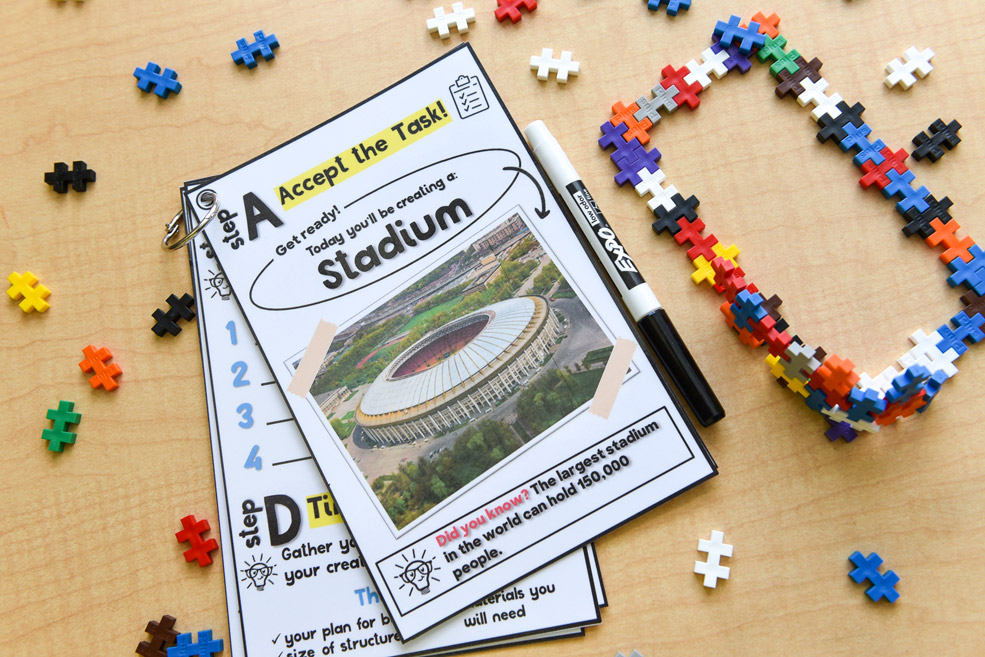
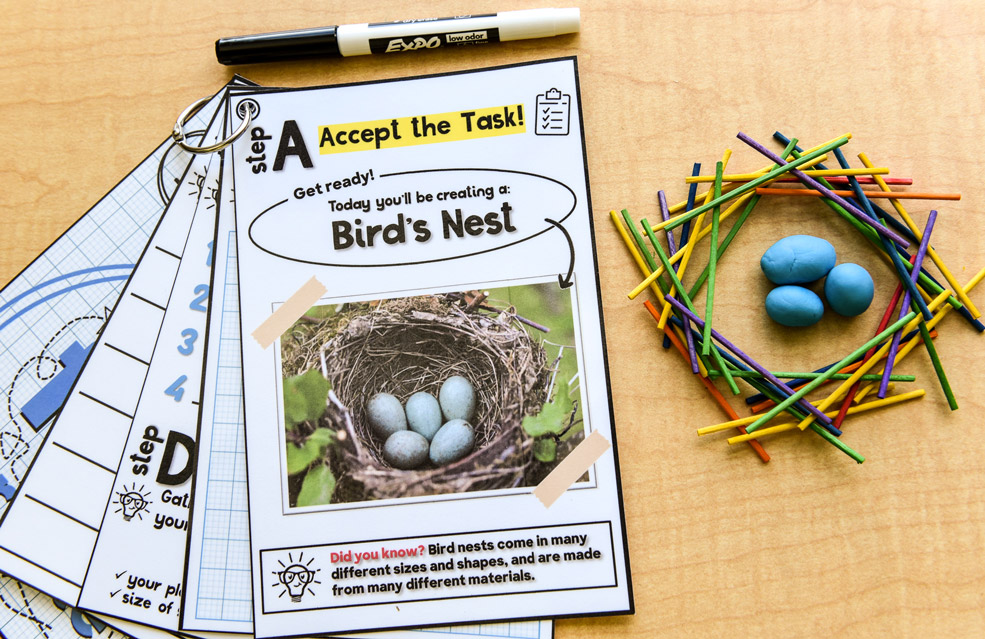
On this page of the flipbook, a real-life photograph of what students will be creating is provided for them. Students aren’t required or encouraged to replicate the exact image; this is just a starting point. Because we want students to be innovative engineers.
At the bottom of this page, students will learn a cool fact about what is shown in the photograph OR they will be asked to think about how they’ll build their creation.
Step B: Sketch It Out
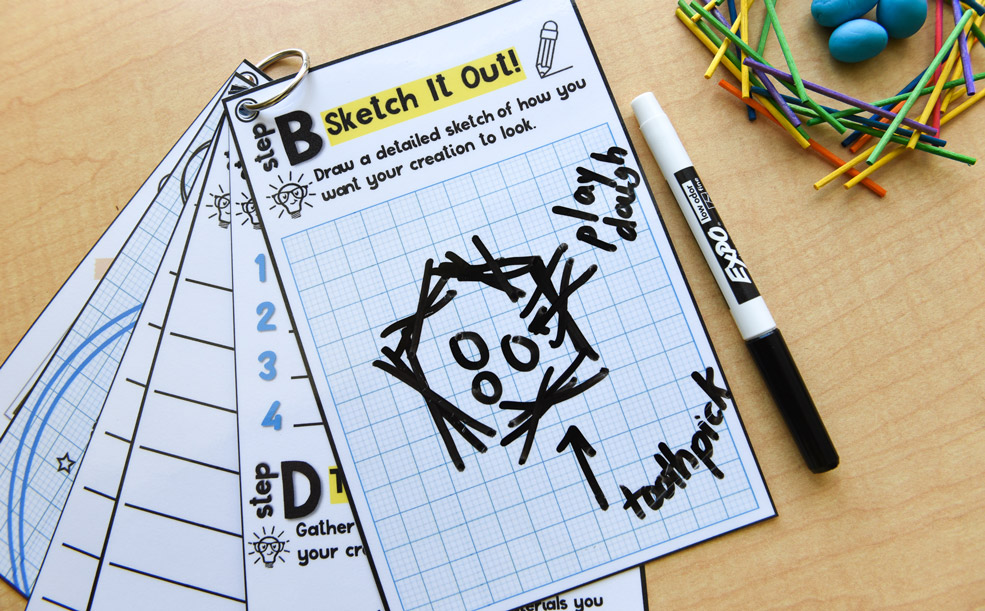
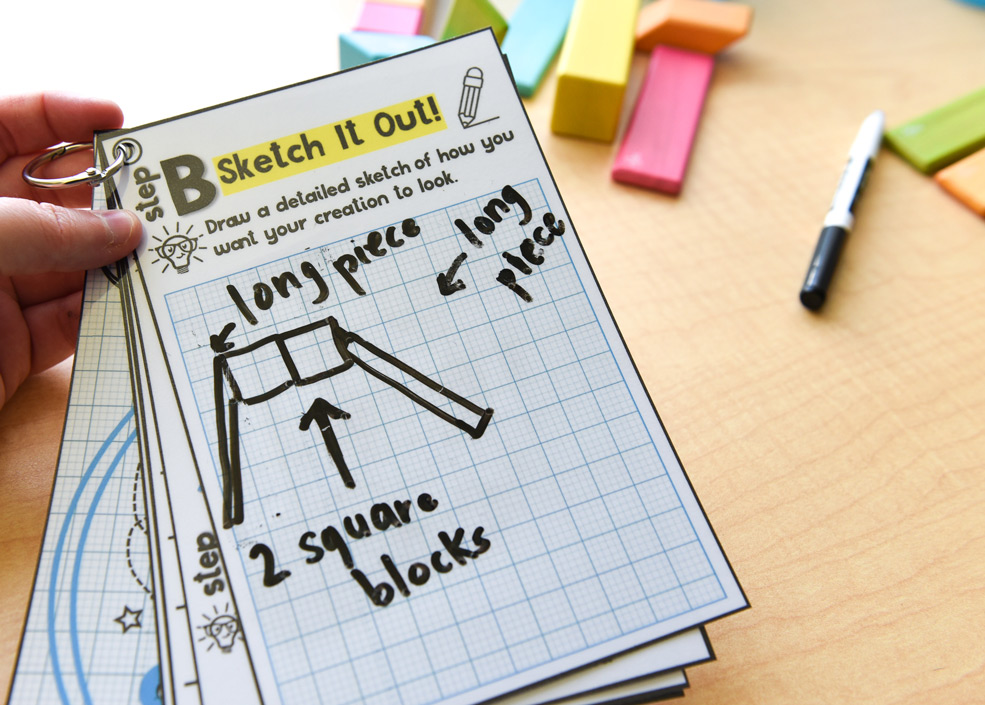
On this page of the flipbook, students will draw a detailed sketch of how they want their creation to look. They can label each part with the materials they’ll need OR they can just keep it about the picture.
This is their free space to brainstorm how they want their creation to look, what materials they will need, whether their creation will be 3D or not, how many pieces it will include, and etc. A grid is provided for them to help have an accurate sketch of what they want to create.
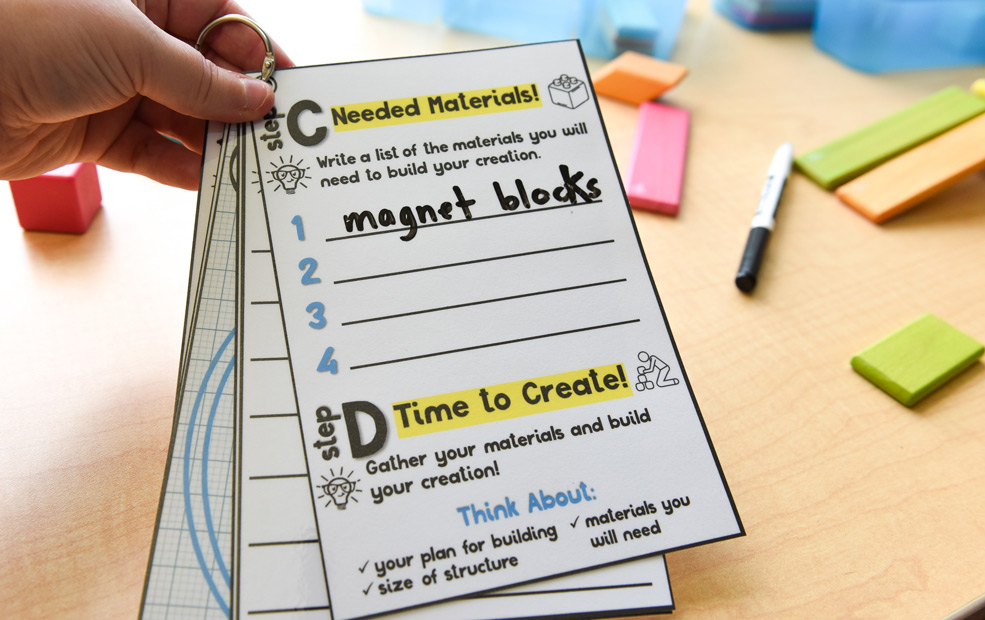
Step C: Write Materials Needed
On this page of the flipbook, students will write a list of materials they will need in order to build their creations.
Step D: Gather Materials & Build
Then, they will gather their materials, refer back to their detailed sketch (and the photograph, if they wish), and then begin building. Students will want to think about their plan for building, the size of their structure, and the materials they will need.
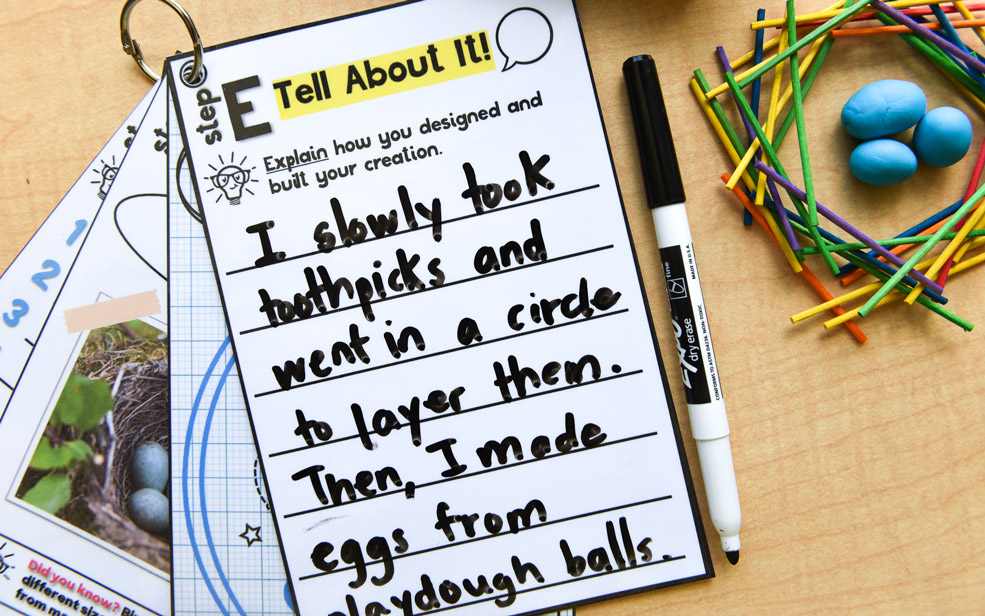
Step E: Tell About It
On this page of the flipbook, students will explain how they designed and built their creations.
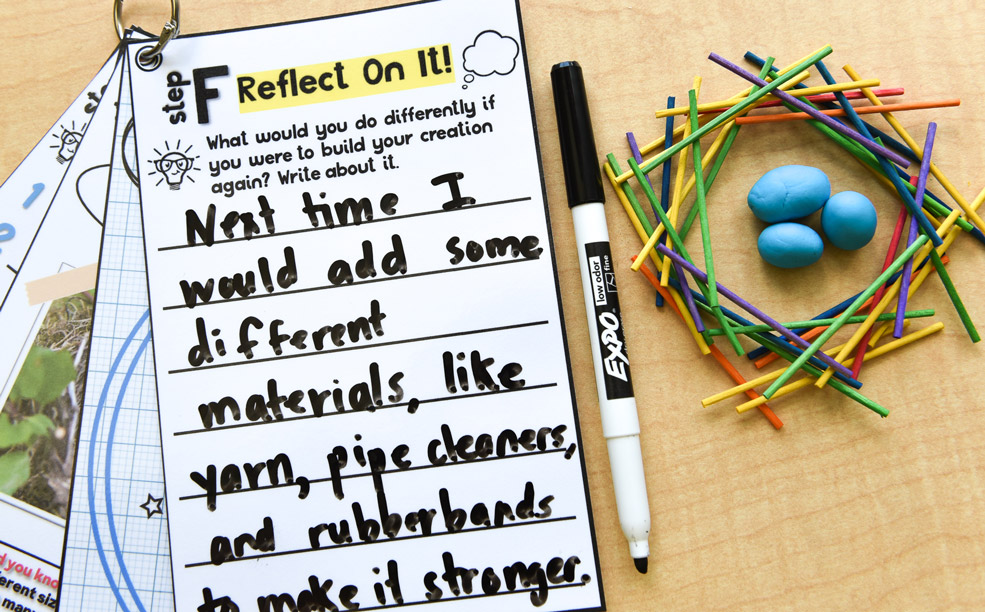
Step F: Reflect On It
Finally, students will reflect on their creation. They’ll write what they would do differently next time (materials, design, strength, size, etc.).
How to Prep the STEM Activities
To prep, you’ll want to laminate, cut, and then hole-punch the books. Then, place them on a ring and provide dry-erase markers and erasers so students can use them over and over again.
You can hang them on a hook or you can place them in a basket or a bin. It’s totally up to you! My suggestion is to use what you already have in your classroom. This is the least expensive and most convenient option!
FAQs
How many books are included in this resource?
There are 100 books so far (1o books per topic)! This resource will continue to have more and more books added.
What materials do you suggest I add to the tubs/bins/tower/Ziplocs?
- Knex
- wooden blocks
- Plus Plus Blocks
- Geoboards and rubber bands
- index cards
- tape
- paper tubes (paper towel rolls and short ones)
- aluminum foil
- Magnatiles (wooden version and plastic are both awesome!)
- play dough
- craft sticks
- foam balls
- pipe cleaners
- toothpicks
- snap cubes
- straws
- cups
- Tinker toys
- LEGOs
- pattern blocks
- yarn
- dominoes
How would you suggest I use this resource with developing writers?
This resource is ideal for primary students (grades 1-2, and some K students may be able to use them). Even if students are not able to fully express their thoughts in writing, we still want to encourage them to work through the engineering process. Encourage students to use inventive spelling, write using pictures, and model, model, model.
Want to try the books for free?
If you’d like to try the Flip & Create Books in your classroom for free, you’re in luck! Click on the freebie button below to download 10 free books.
I want this resource of STEM activities! Where can I find the Flip & Create Bundle?
You can snag this bundle at a deeply discounted buy-in price—just $22!
Click here to buy it!
Enjoyed this resource blog post? You can check my other blog posts below that feature interactive learning resources, too!
Love this resource and wish you had access to more like it? Want instant access to a library of resources (for ALL content areas) catered specifically to you and your students’ needs? If you’re nodding yes, then be sure to join the LK Teacher Club!
When you join the LK Teacher Club, you gain instant access to the resource I share all about in this blog post, plus every other resource I’ve ever created ($6000+ value).
Not only that, but you’ll also have immediate access to more than 100 exclusive resources that aren’t found anywhere else!
Get ready to tackle teaching with confidence and ease! Click here to find out more about the LK Teacher Club.



Karen Seward
September 12, 2018These look fantastic. I am SO EXCITED to receive the 10 free booklets to try out with my students!! Thank you!
Brooke
September 13, 2018Thank you so much for sharing your awesome work!!!
Julie
September 13, 2018This is a great idea! But, most of your ideas are great